Create Telegram bot
- Use @BotFather* to create the Telegtam bot. Click Start and select /newbot command.
*@BotFather — is a bot on Telegram that manages all the bots that you create via your account on Telegram.

- Choose a name for your bot.

- Then create a username (it will be displayed in links). It must be written in Latin, may contain numbers and underscores, and must end with Bot. The username must be unique. If the username is already taken, @BotFather will report it back.
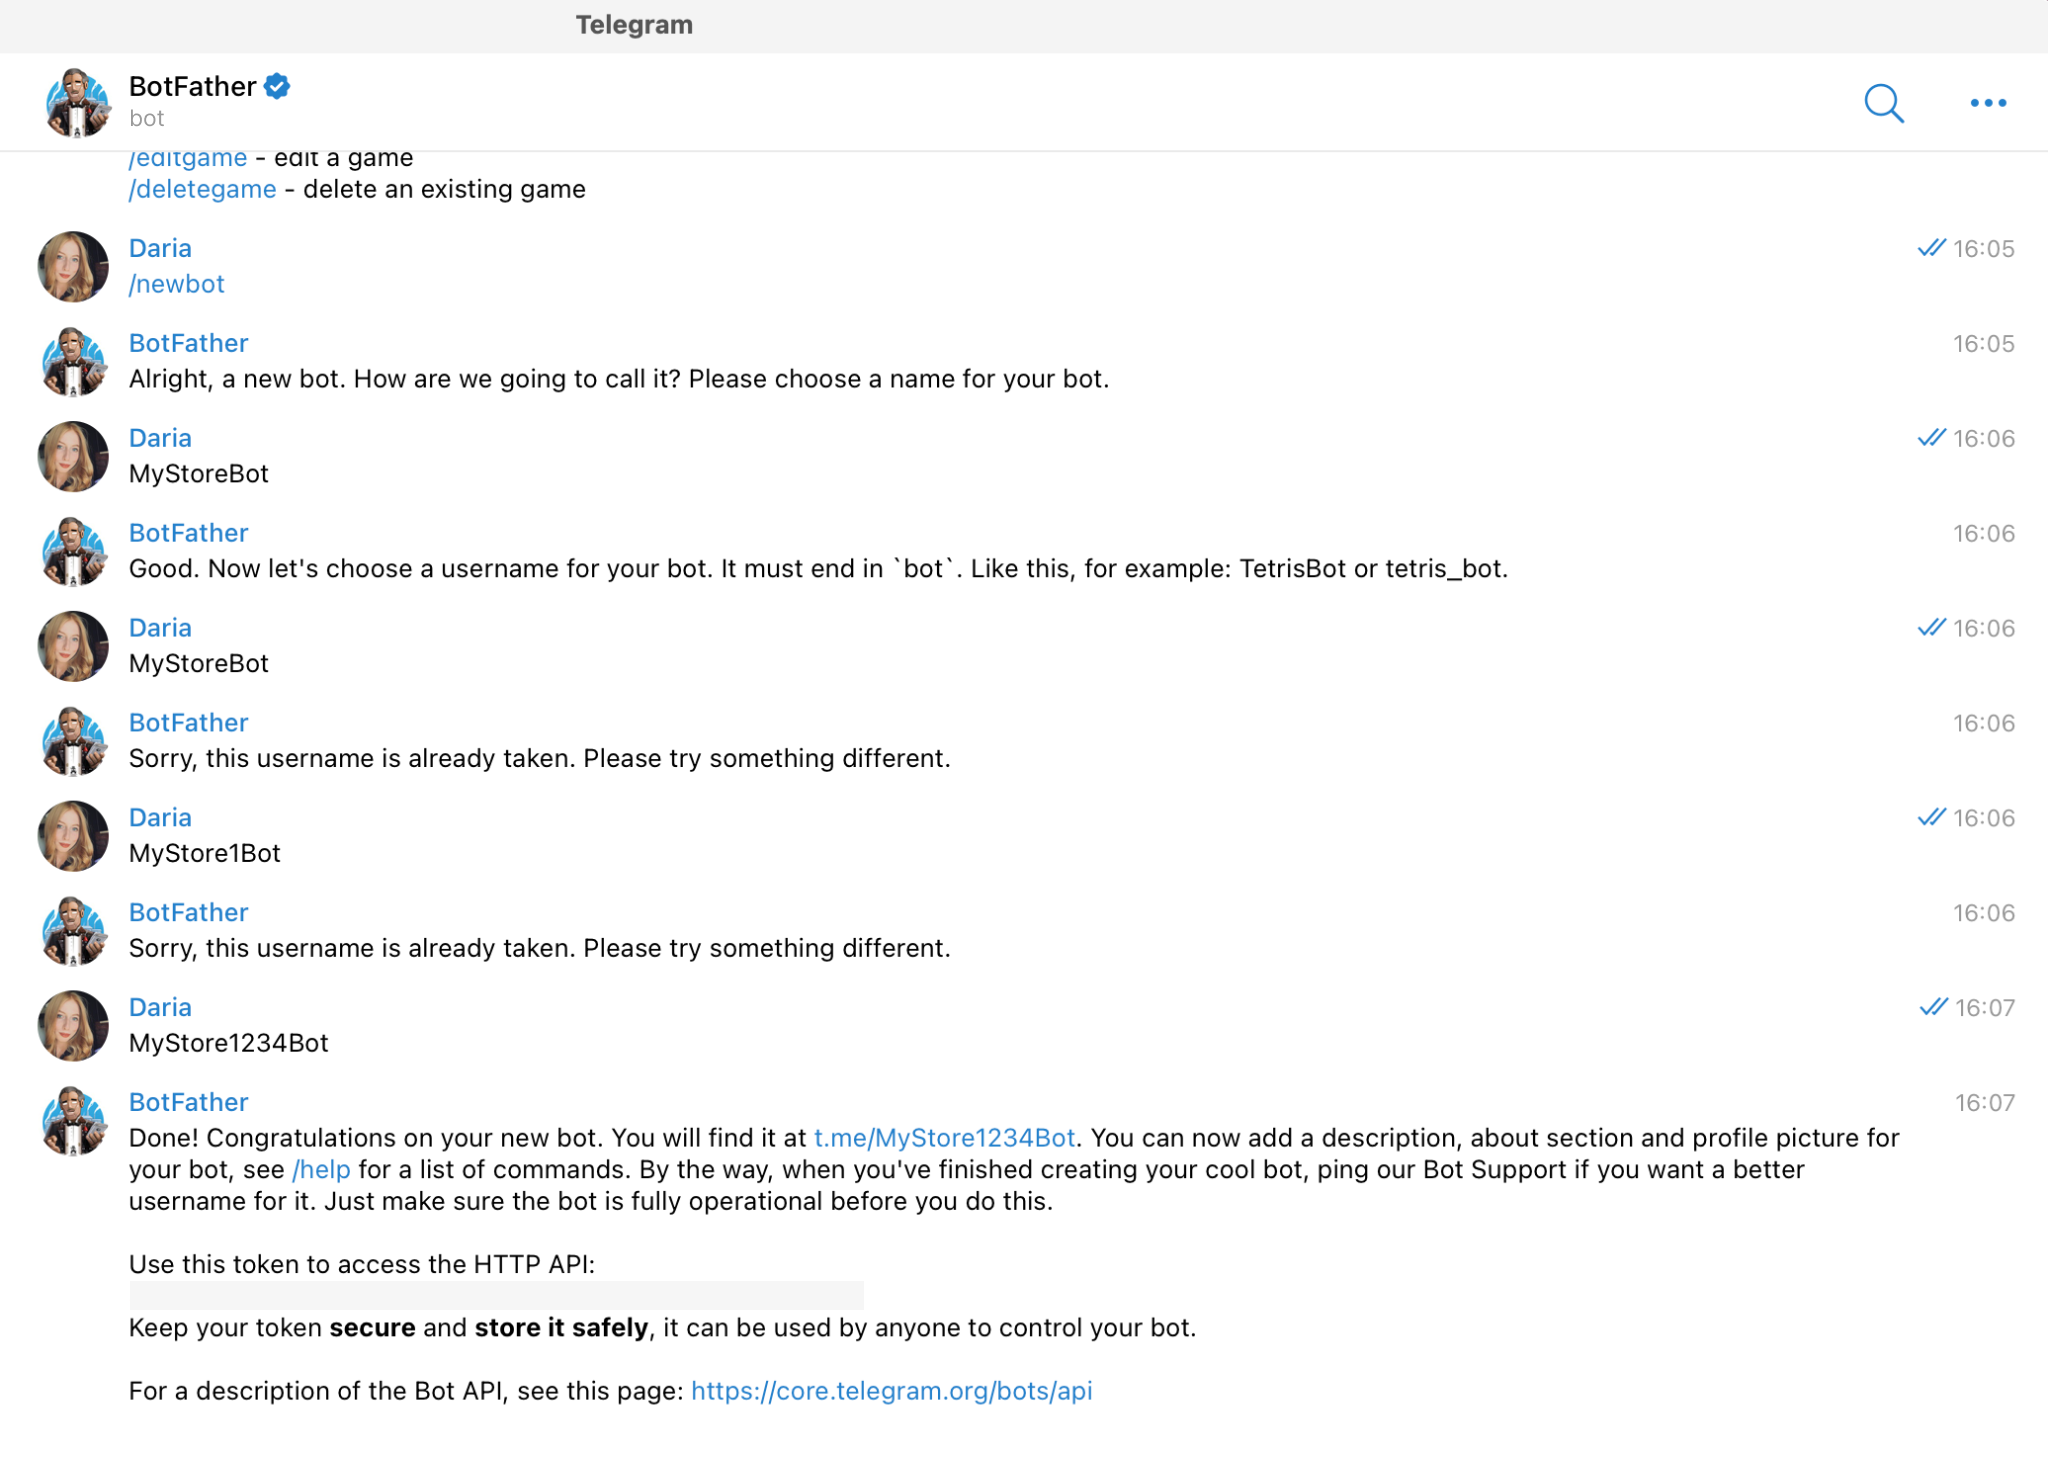
- Congratulations, you have created a Telegram bot! You will need the Telegram bot’s token to set up the integration of the bot with Messaggio.
Link the bot to your Messaggio account by creating a Telegram Sender ID
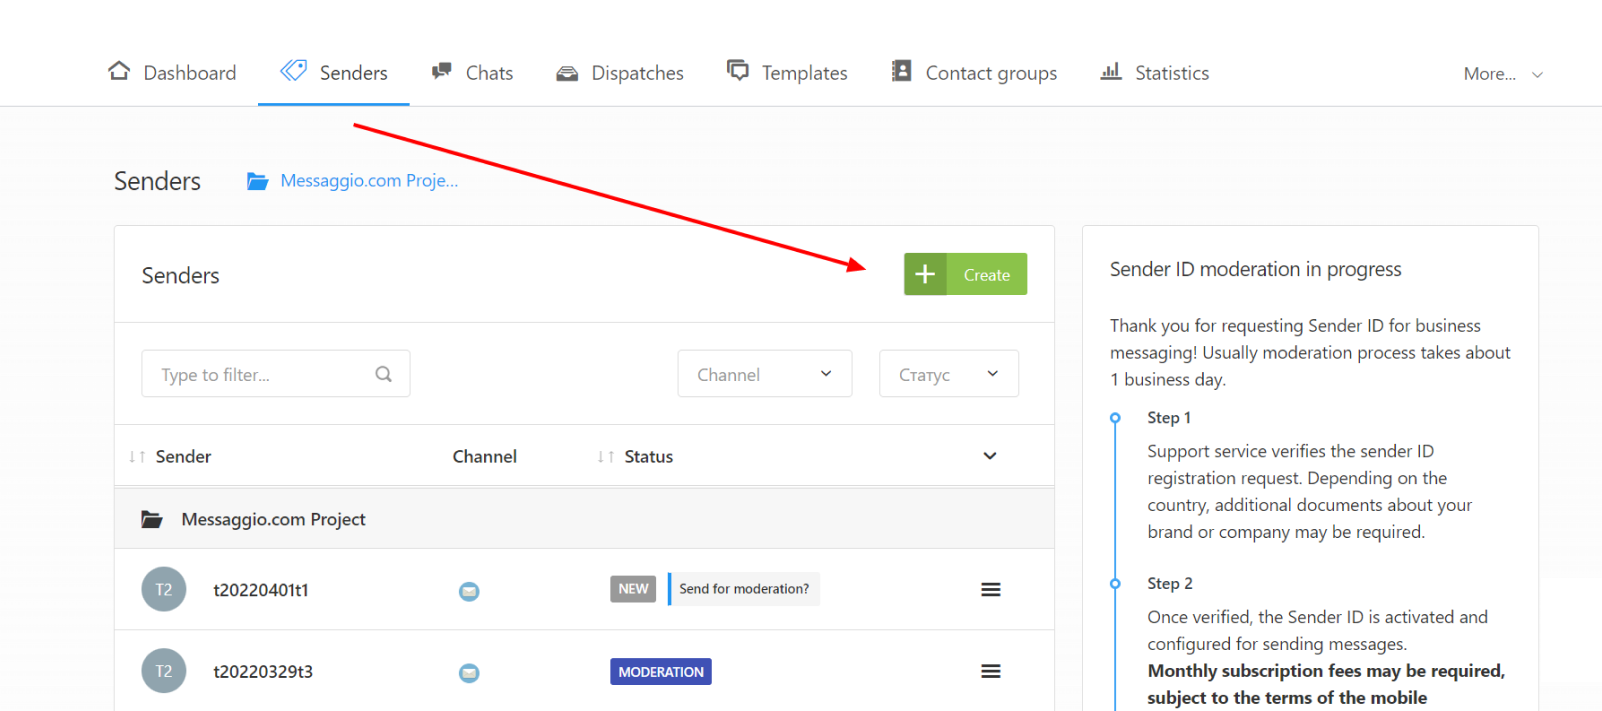
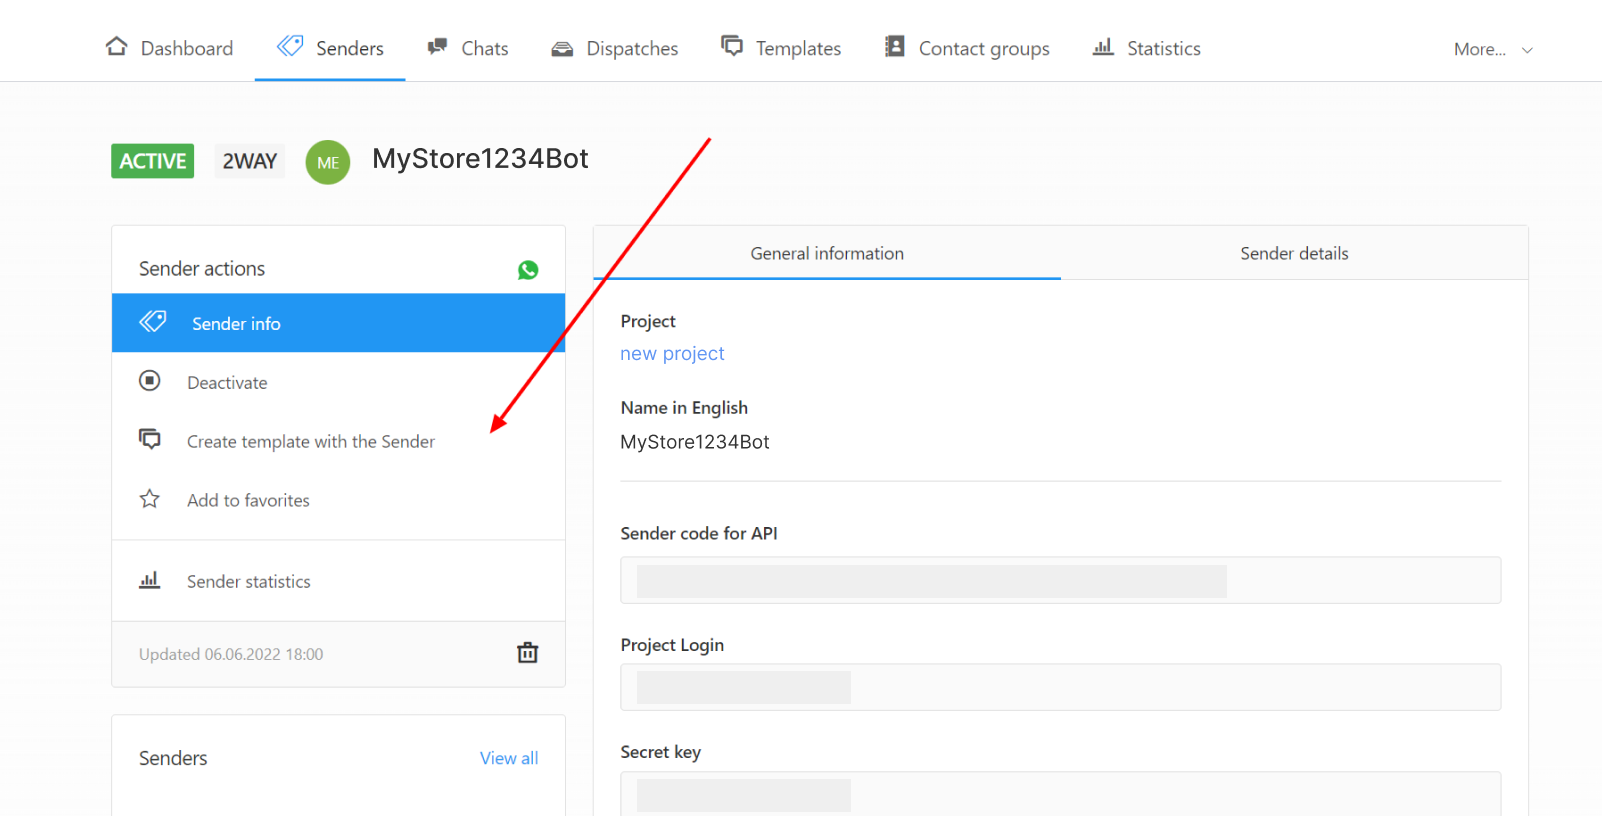
- Sign in to your Messaggio dashboard, go to the Senders section, and click Create.
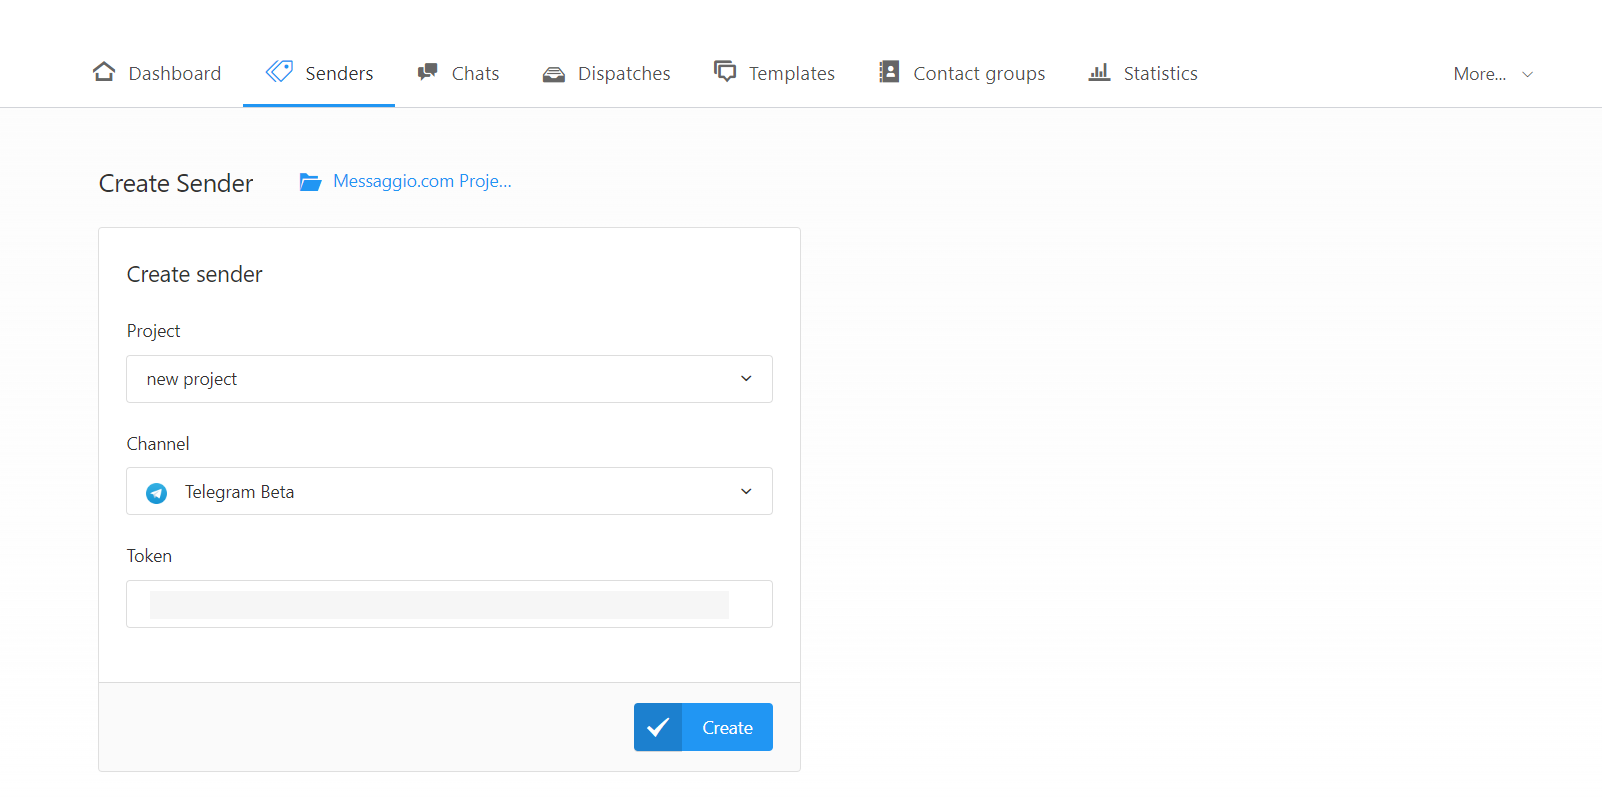
- In the Channel field, select Telegram from the drop-down list. Copy the Telegram bot’s token and add it to the appropriate fields on the Messaggio side.
Create a message template
- Among the Sender actions section, select Create template with the Sender.
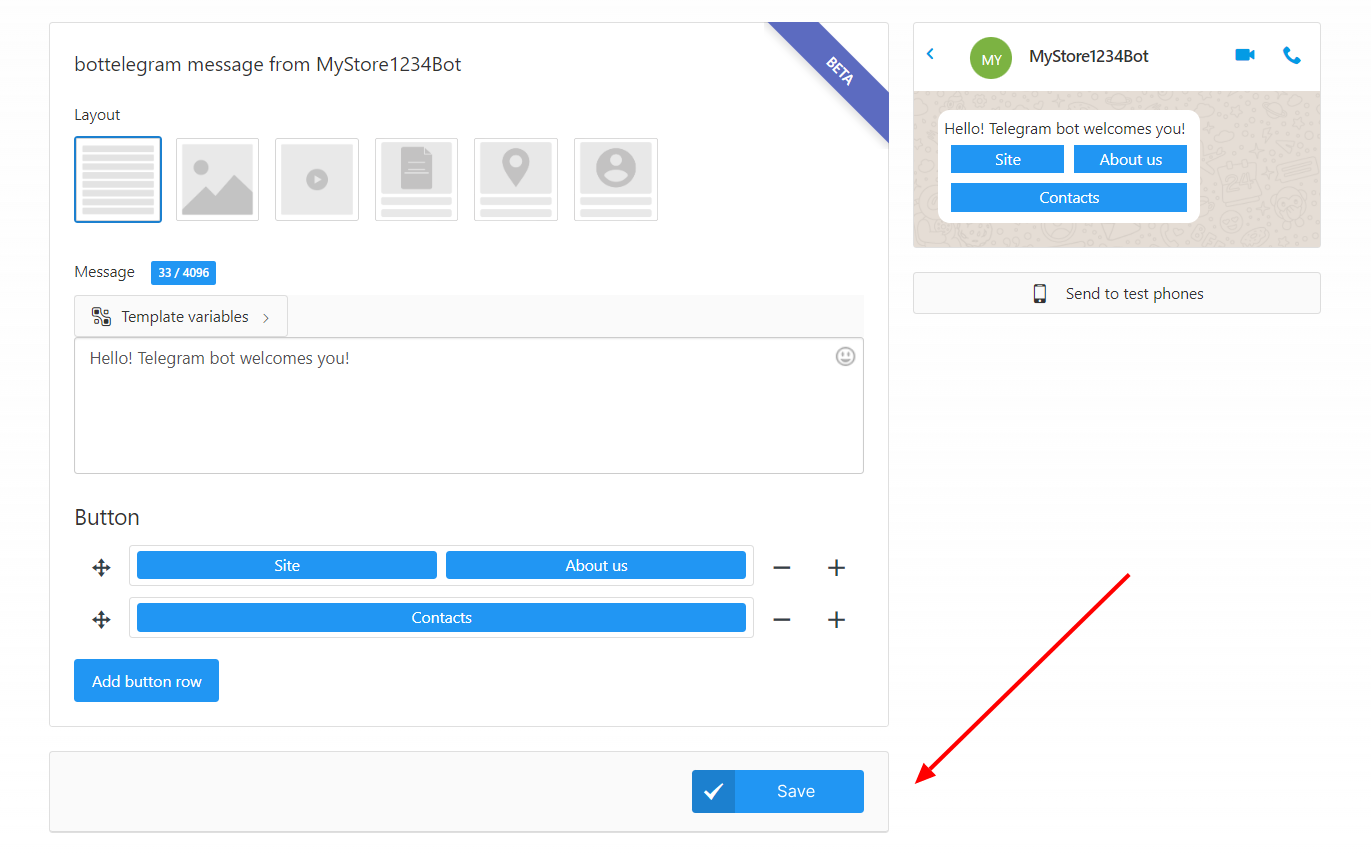
- Choose the appropriate template layout. Add buttons and links. Click Create.
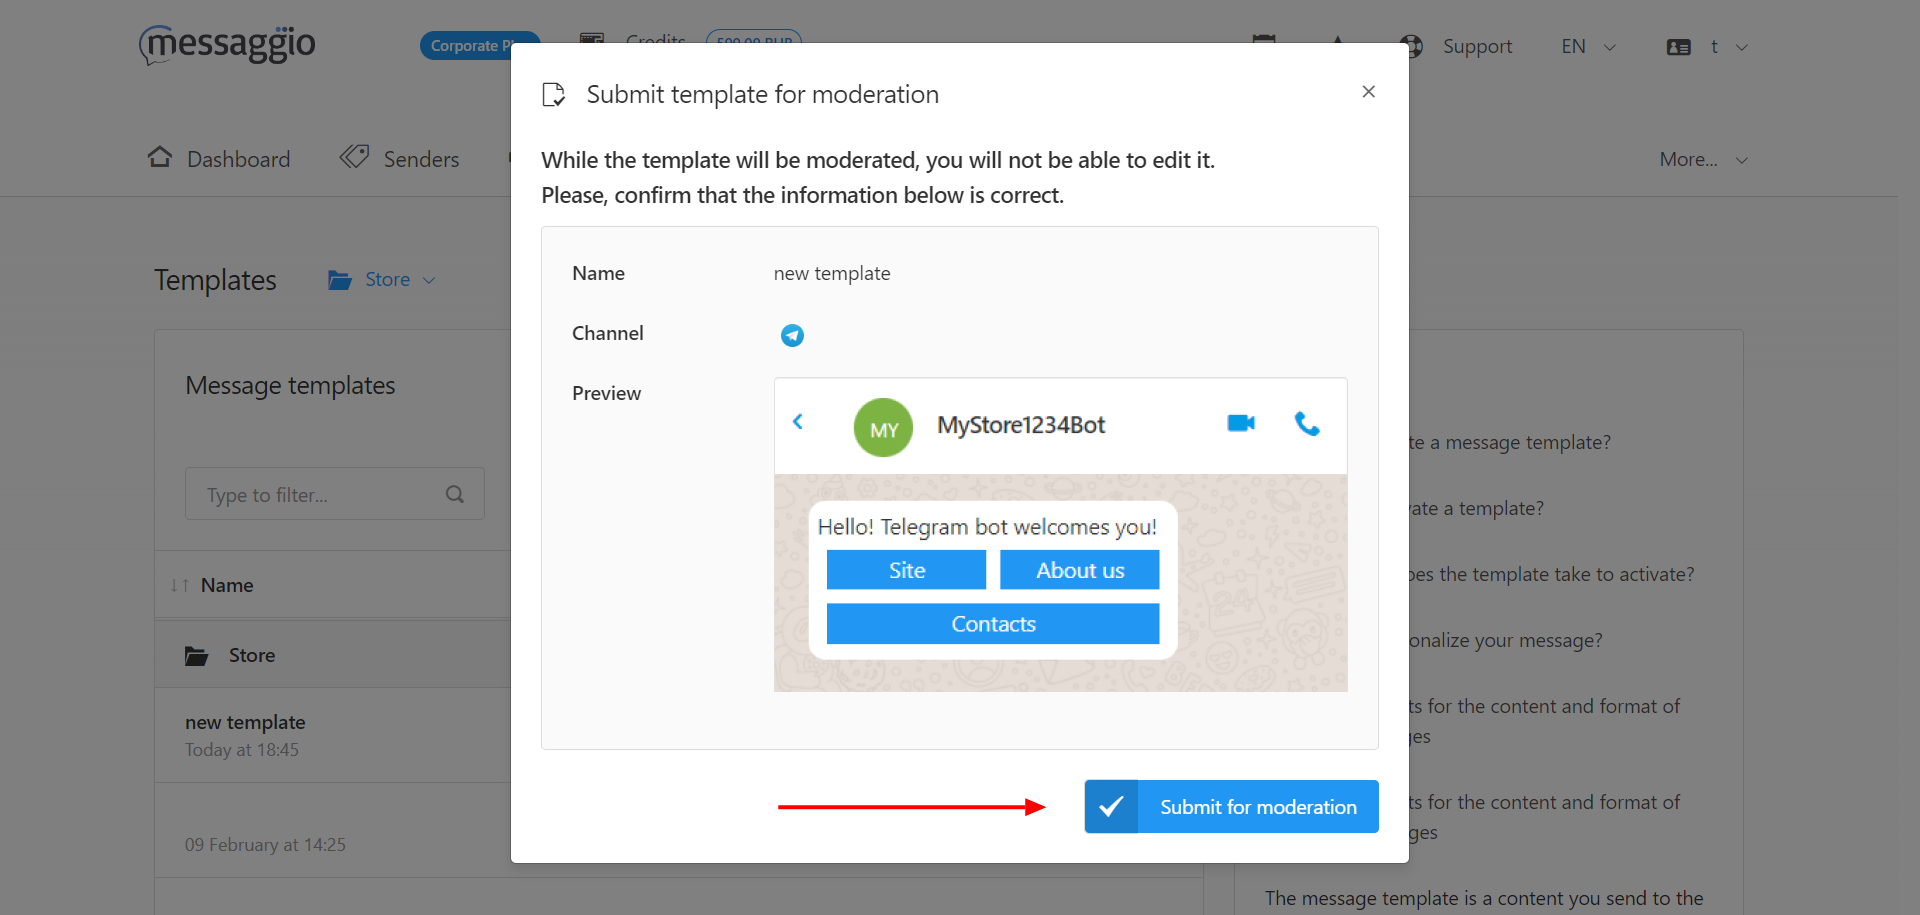
- Submit the message template for moderation. The Messaggio support service will check the template for compliance with the Telegram rules within 2 working days. The ACTIVE status will appear next to the approved template.
Telegram bot messaging capabilities in Messaggio
Telegram bot allows you to communicate with customers in 3 ways:
- Sending messages on behalf of the bot to the Telegram channel.
- Sending messages on behalf of the bot to the Telegram group.
- Sending messages to a personal Telegram chat with a user who subscribed to the bot.
Let’s look at how to set up the Telegram bot for each communication method.
Messaging to the Telegram channel / Telegram group
Add the bot to the Telegram channel / Telegram group
- Go to the Telegram channel / Telegram group to which you are going to send messages.
- Click on the channel title, and go to the Subscribers section.
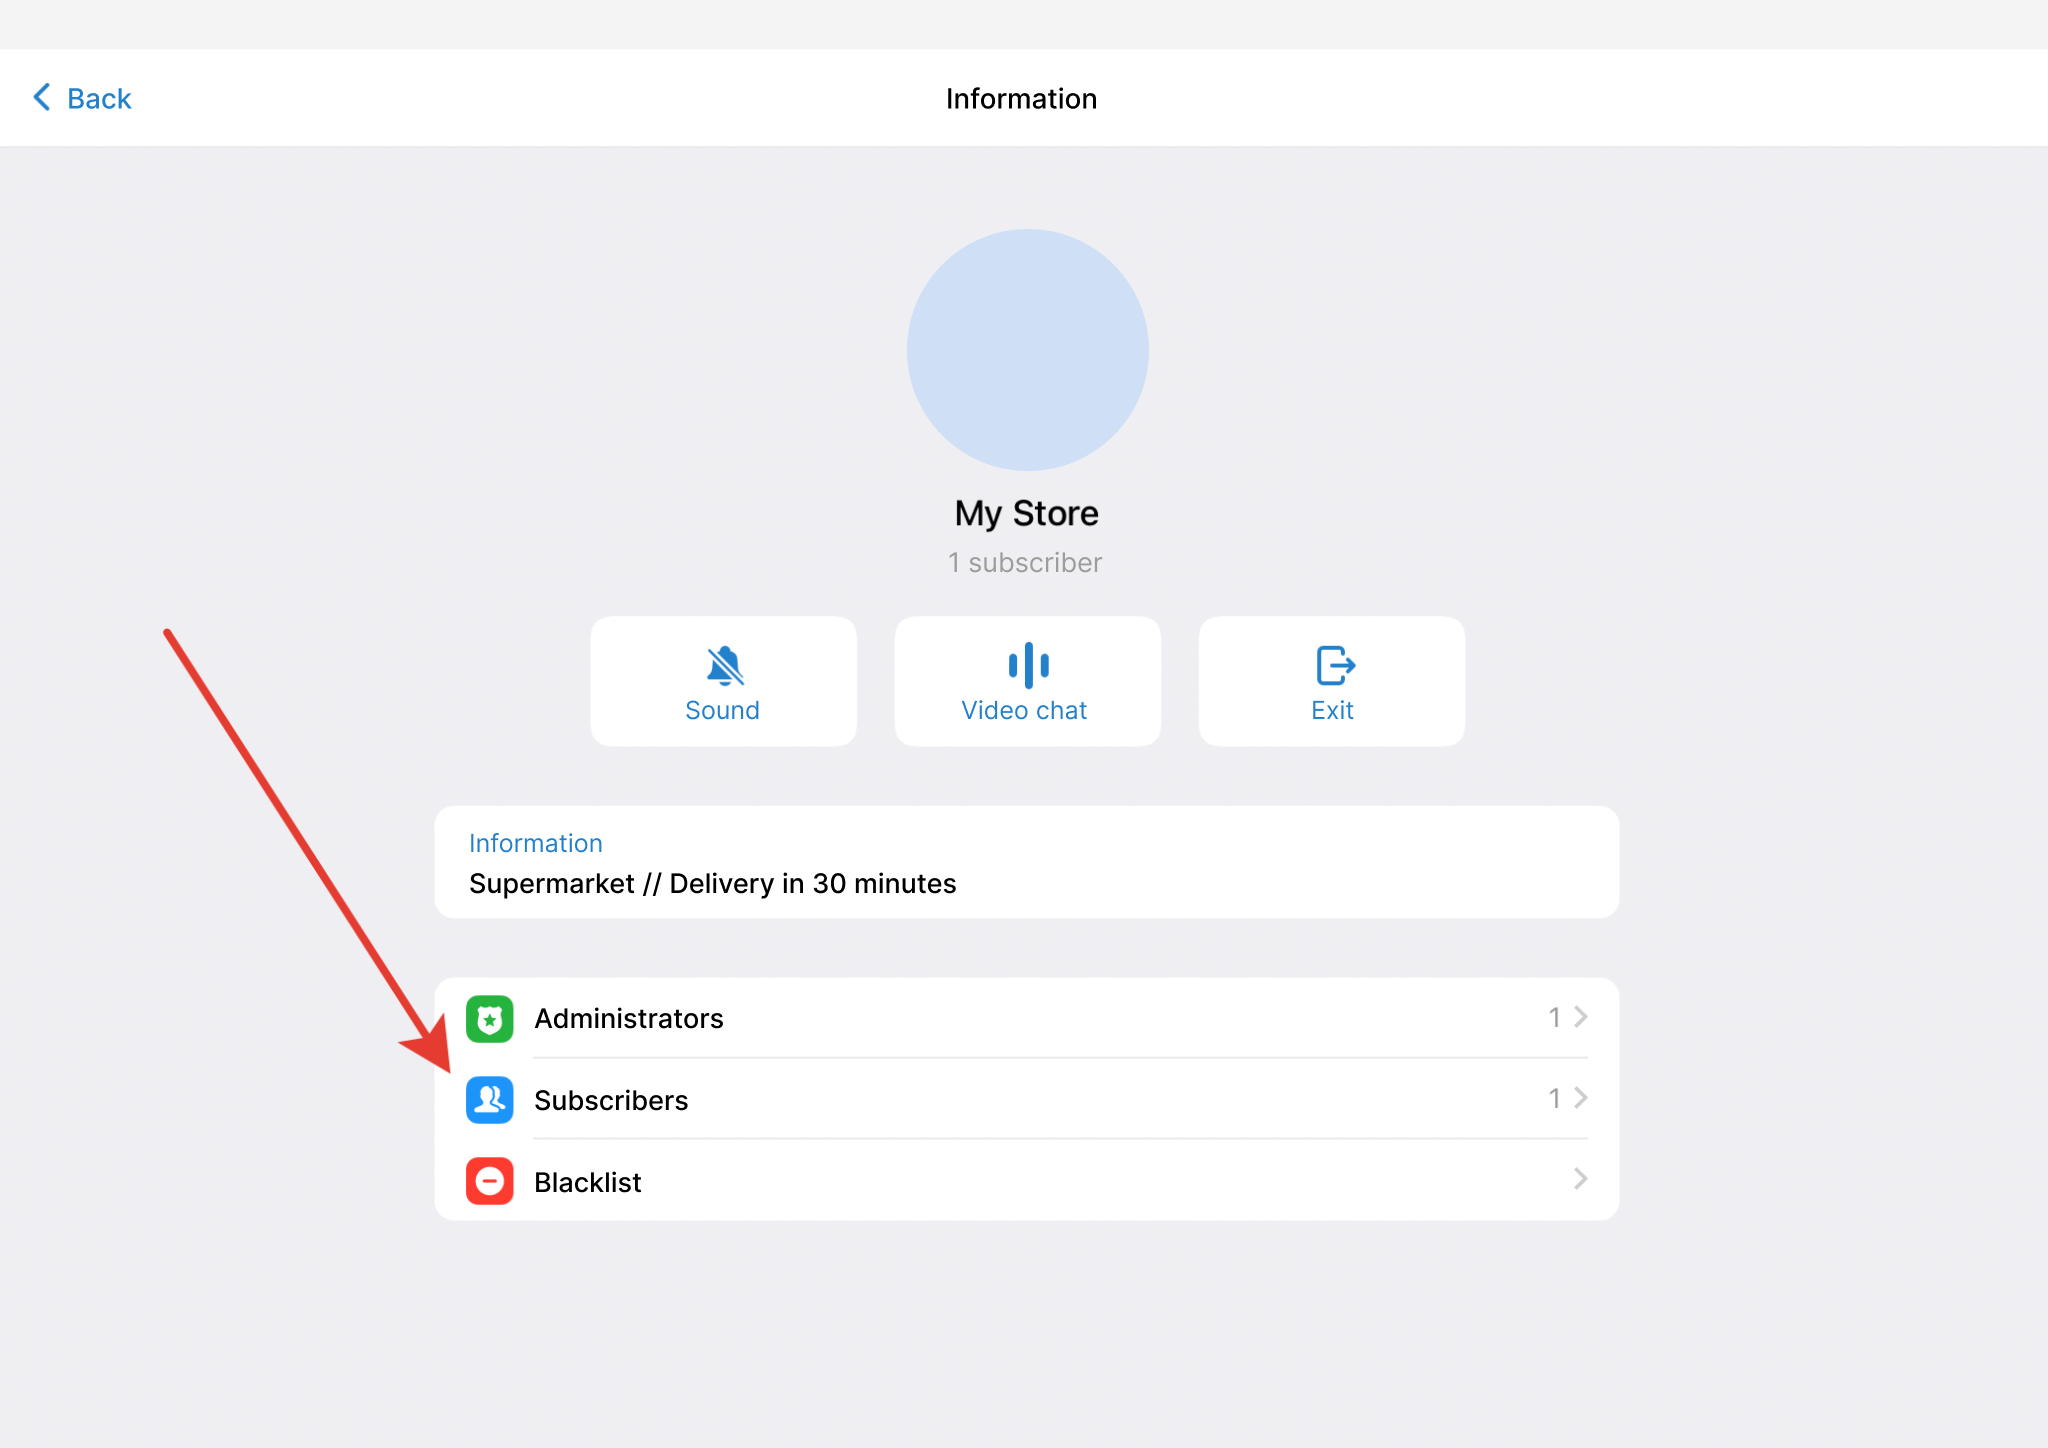
- Click the Add Subscribers button. Find the previously created bot in the search and click Add.
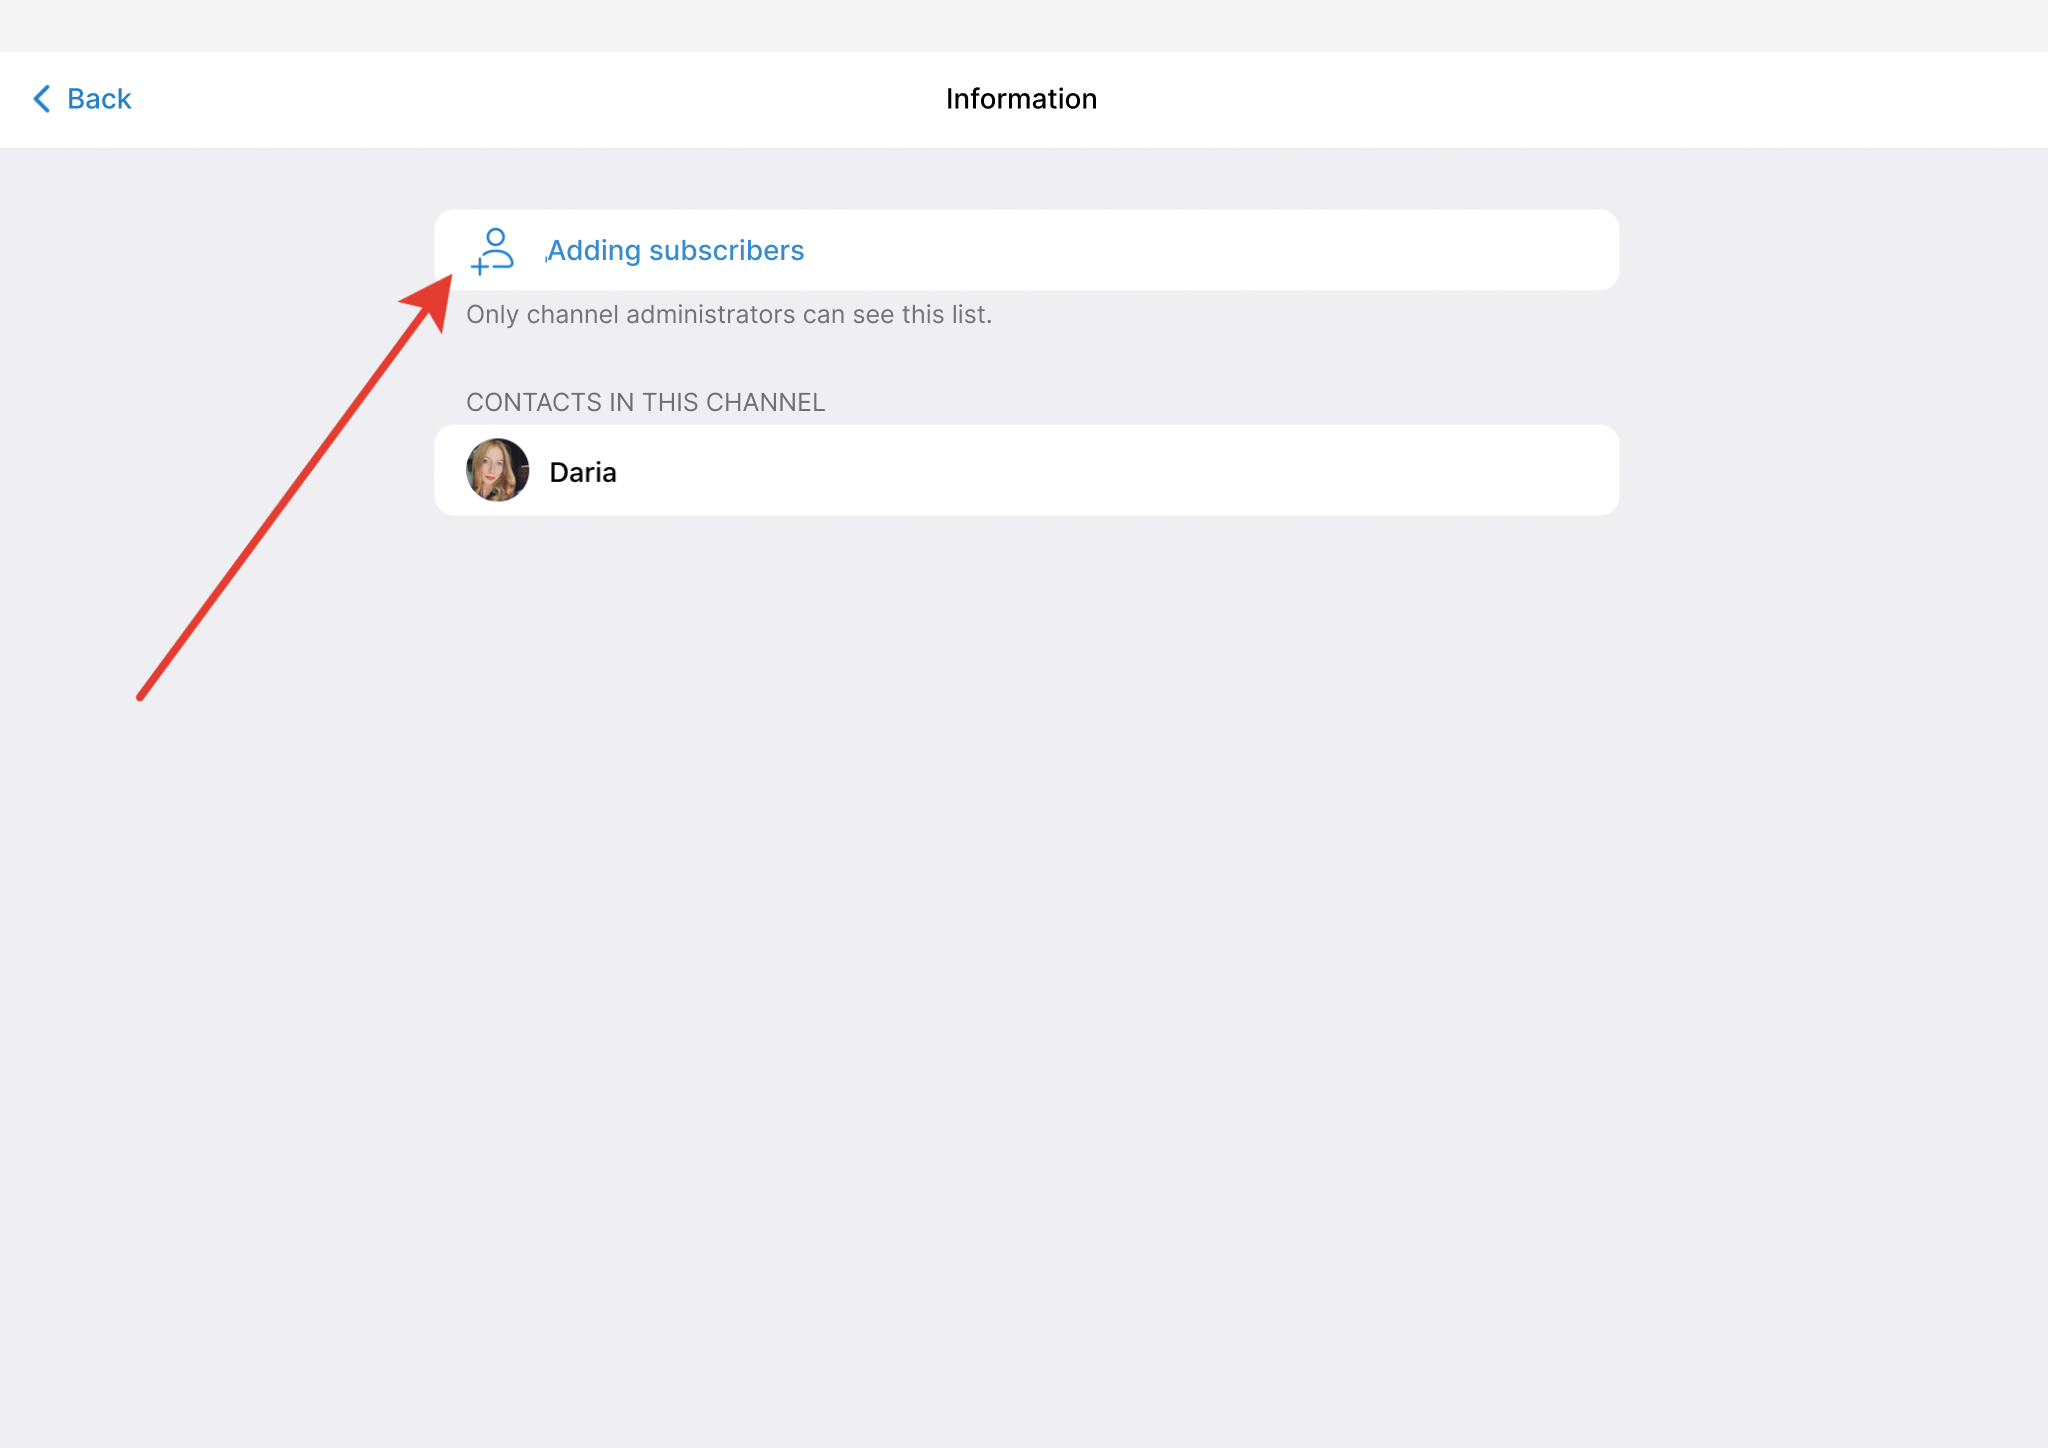
Now the bot can send messages to the Telegram channel / group on its own behalf.
Launch messaging campaign to subscribers of the channel / group
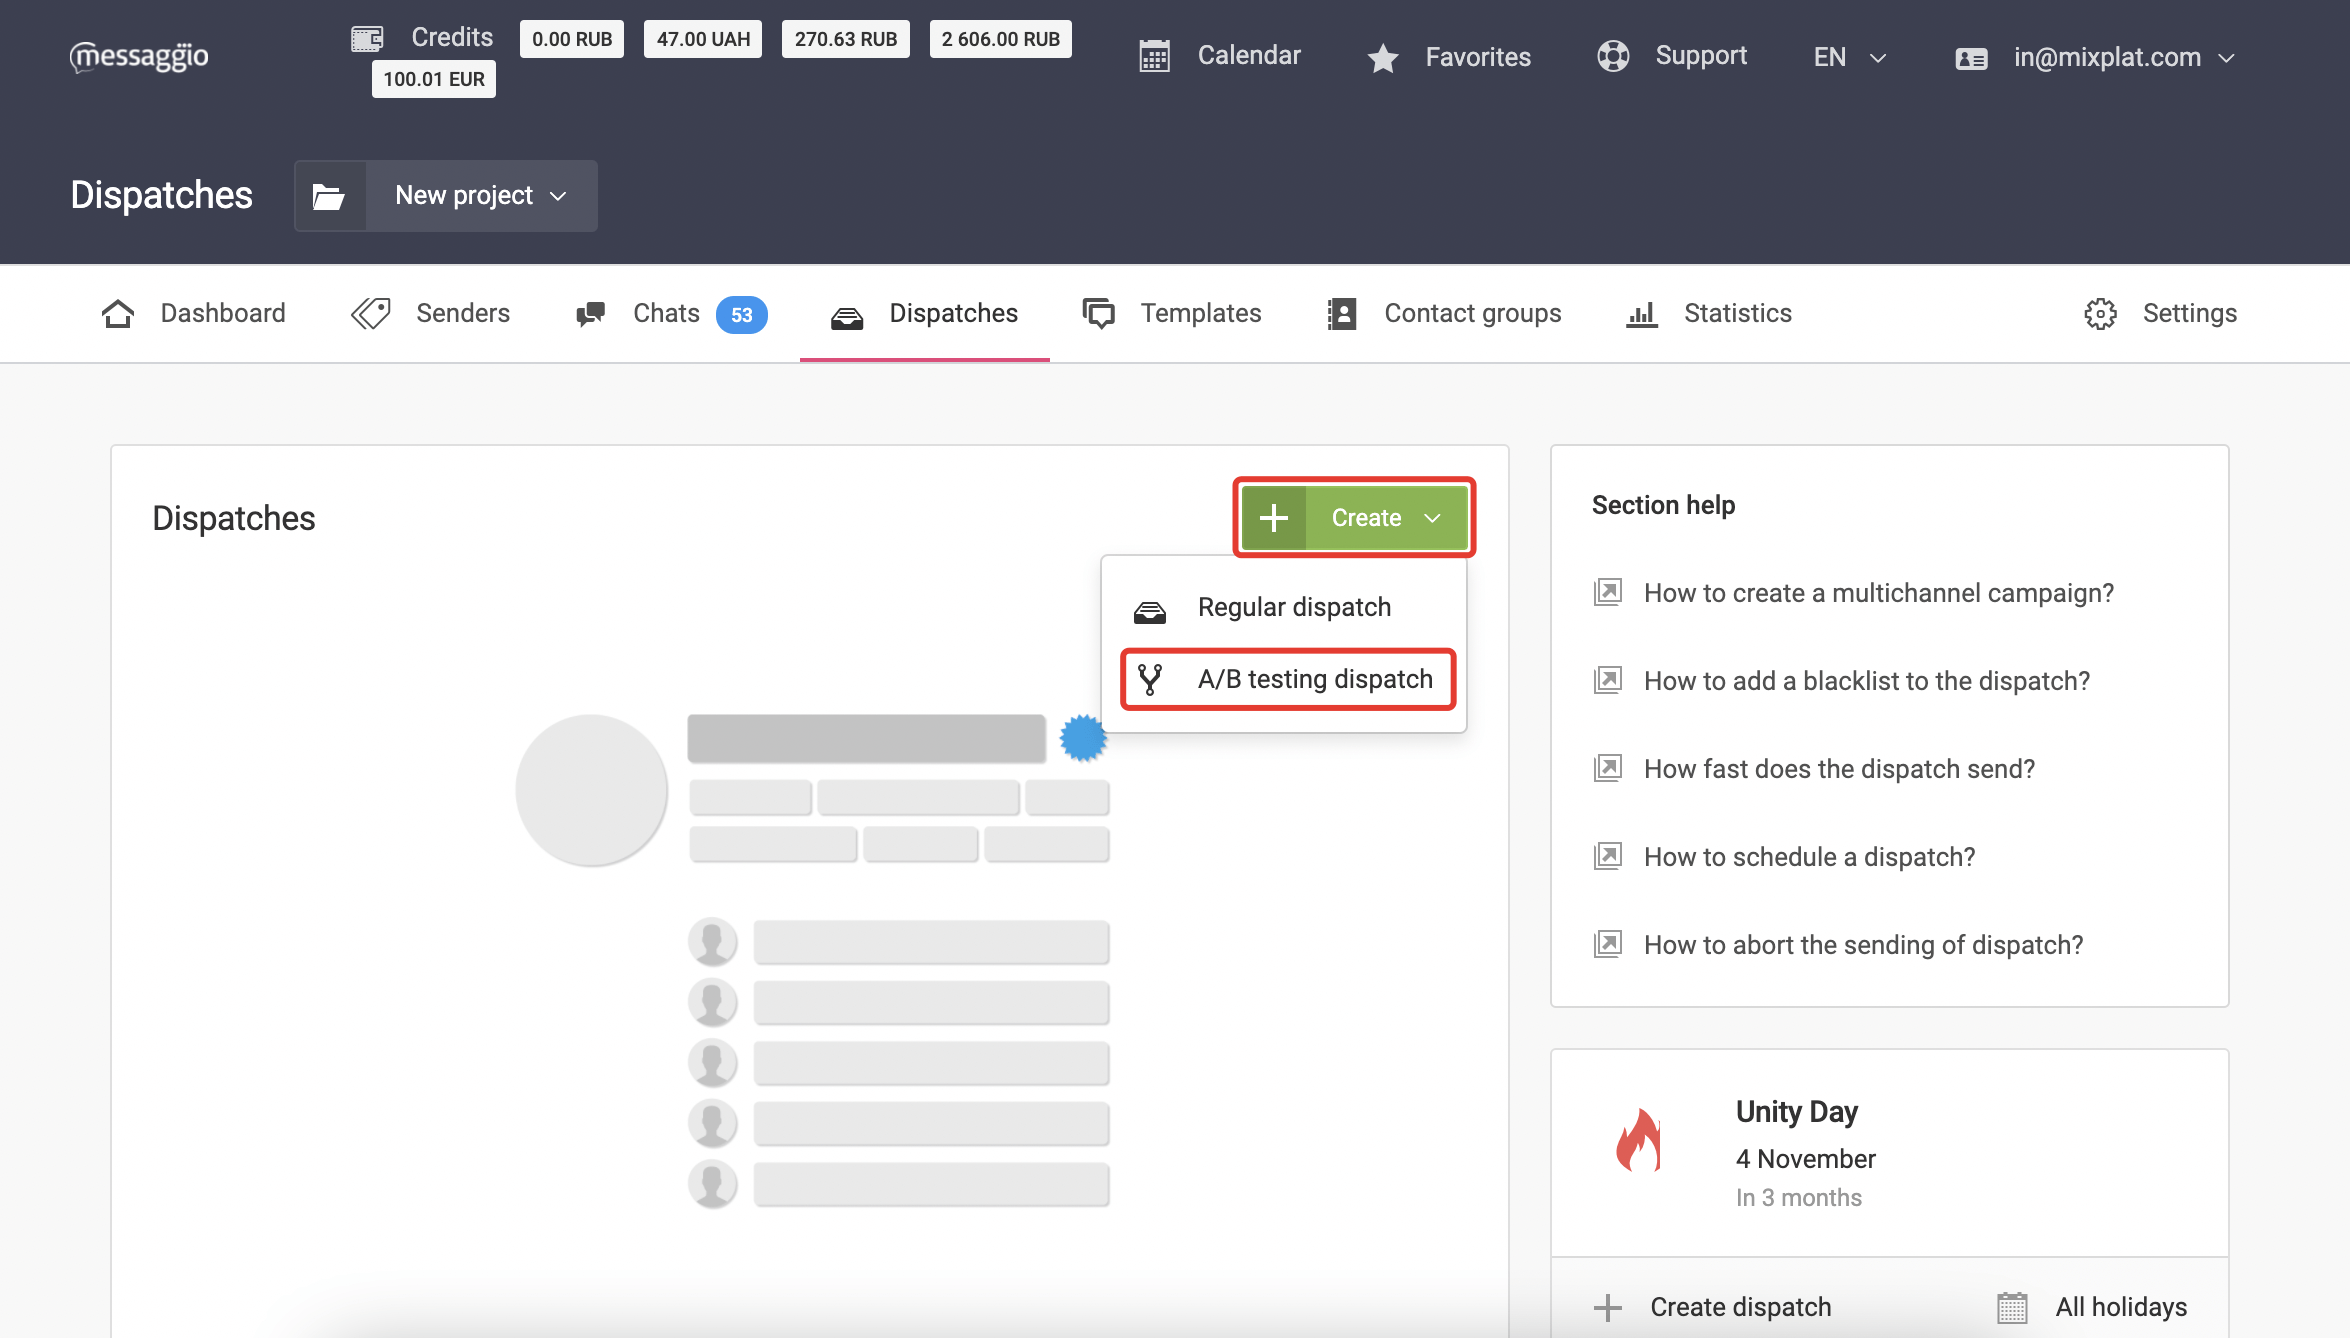
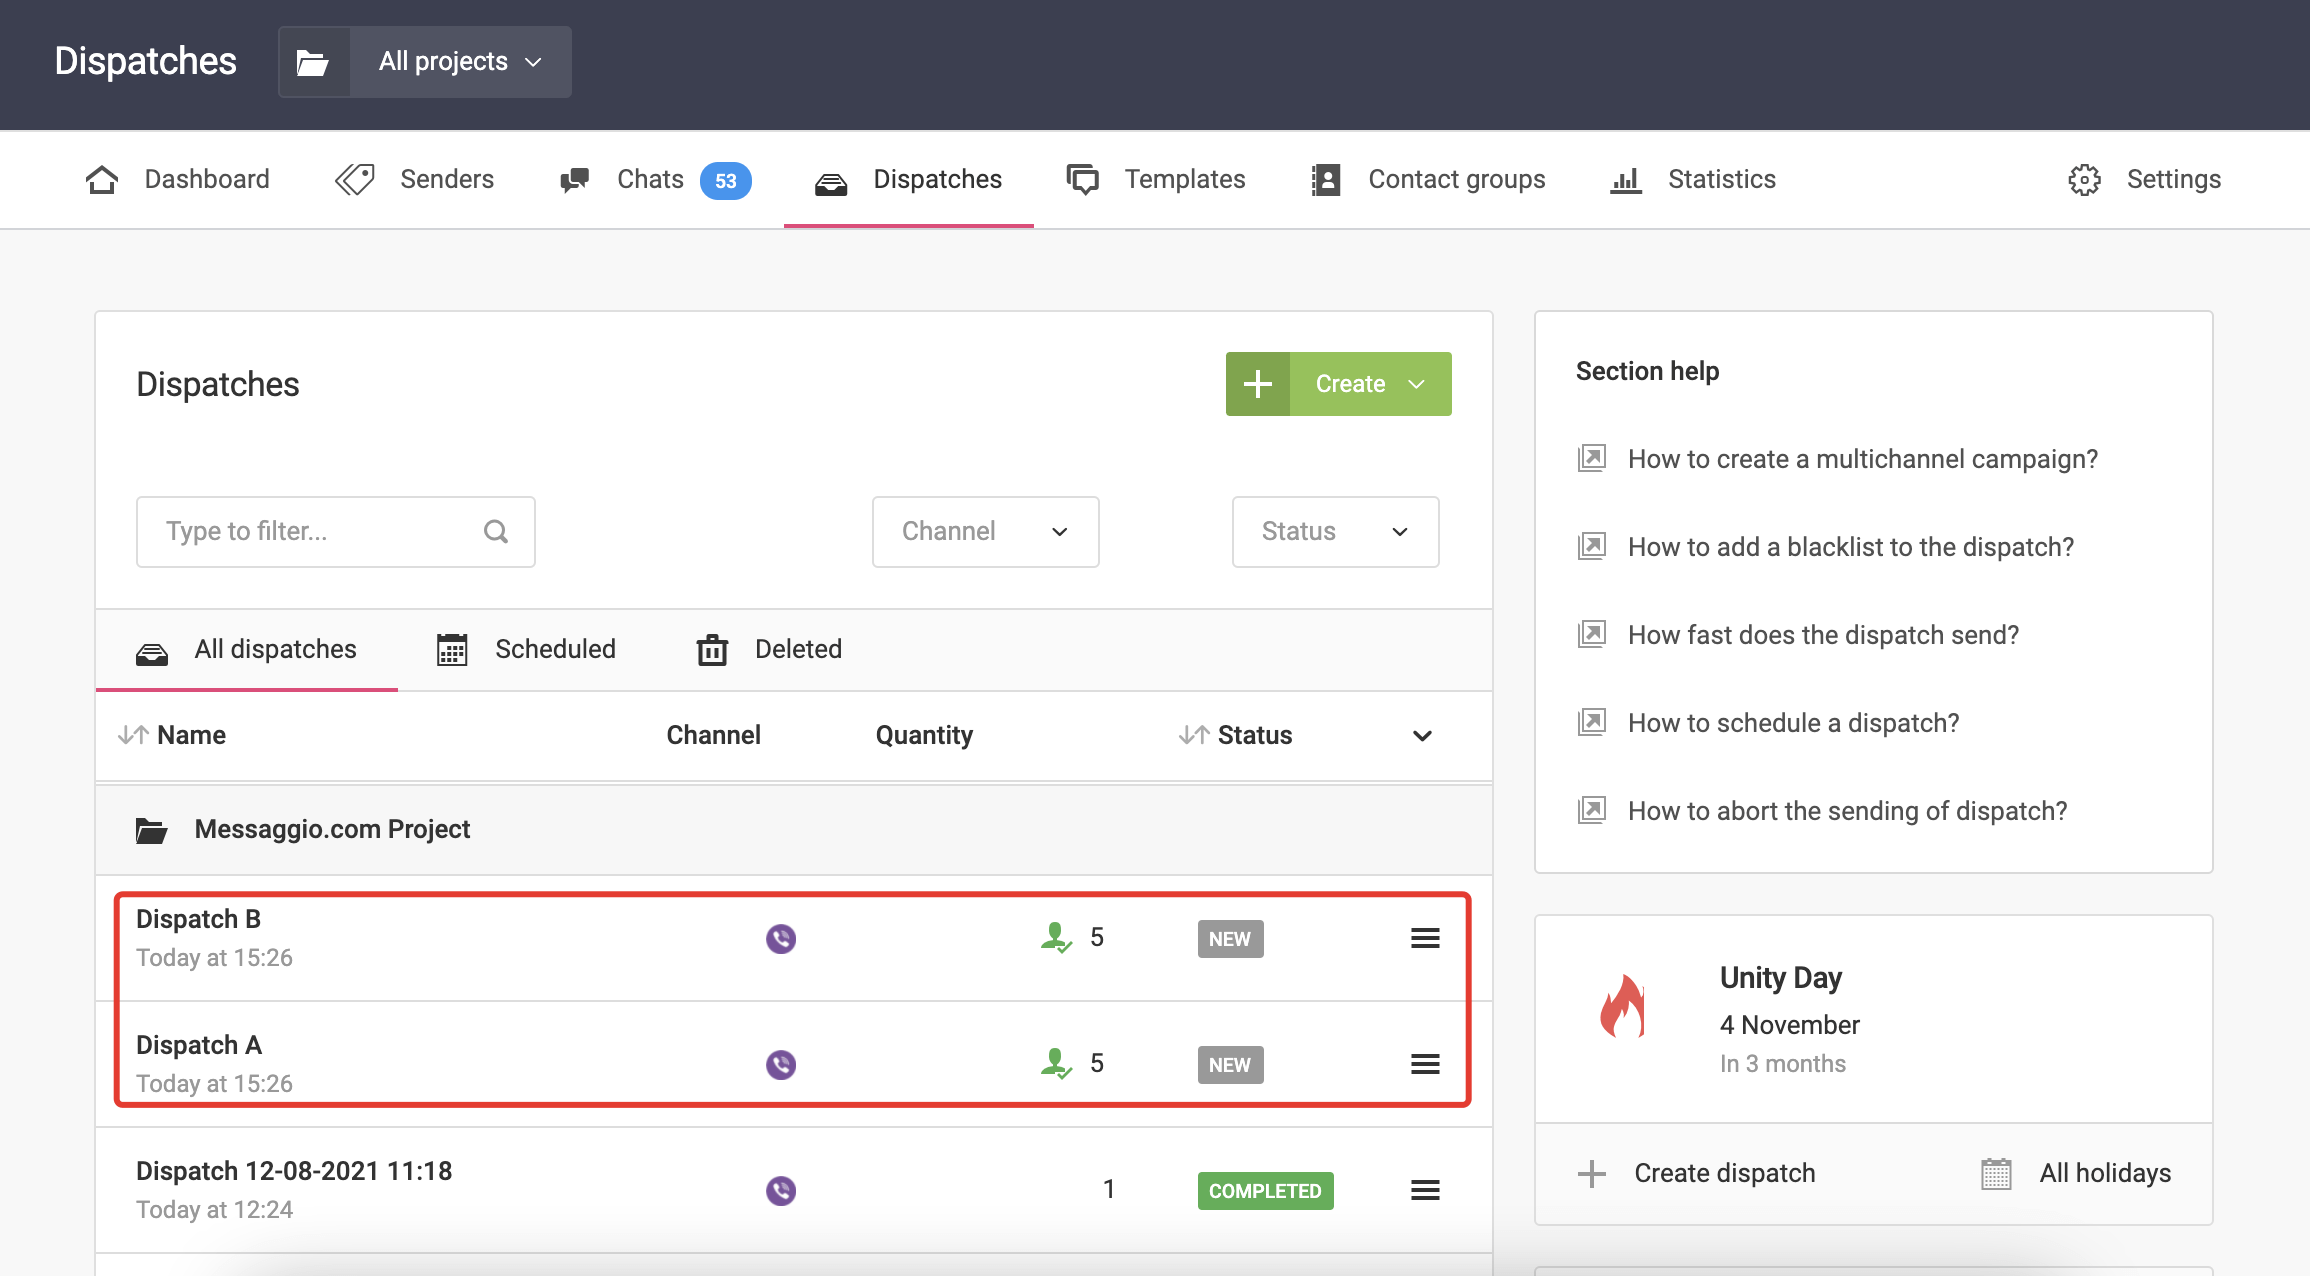
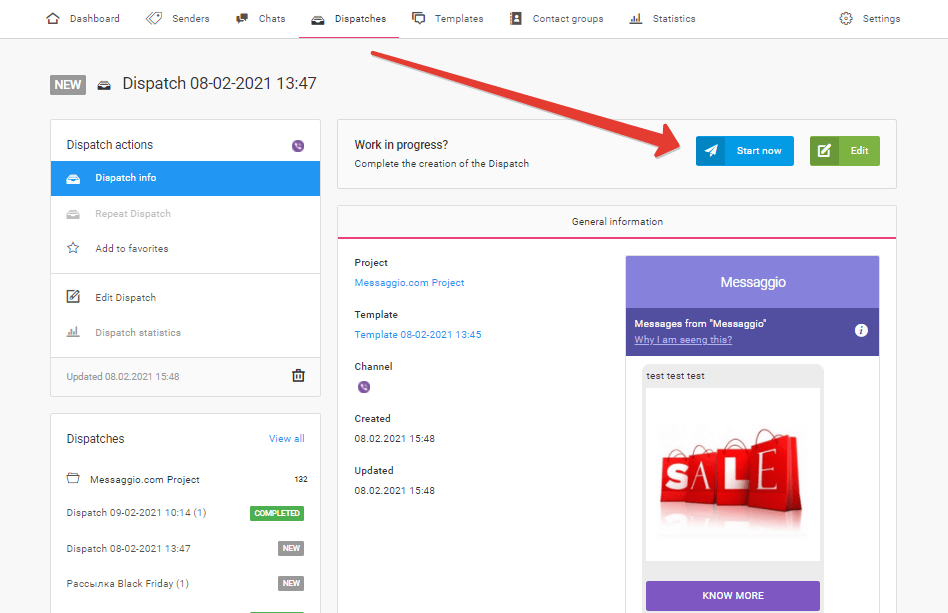
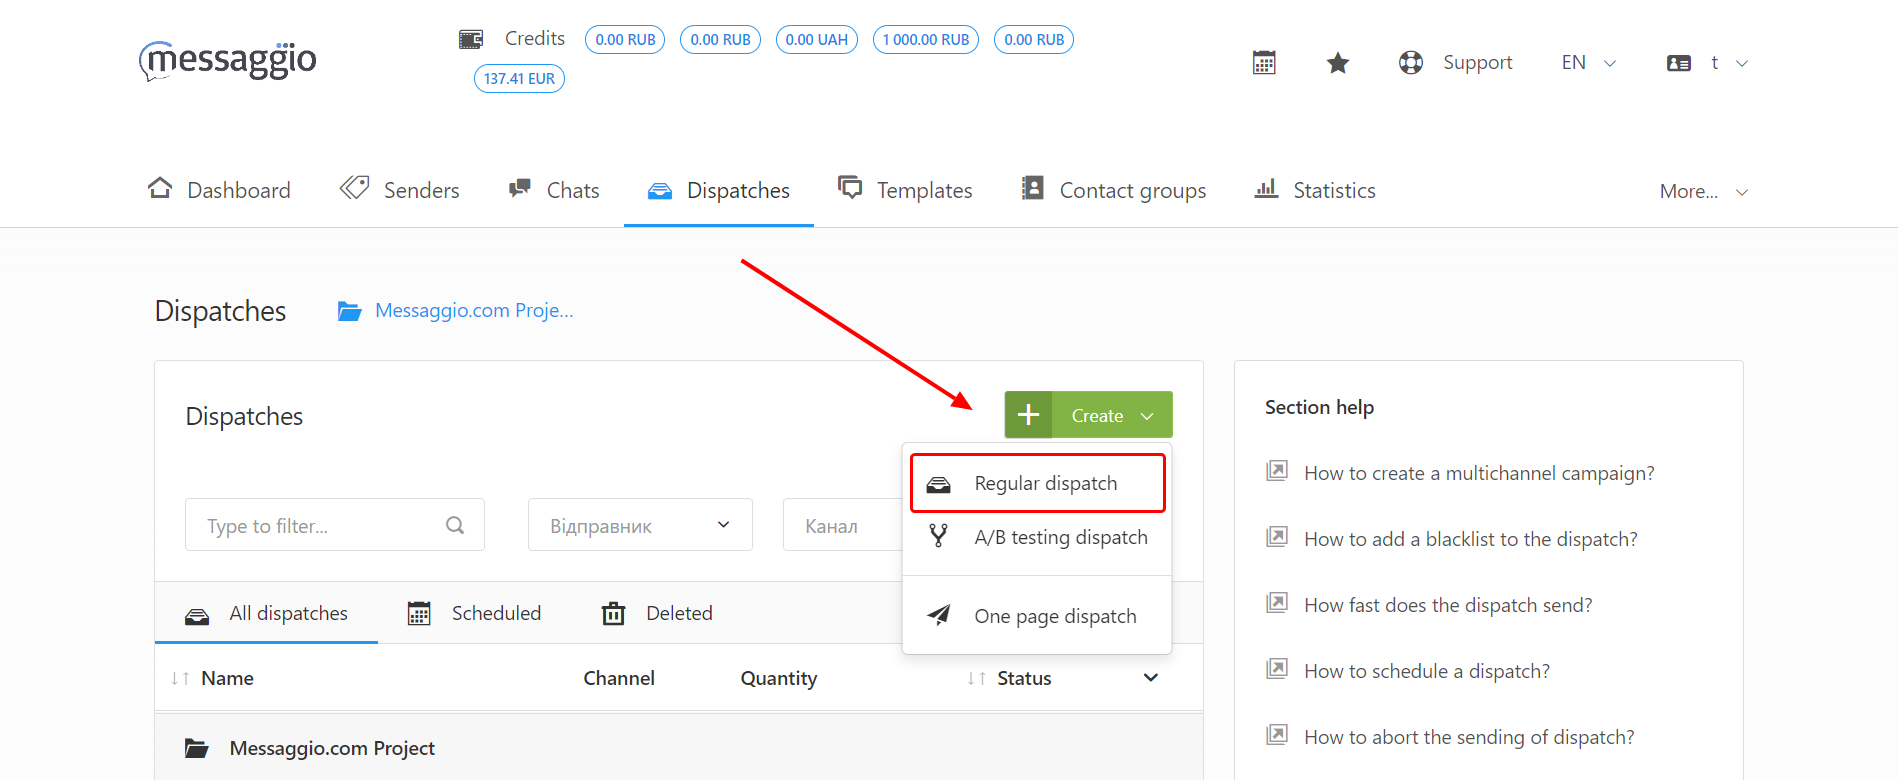
- In your Messaggio dashboard, go to the Dispatches section and click Create — Regular dispatch.
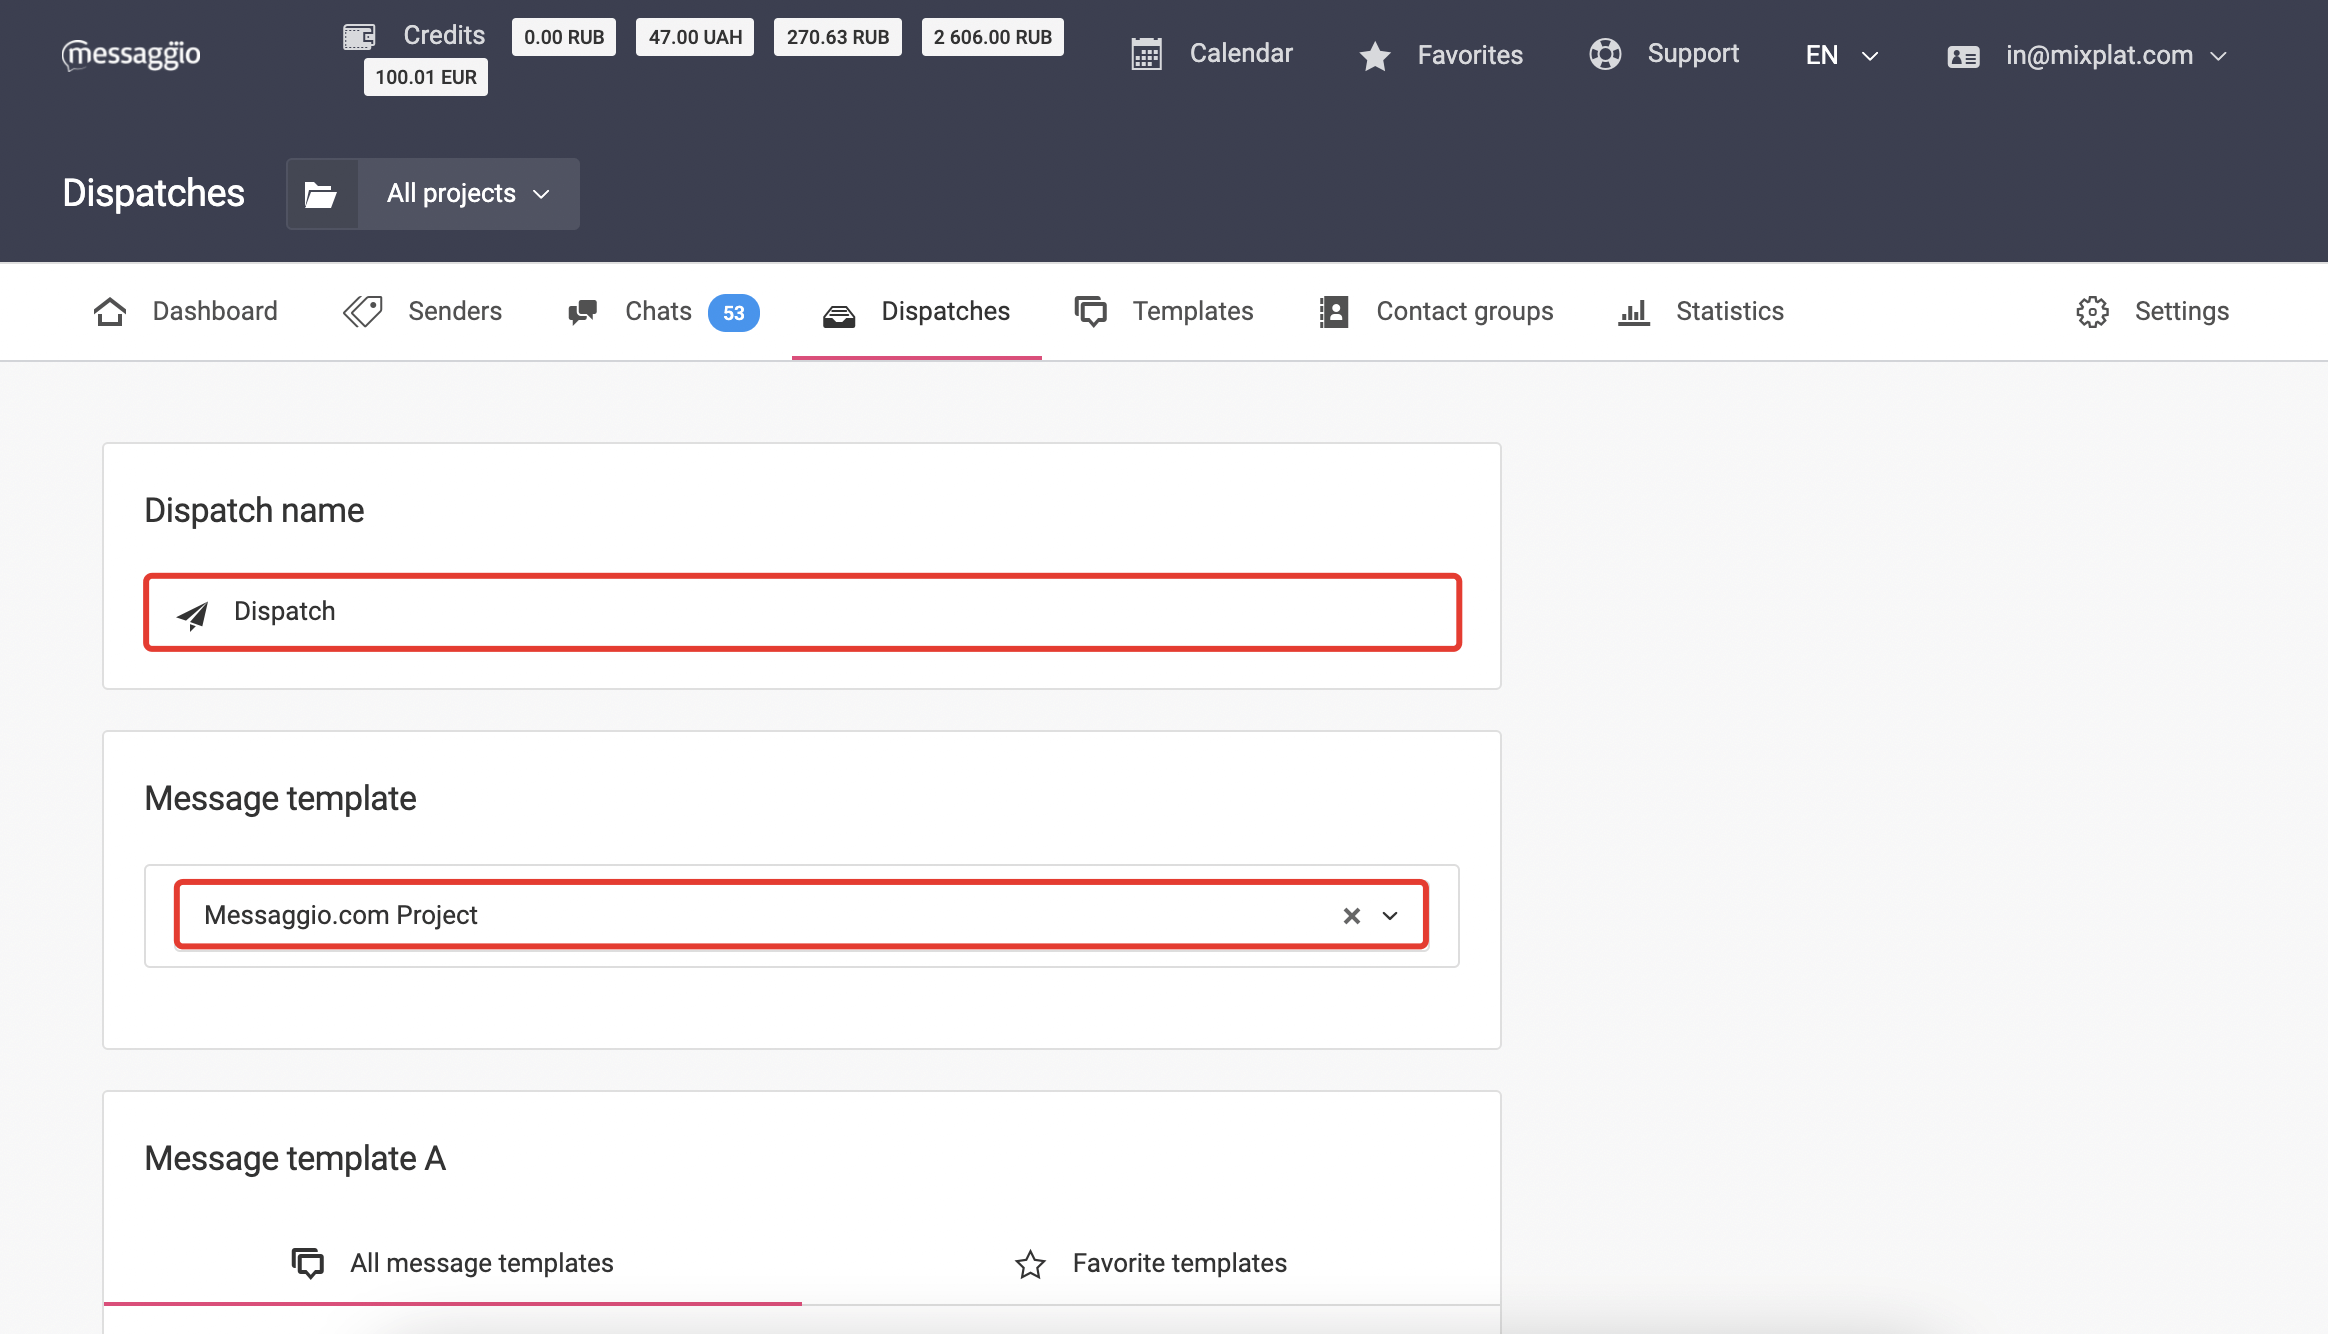
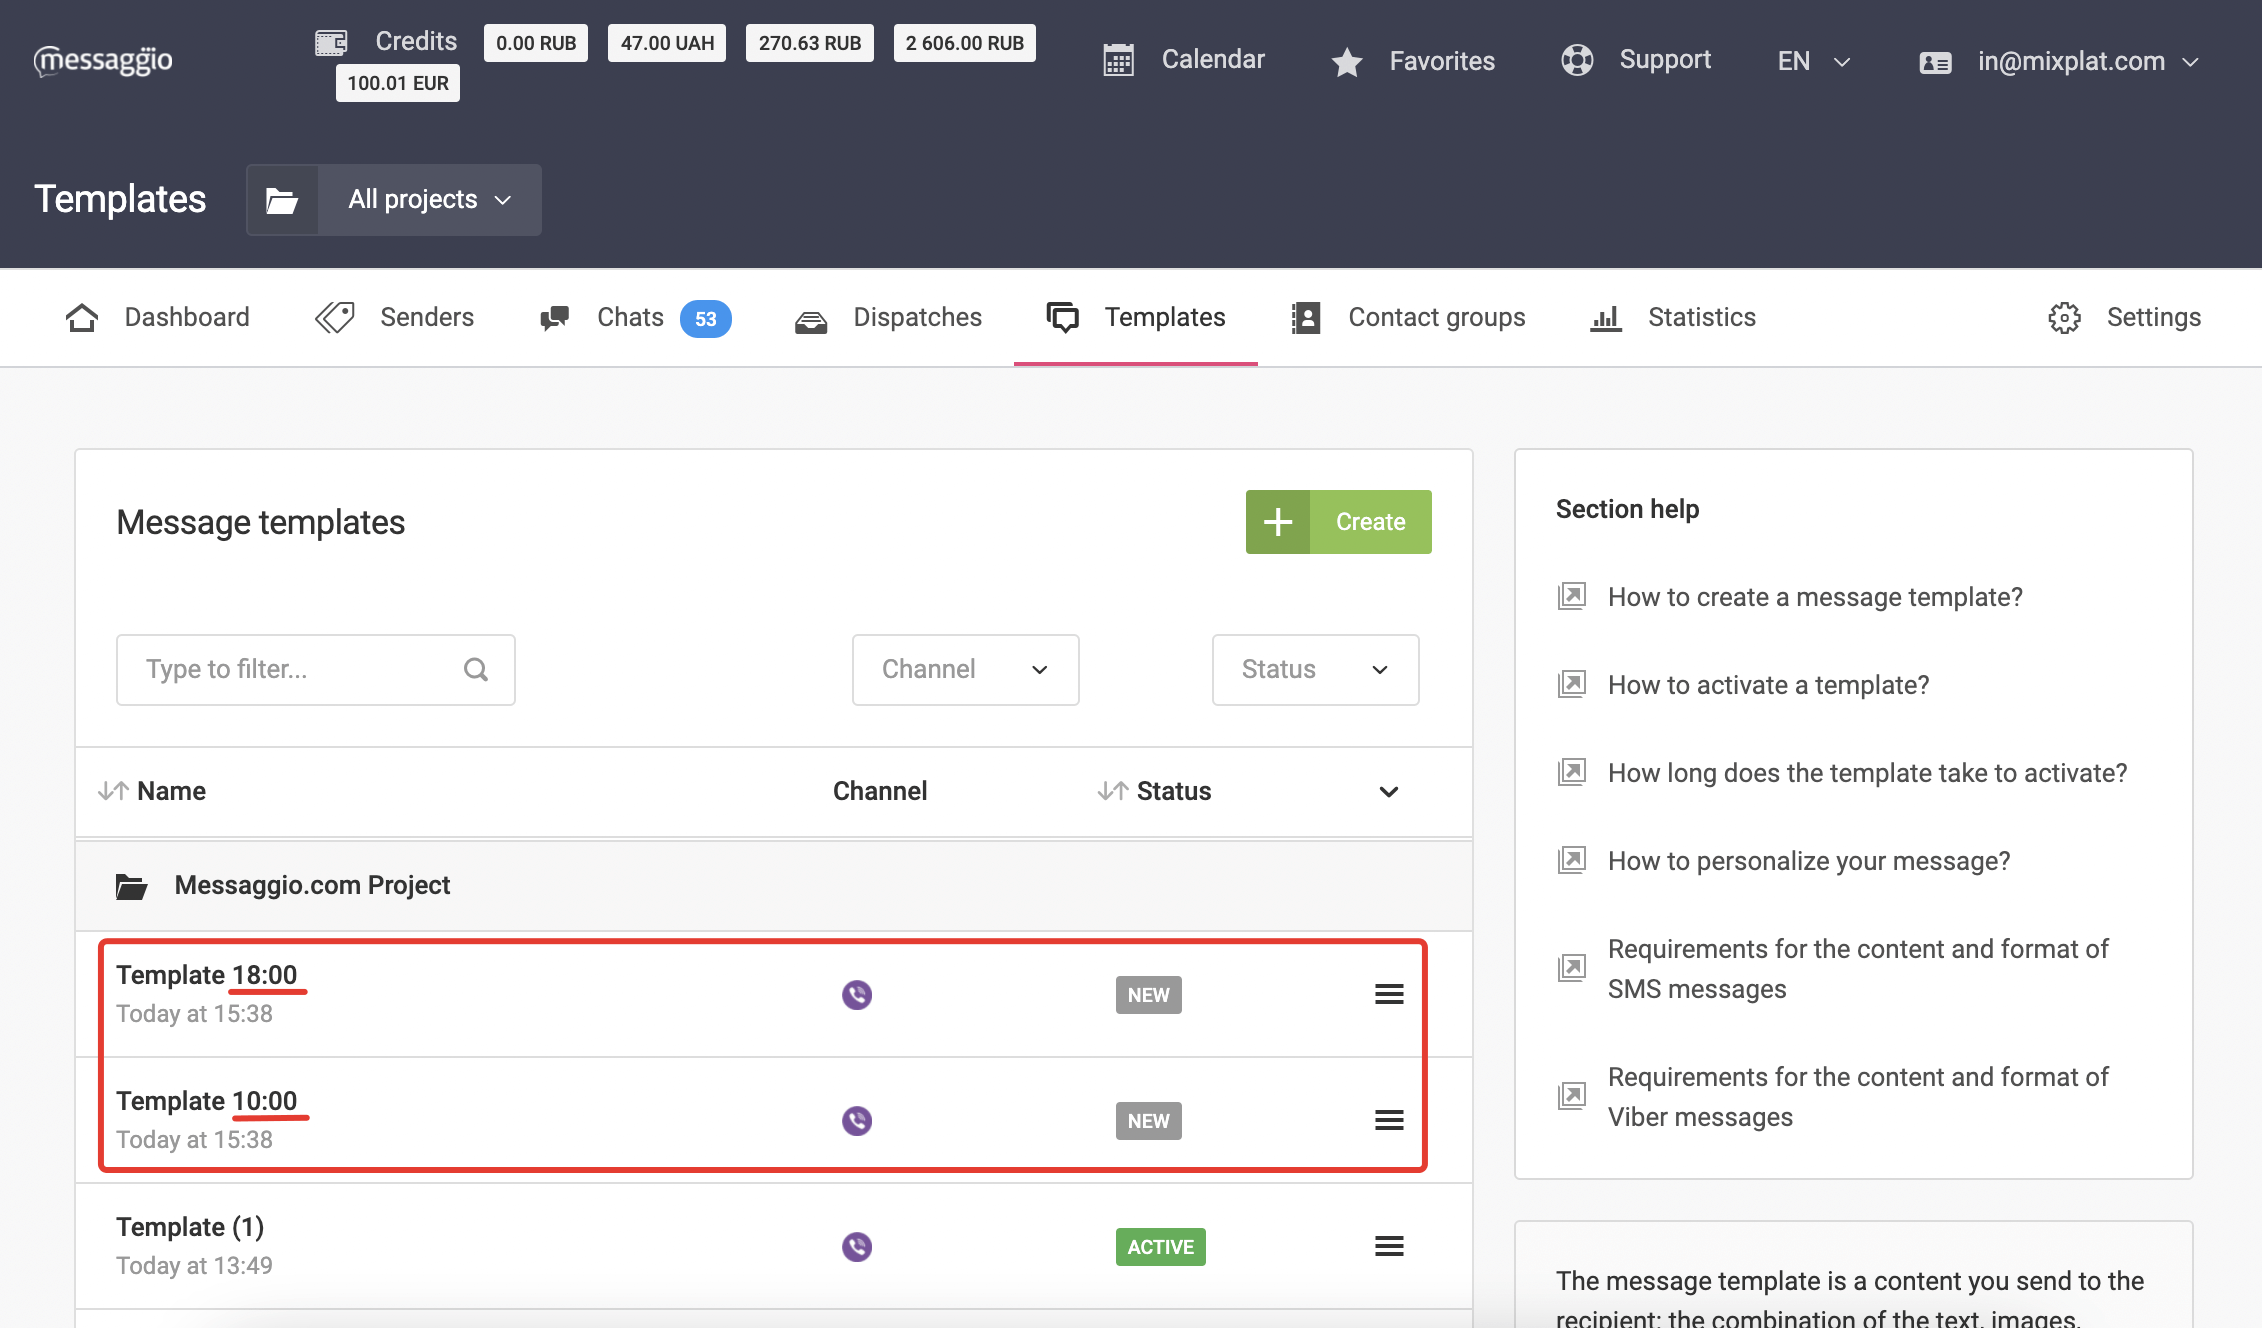
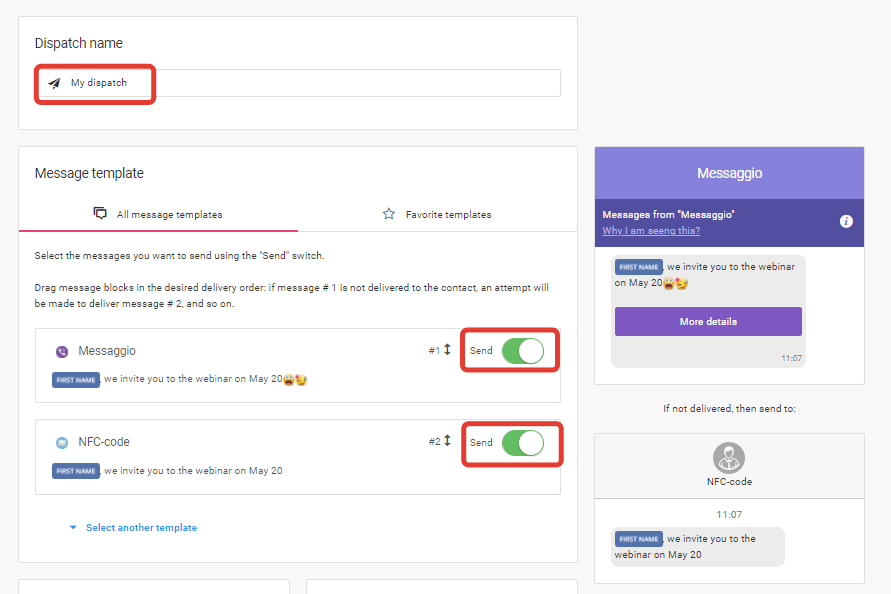
- Come up with the title of the dispatch, and select the previously created Telegram message template.
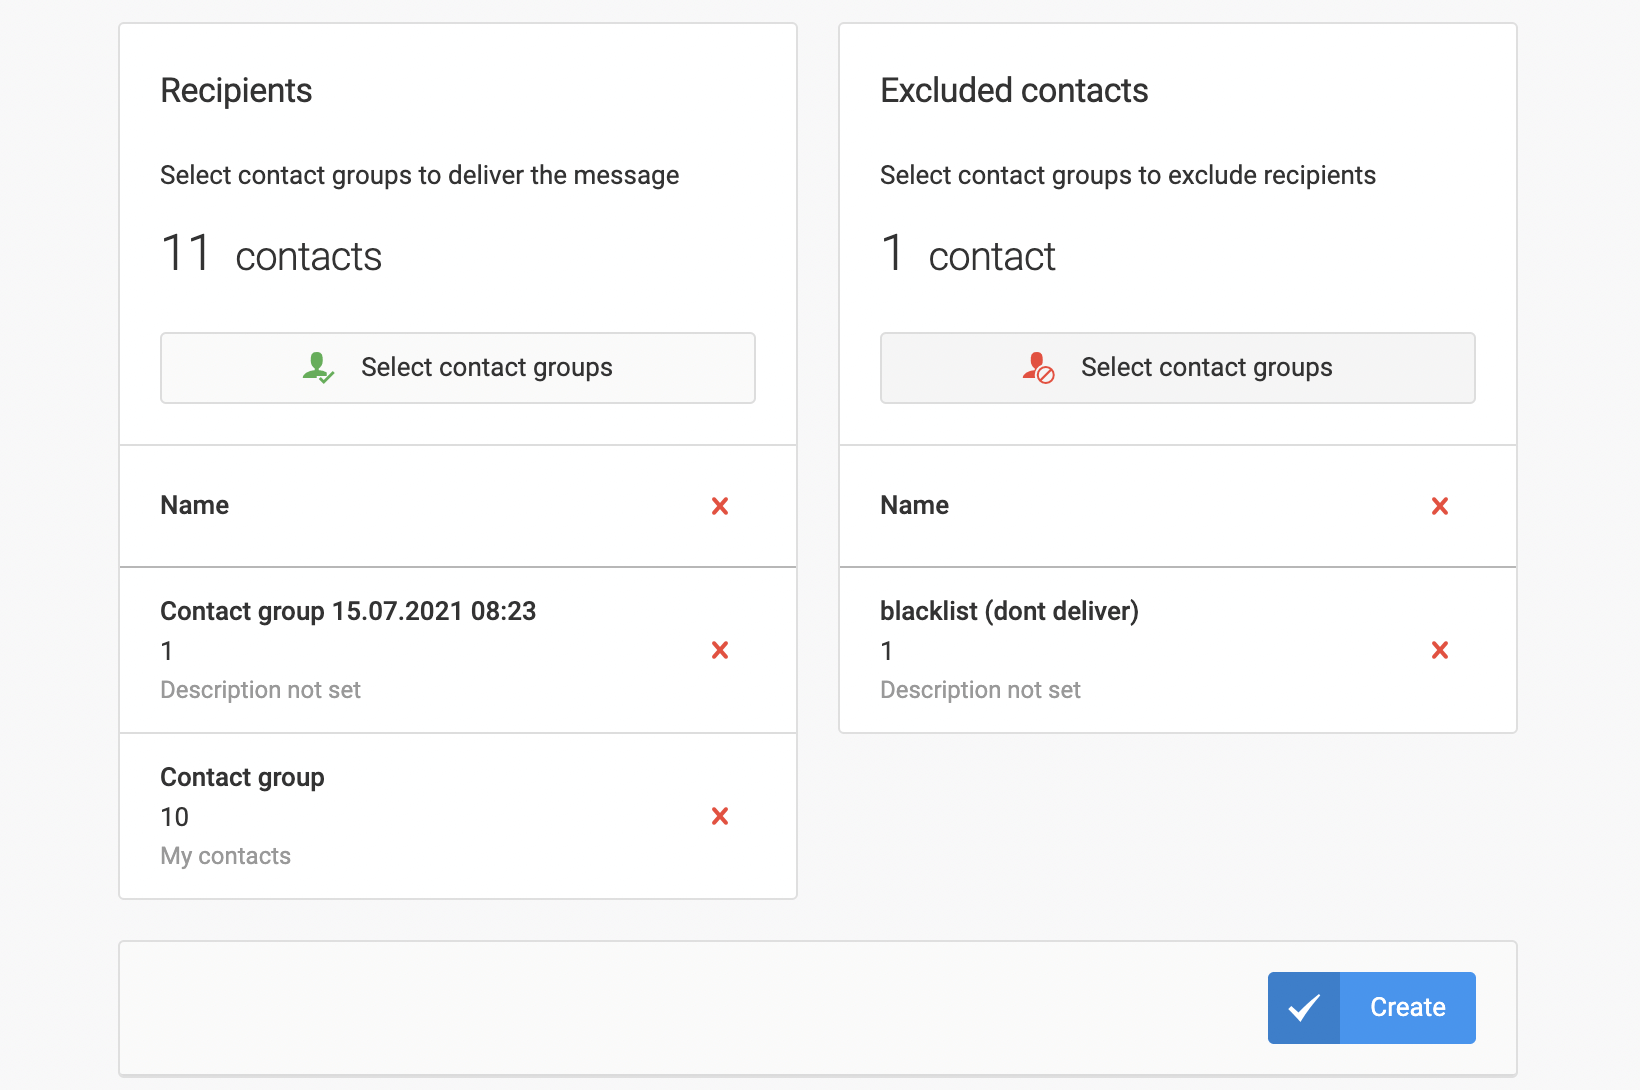
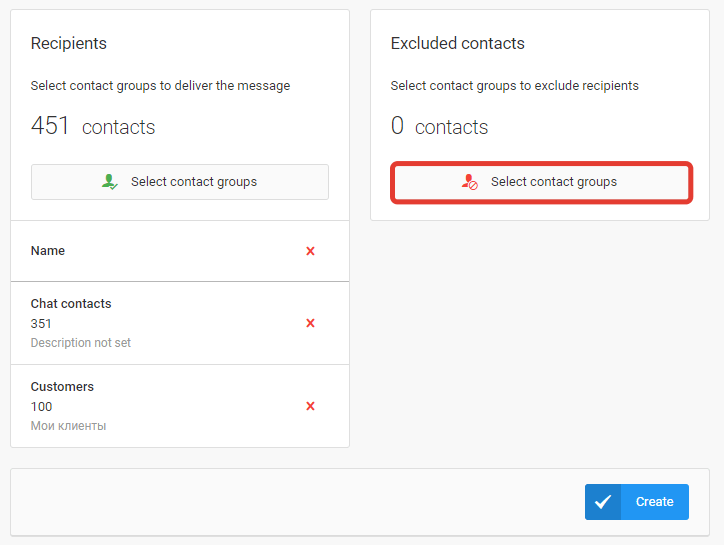
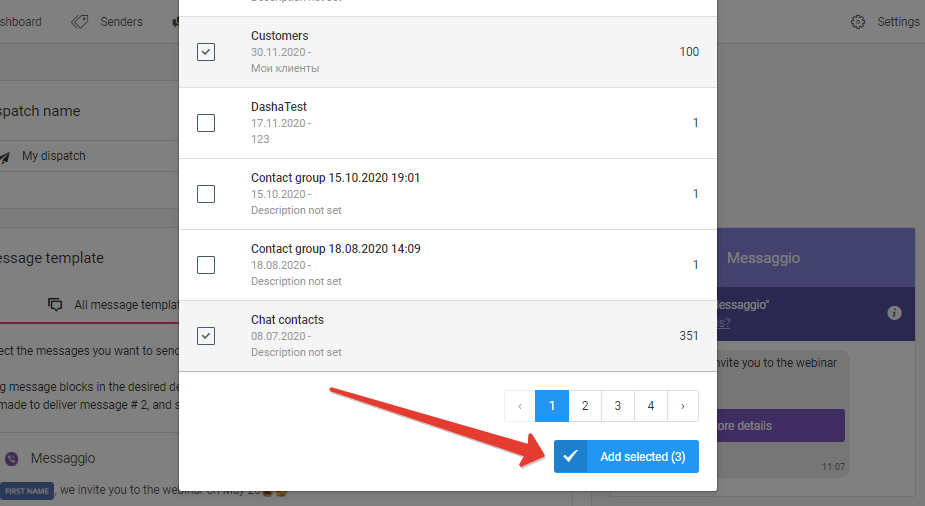
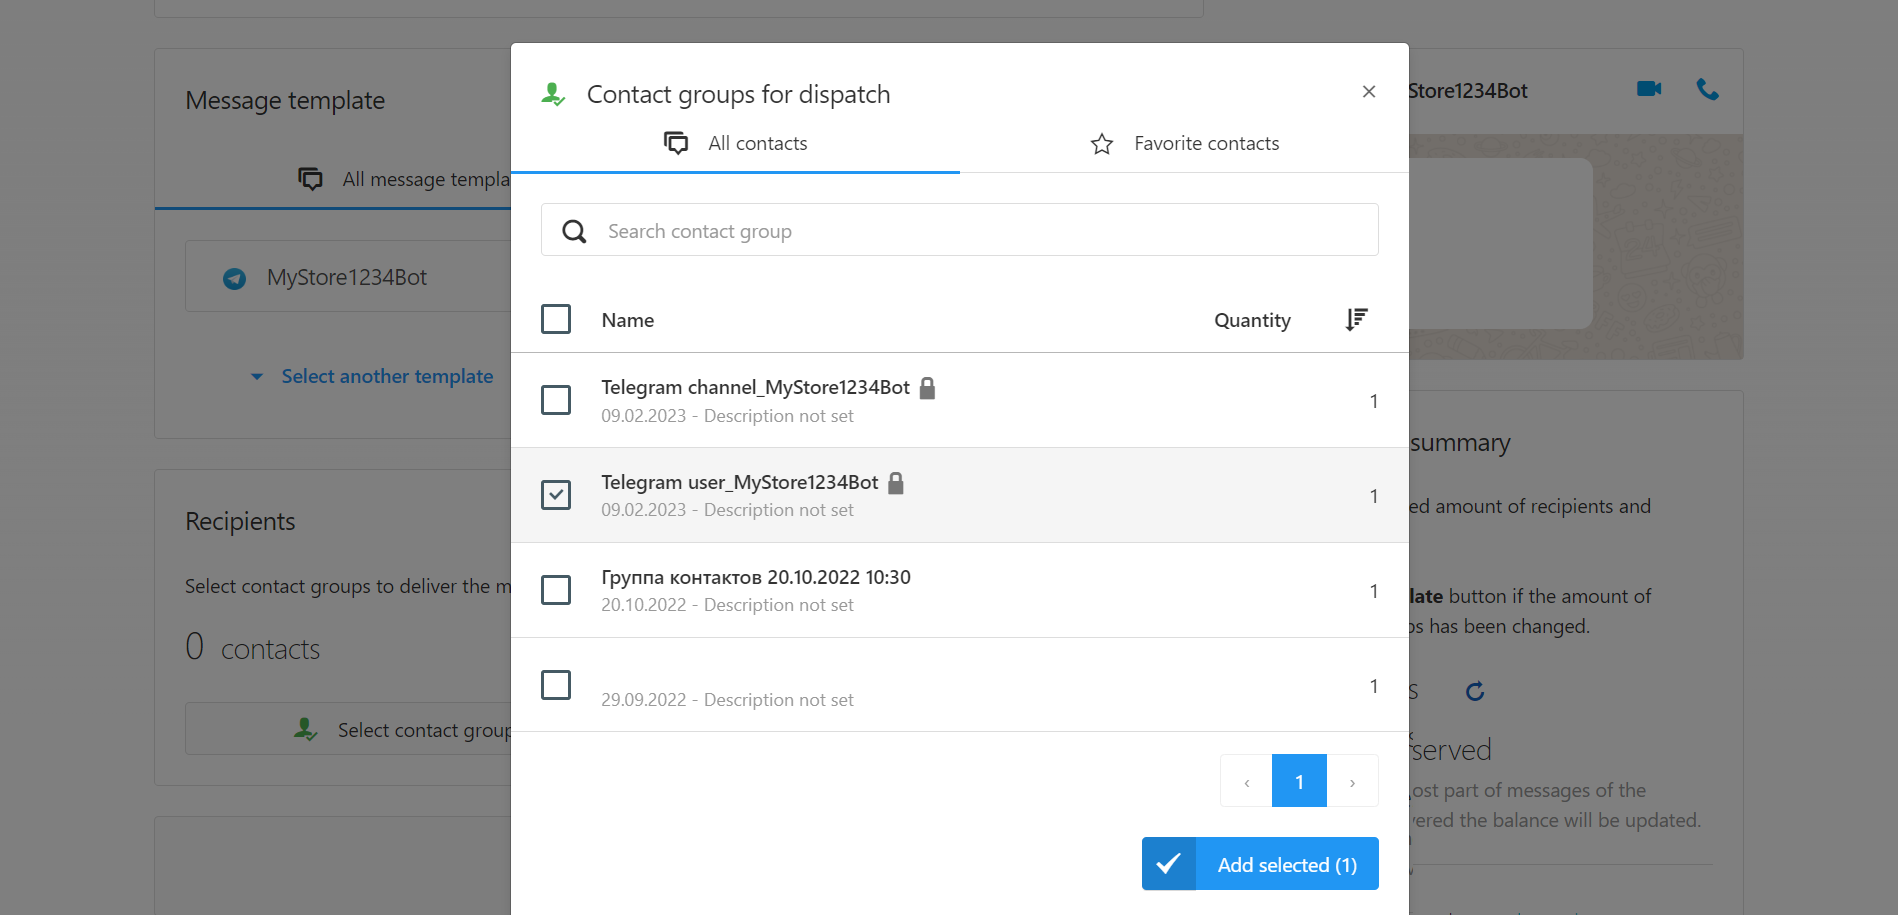
- Assign a contact group for dispatch. In the list of contact groups, you will see an automatically created group in the Telegram channel_UsernameBot / Telegram group_UsernameBot format. Select a contact group and click Add selected.

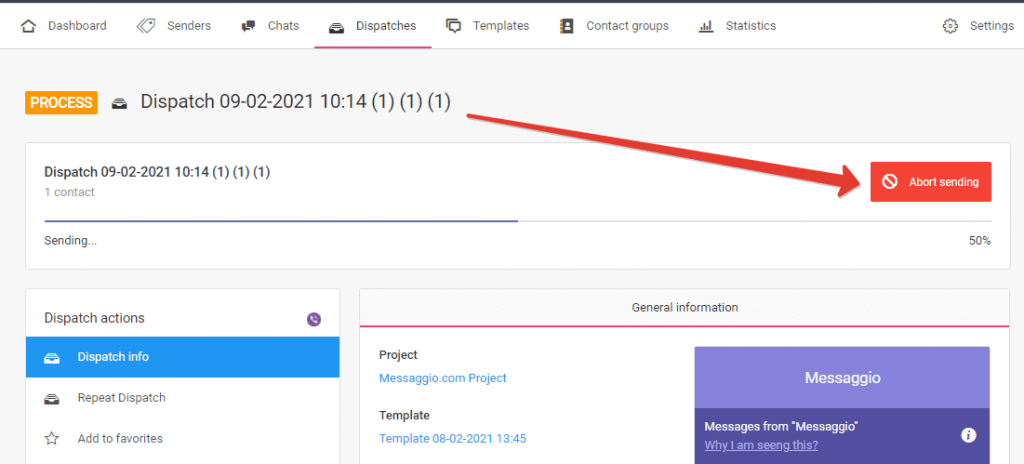
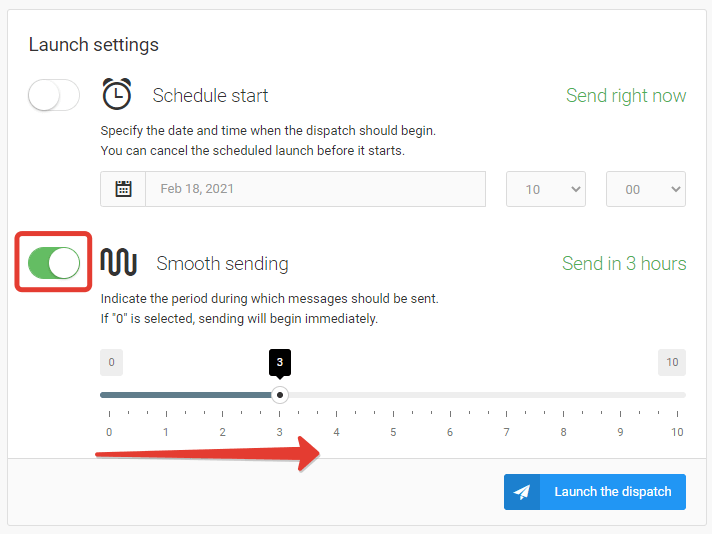
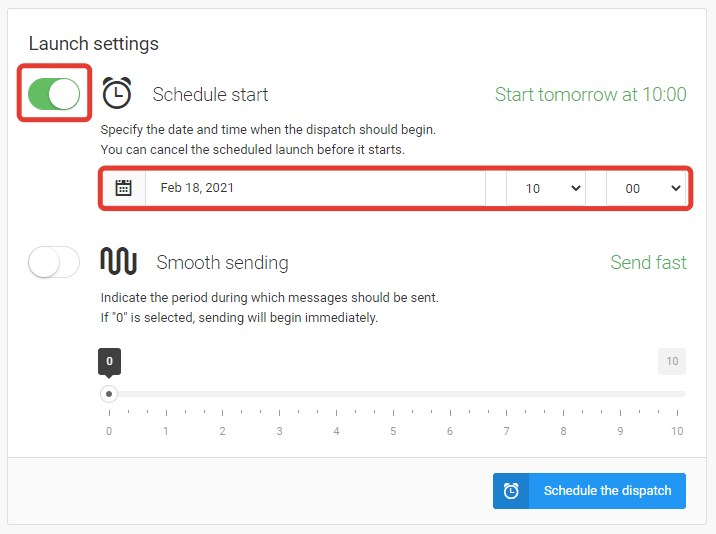
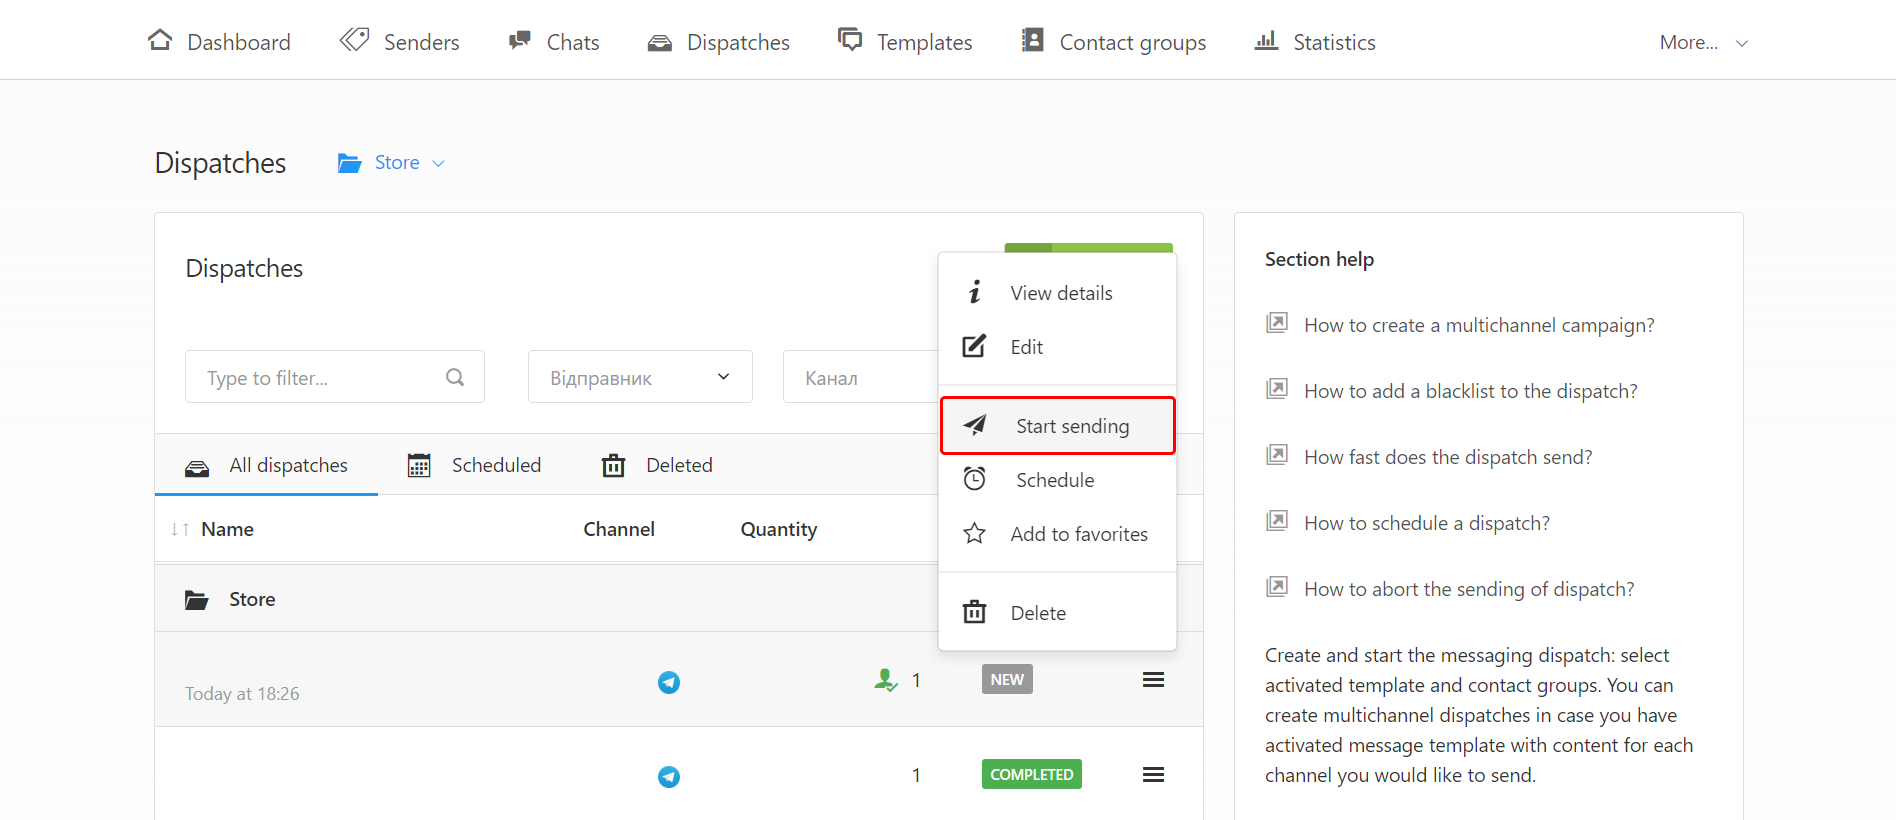
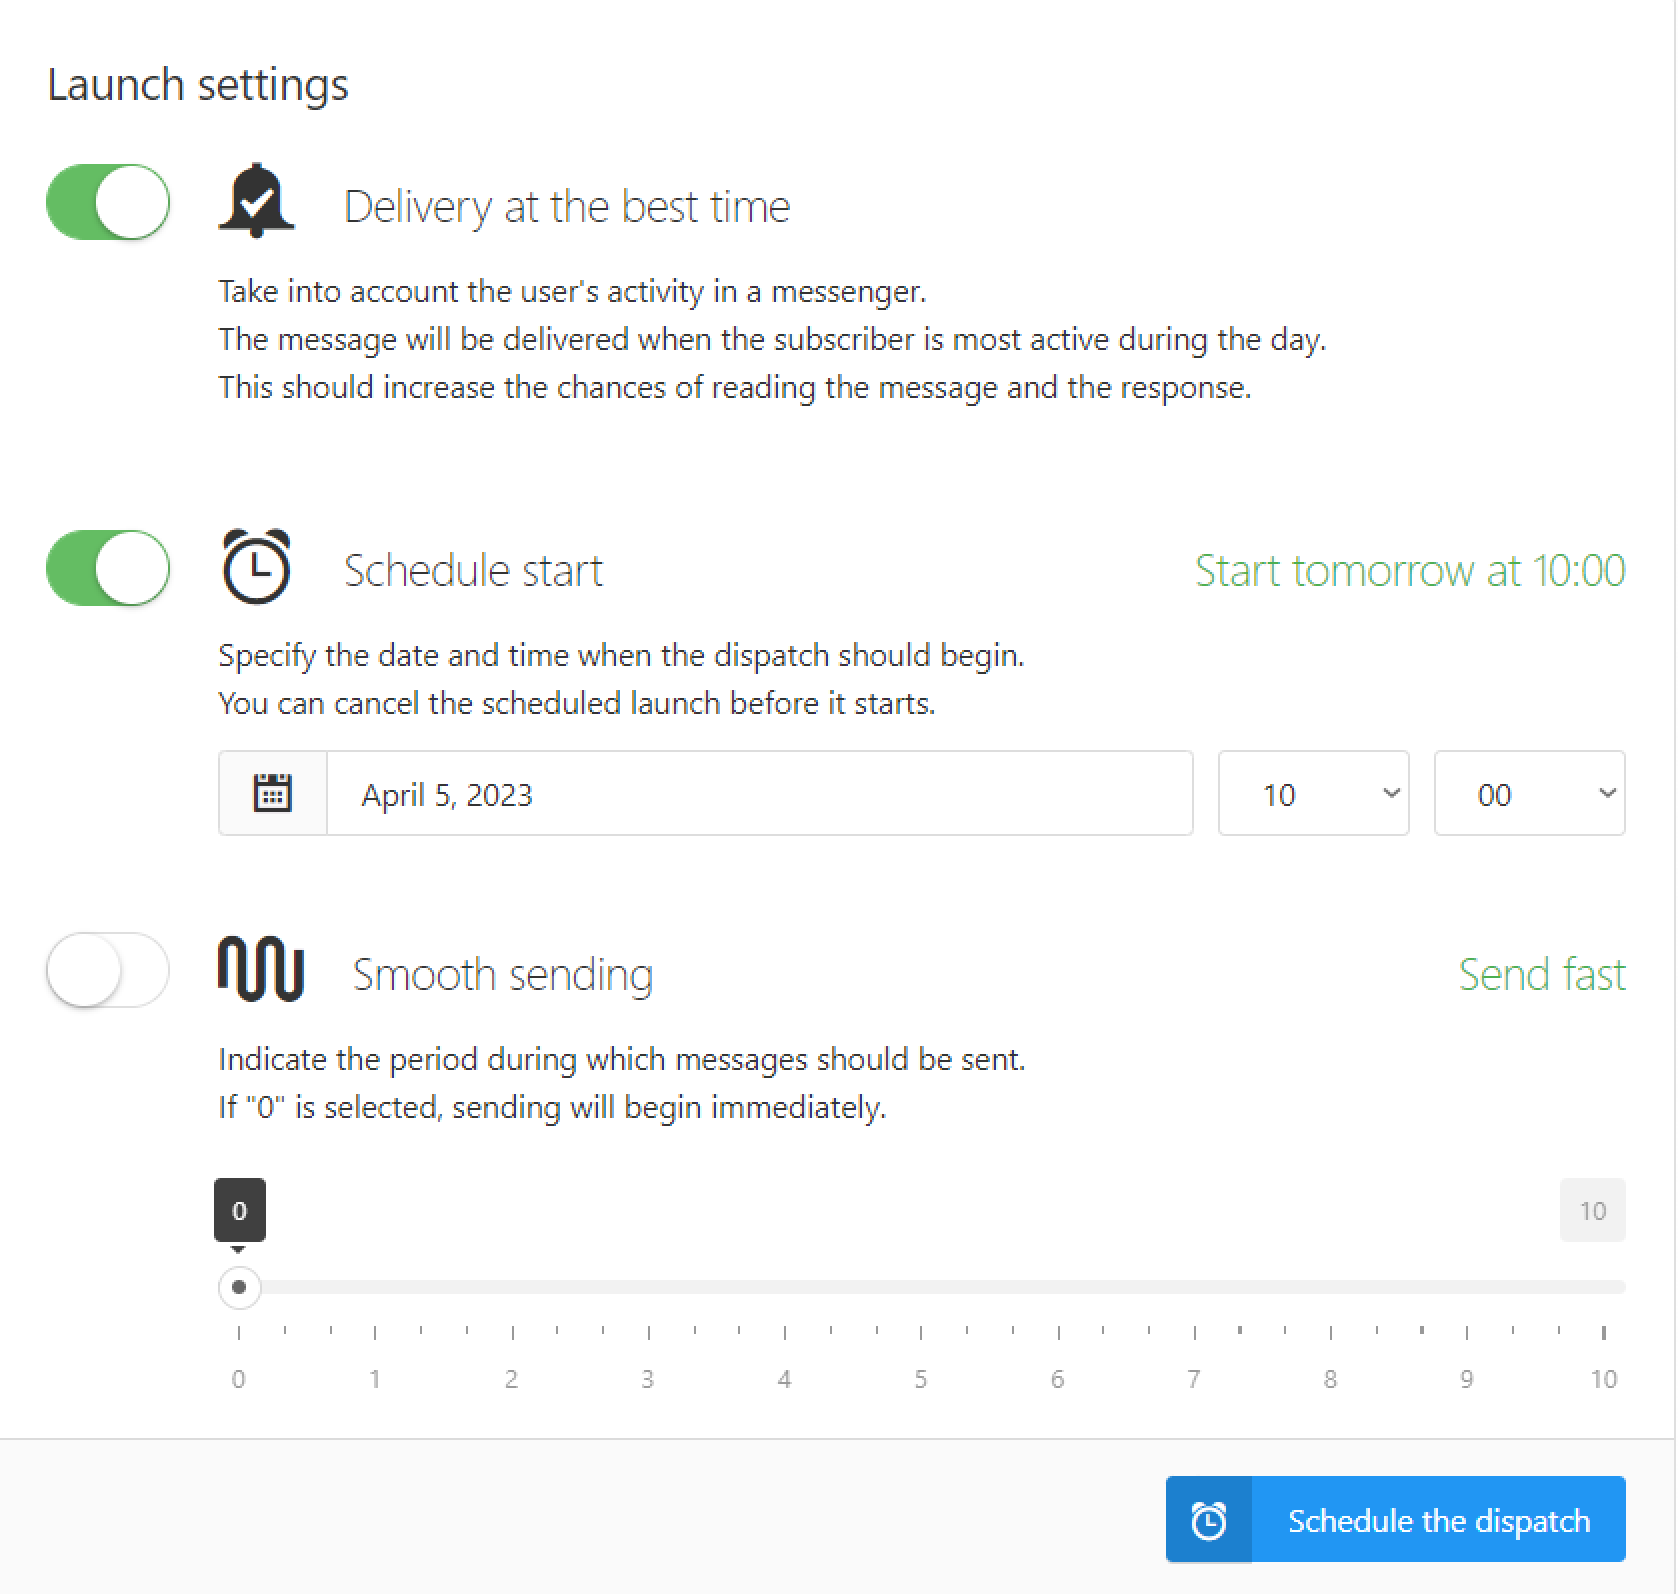
- Select the created Telegram dispatch in the list, and click Start sending. Set the messages’ delivery time and click Launch the dispatch.
The messaging campaign will be delivered to the Telegram channel / Telegram group on behalf of the bot at the time you specified.

Messaging in the Telegram chat with a user (direct messages)
In order for the Telegram bot to send messages to a private chat with a user, the user must be subscribed to the bot. A user is considered to have subscribed to the Telegram bot if he initiated communication with the bot by launching it and sharing the phone number.
- In your Messaggio dashboard, go to the Dispatches section and click Create — Regular dispatch.
- Come up with the title of the dispatch, and select the previously created Telegram message template.
- Assign a contact group for dispatch. In the list of contact groups, you will see an automatically created group in the Telegram chats_UsernameBot format (stores the contact details of all users who texted to the bot and shared contacts). Select a contact group and click Add selected.
- Select the created Telegram dispatch in the list, and click Start sending. Set the messages’ delivery time and click Launch the dispatch.
The messaging campaign will be delivered on behalf of the bot to the Telegram chats of all users who subscribed to the bot at the time you specified.