Welcome to the Messaggio Knowledge Base! We are very happy to help you solve your business tasks. If you want to explore the dashboard quickly and assess Messaggio’s technologies in action, we recommend reading the guides sequentially — after each article, there are buttons to switch to the next and previous page. Or find the answer to the specific question — the content of the Knowledge Base is located on the left side of the screen.
In this guide, we will give an overview of the functionality available in Messaggio for bulk messaging. Click on links to find out more.
How to work with the service:
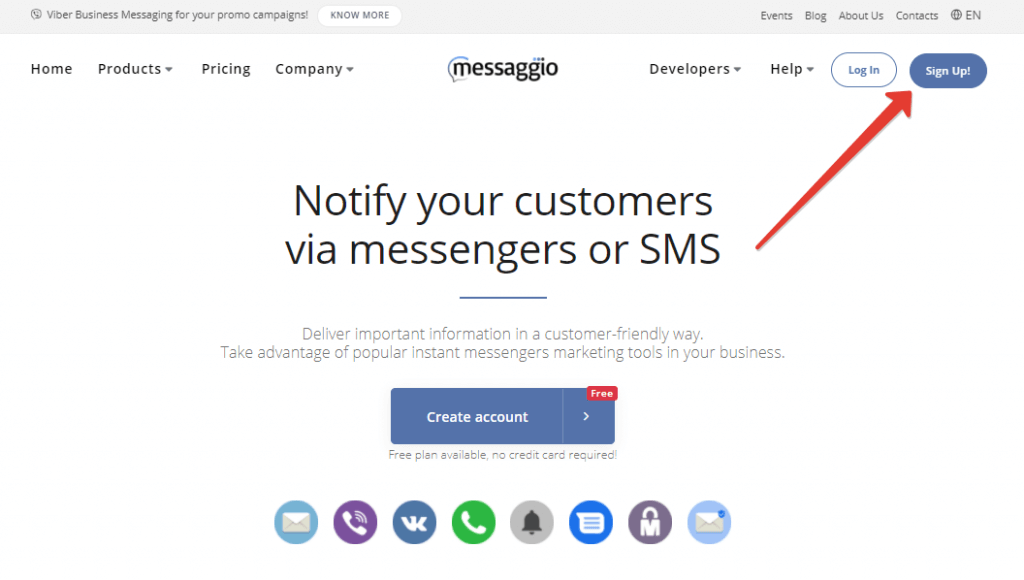
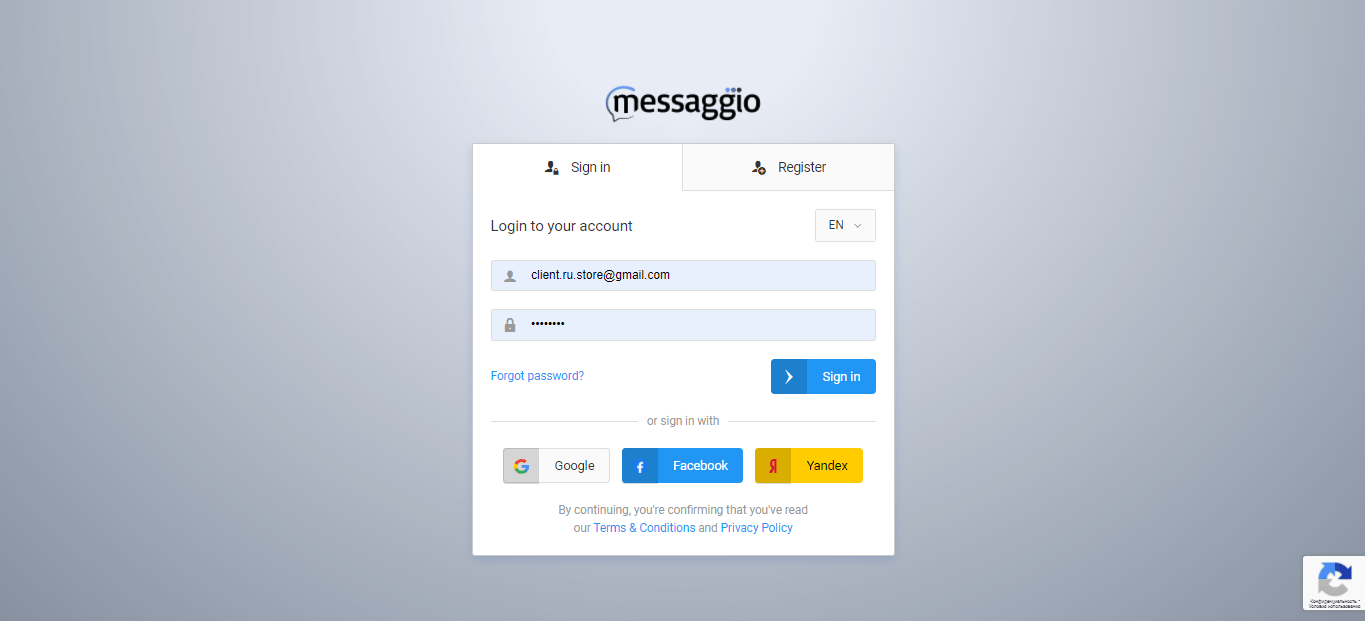
- Create an account. The registration button is available from any page of the site. Registration will take you no more than a couple of minutes.
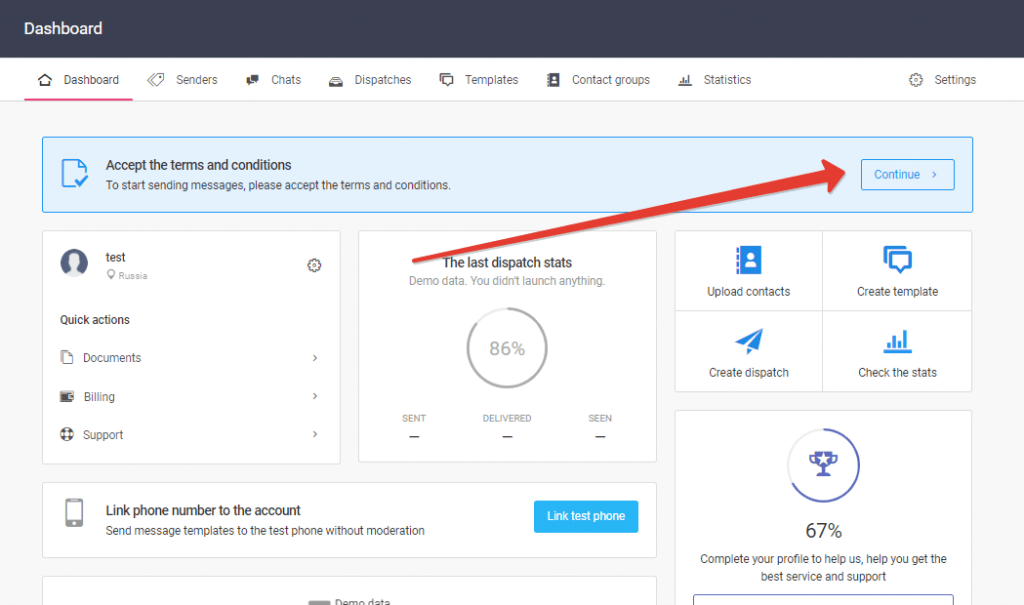
- Confirm the messaging and service agreement terms. The accepted one allows you to replenish a personal account for sending messages and receive documents for the accounting department.
- Top up your balance. The service works on a prepaid basis.
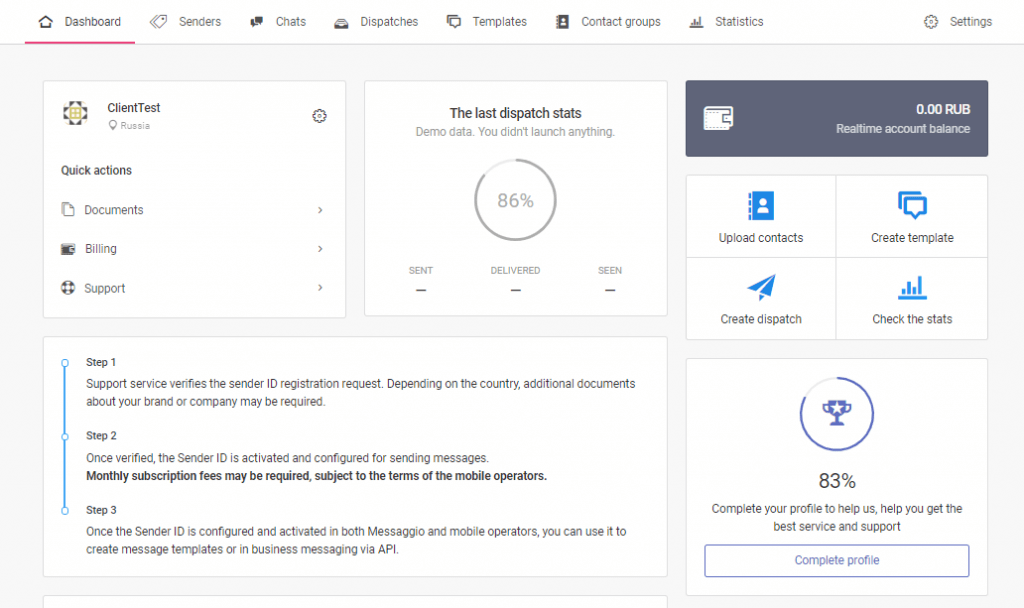
- Create and submit for activation a Sender ID. Contacts will receive messages from your brand name used in Sender ID. You must create a sender ID for each channel that you plan to use.
- Create a message template. Messaggio provides all possible message layouts for each messaging channel. Take advantage of the template constructor in the channel of your choice and create a unique offer or notification for your customers.
- Upload the contact database. Combine groups of contacts for a dispatch and contact groups for exclusion, add variables to a message template to personalize messages.
- Start the messaging dispatch. Test templates and messages before sending, using test numbers. Set the parameters for the messaging campaign: date, time, smoothness, etc.
- Check the results. Estimate the open rate and other metrics for each dispatch right in the Messaggio interface.
If you have already selected a channel, follow the instructions below:
If you cannot find an answer to your question, please contact your personal manager or send a ticket to Messaggio support.
We wish you to be successful in multichannel marketing!