Messaggio API messaging is an easy way to integrate into your business processes. If you have tasks to automate notifications – transactional messages, customer support via messages, or another messaging with triggers — use API to integrate Messaggio with your service.
To notify the Messaggio system about message sending events and receive sending statuses and incoming messages via API, you need to specify the script address in your Messaggio dashboard.
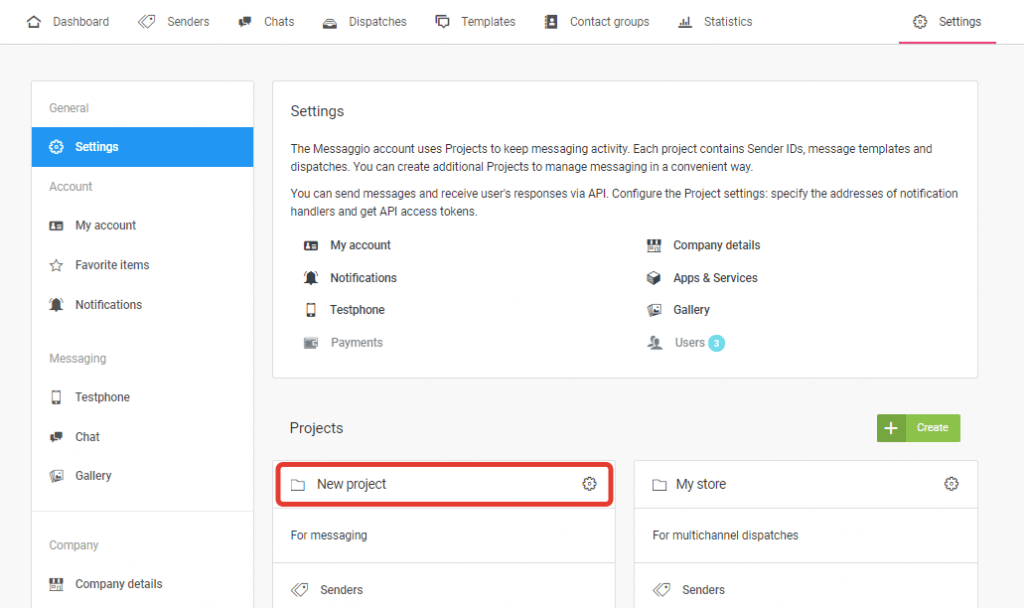
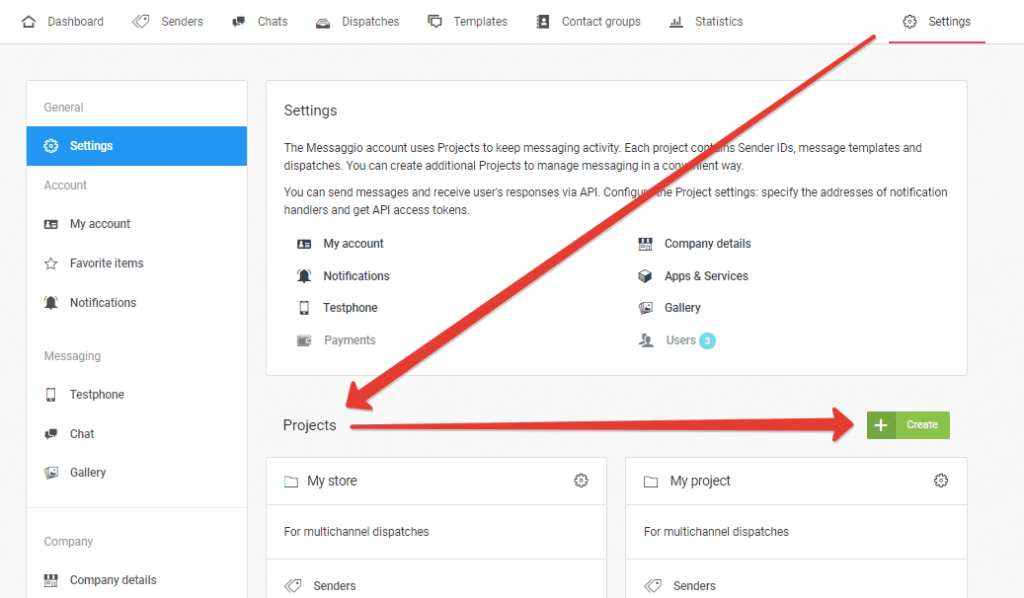
To do this, go to the «Settings» section and select a project in the «Projects» workspace.

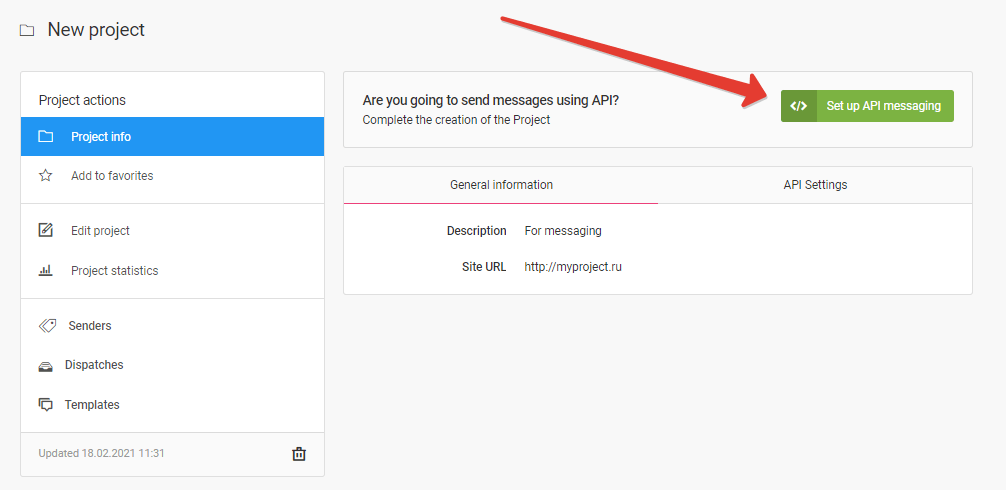
Click «Set up API messaging».

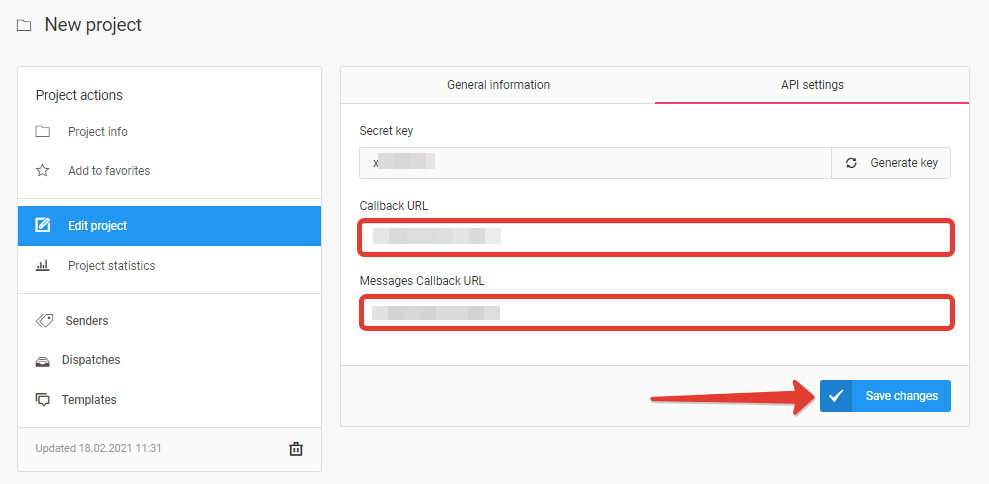
Go to API Settings and add:
- The script address which handles the message delivery status — in the «Callback URL» field.
- The script address which handles incoming messages — in the «Messages Callback URL» field.
If one script performs both message status processing and incoming message processing — enter the same addresses in the appropriate fields.
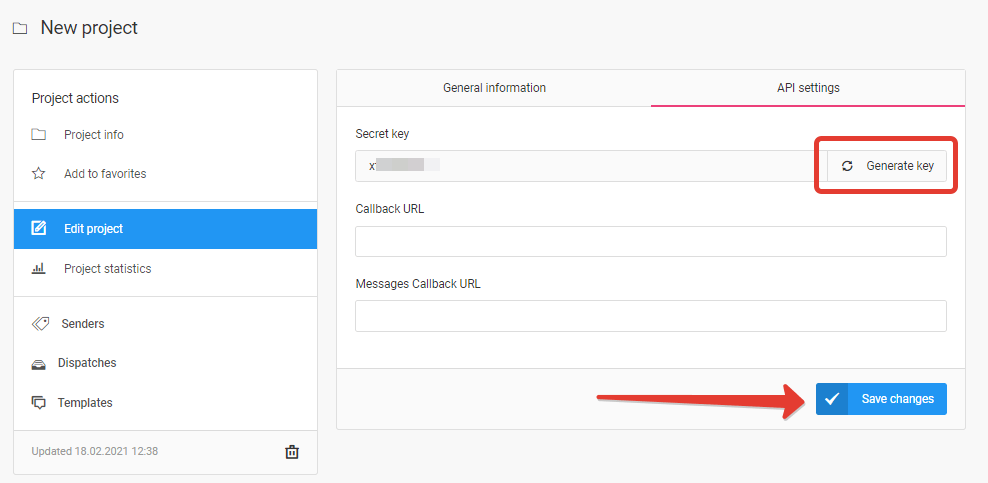
Save your changes.
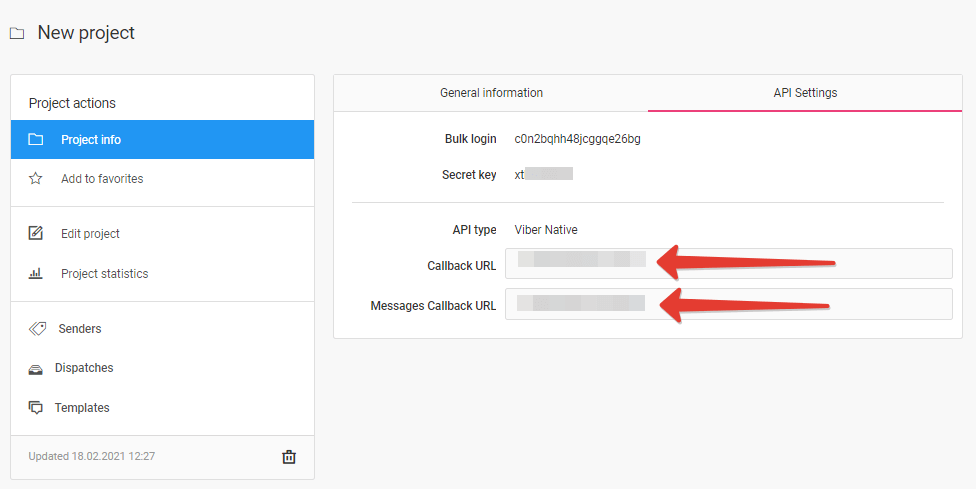
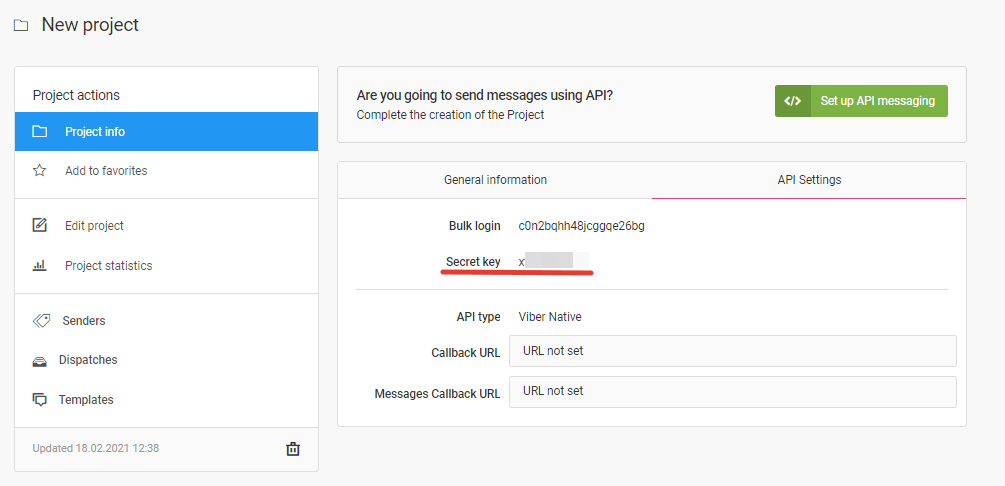
In the project details, you can check if the URLs are specified in the appropriate fields.
For information on how to generate an API key for signature, go to the «How to get a secret API key» section.
To messaging in Messaggio via API, you need a signature to authenticate the transmitted data. To get a signature, you need a secret key. In this guide, we will show you how to generate a secret key in your Messaggio dashboard.
Go to the «Settings» section and in the «Projects» workspace select a project.
Click «Set up API messaging».
Go to API Settings and generate a secret key. Save your changes.
After that, the secret key is available in the project details.
For information on how to pass message delivery statuses, go to the «How to specify a webhook for message statuses» section.
A project is a container that combines Templates, Dispatches, Senders. The company can create any number of Projects. Create several projects in the areas of your activity: for business messaging, verified SMS, online chats, etc.
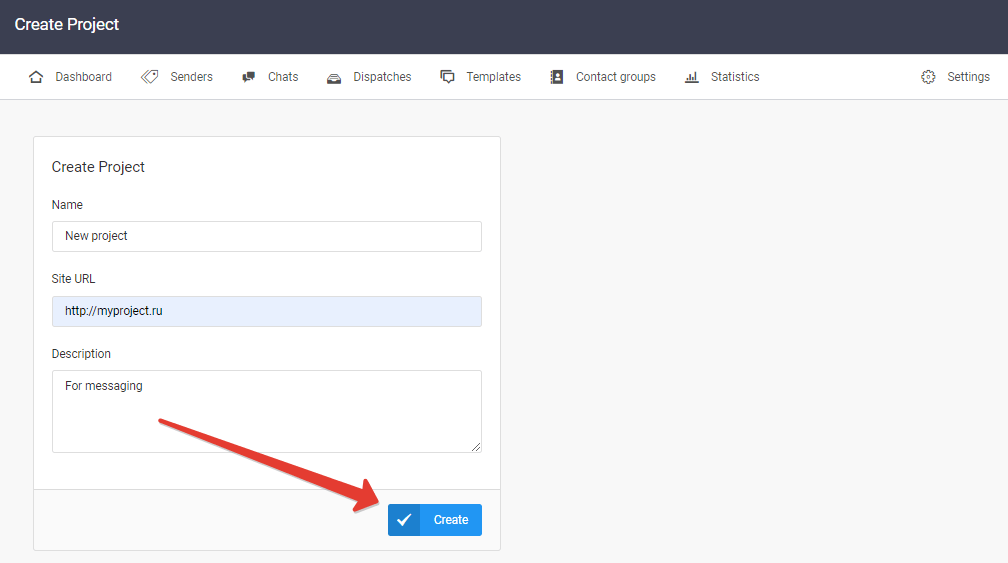
To create a project, go to the «Settings» section, and in the «Projects» workspace click «Create».
Enter the project name, site address, and project description. Click «Create».
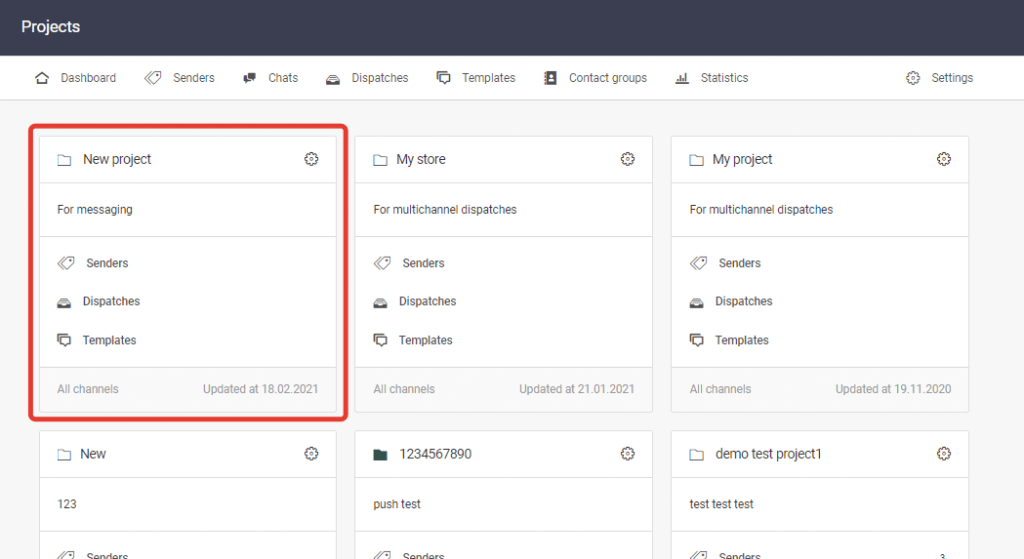
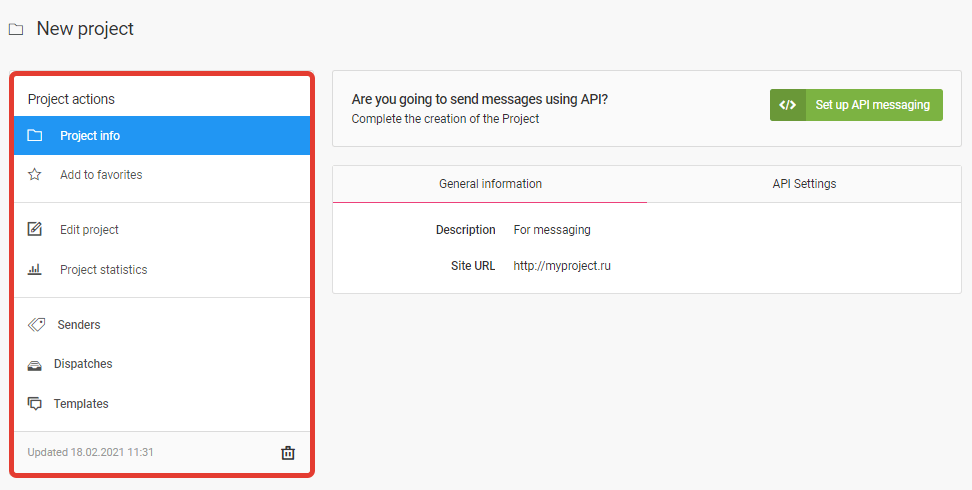
Your project will appear in the list of company projects. Click on a project to see a list of possible actions.
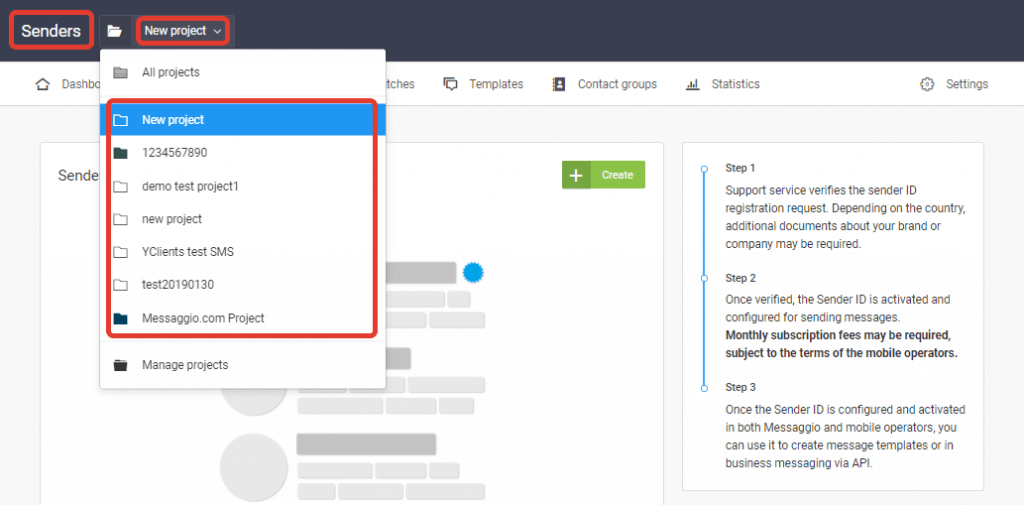
To start the dispatch, register the Sender ID in the project scope. When creating a Sender ID, the selected project will be displayed in the drop-down menu in the header of your dashboard. To change the project, click on the menu and select another project.
Document storage is available in Messaggio. It is useful for:
- Uploading scans of confirmations, questionnaires, and other documents that can be attached to applications for the Sender ID.
- Quick access to company documents: invoices, acts, contracts — they are loaded by a personal manager.
- Data warehouse — documents that you want to attach to messages for dispatch.
You can find the document storage in the «Settings / Documents» section.
To add a document to the storage, click «Upload File» in the appropriate document category.
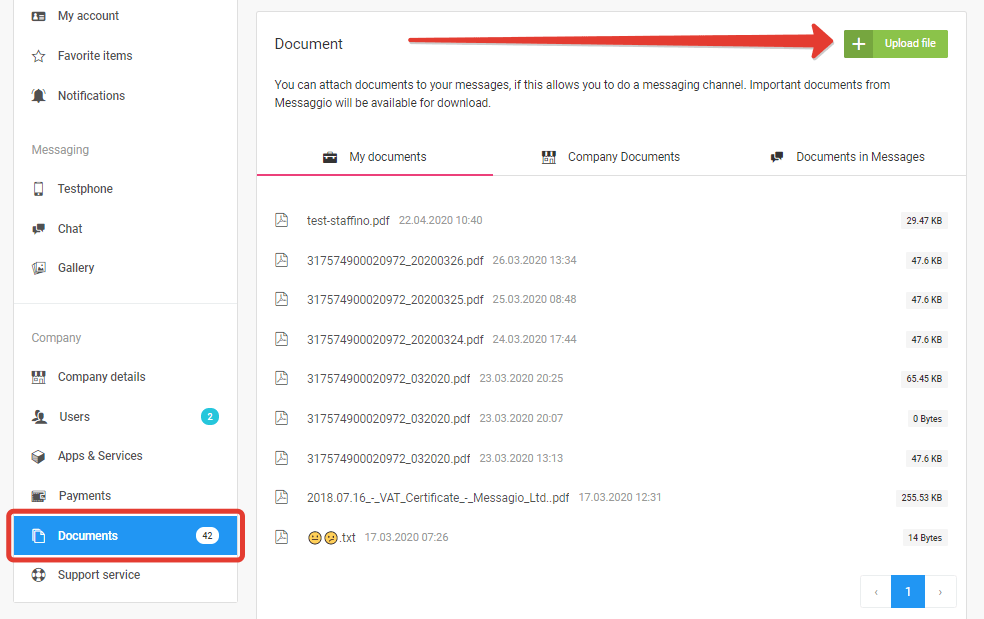
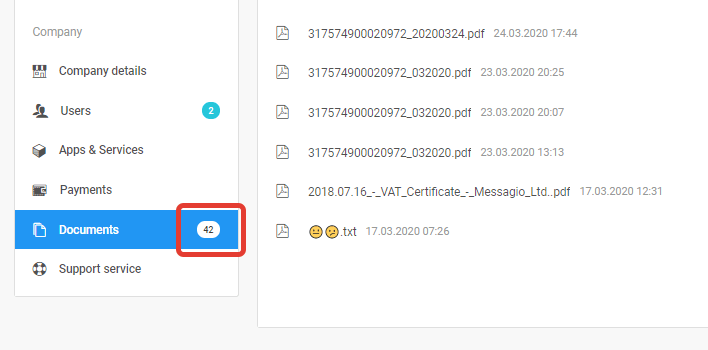
The number of uploaded documents is displayed next to the category name.
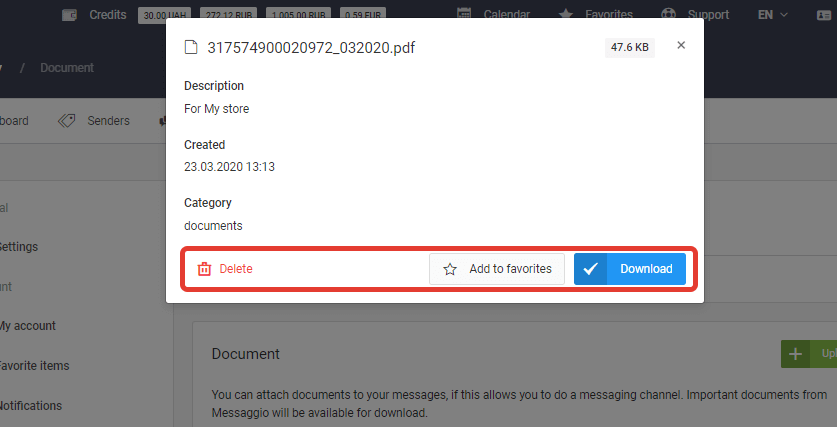
You can delete, download or add a document to Favorites. To do this, click on the document and select the action.
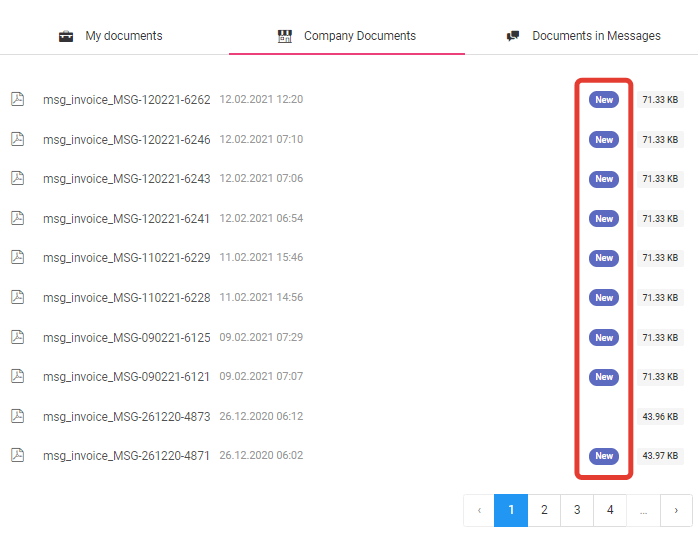
Unviewed documents have the «New» status. The status label will help you not to miss new documents from the Messaggio manager.
The storage capacity is 1 GB. The storage fullness indicator is displayed on the first screen of the section.

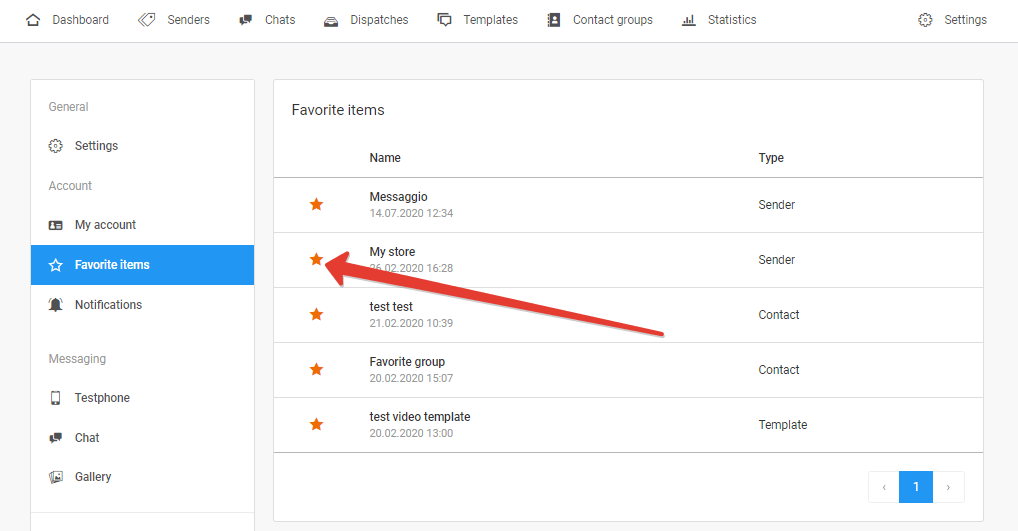
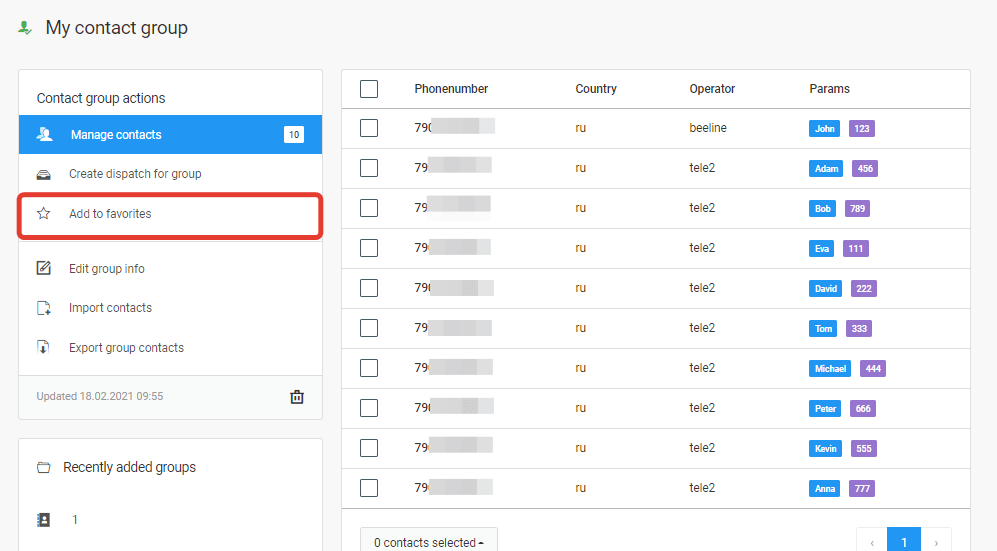
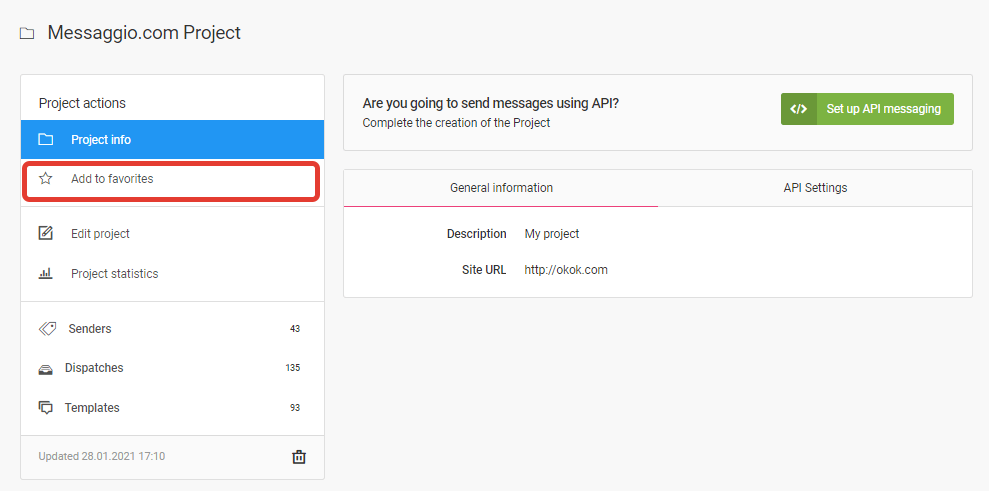
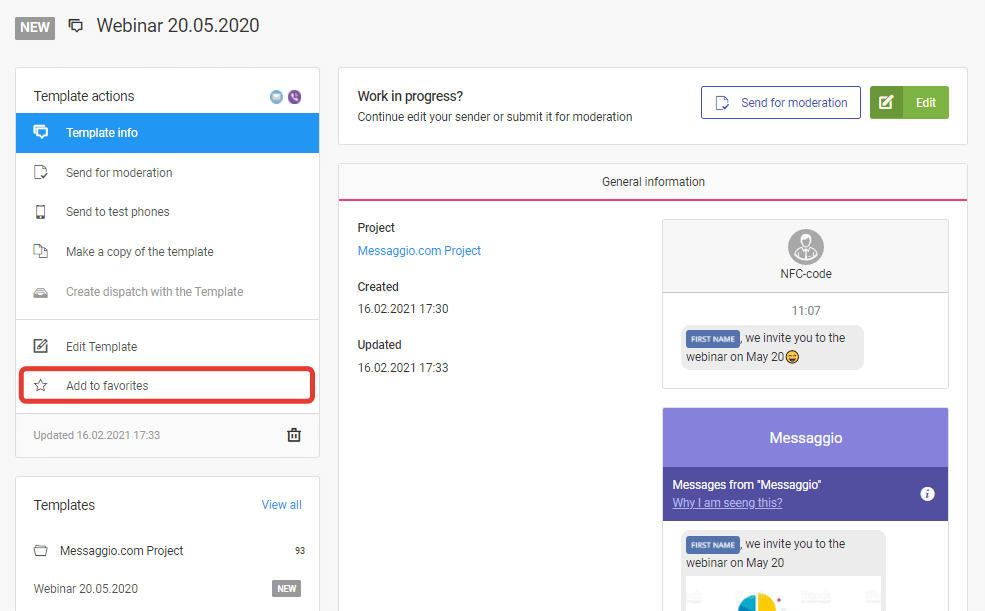
Use the Favorites section to have quick access to frequently used contact groups, sender names, templates, and other items for sending messages.
To add to Favorites, click on the star next to the selected item.
The list of items added to “Favorites” is available on the control panel, as well as in the settings.
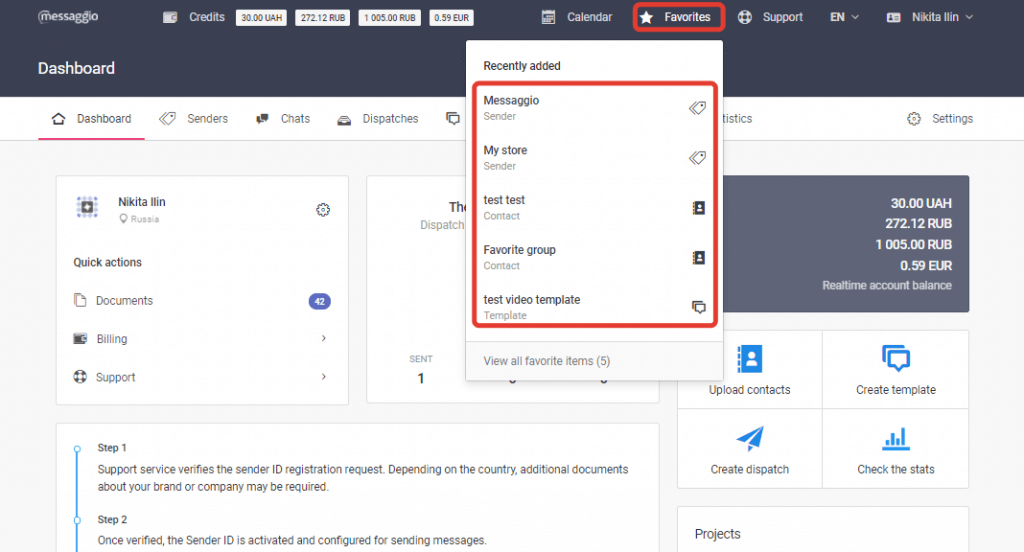
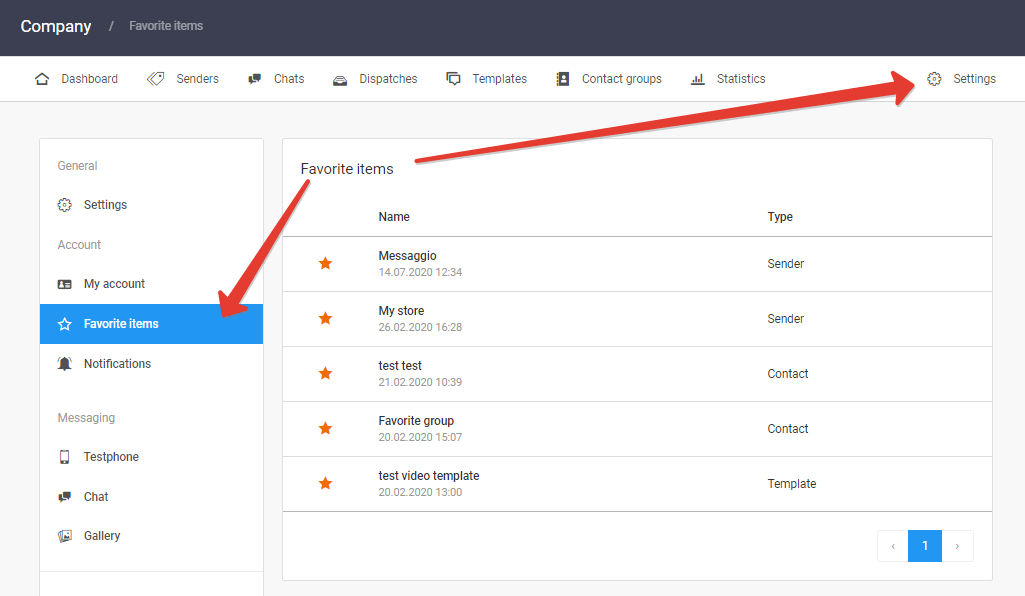
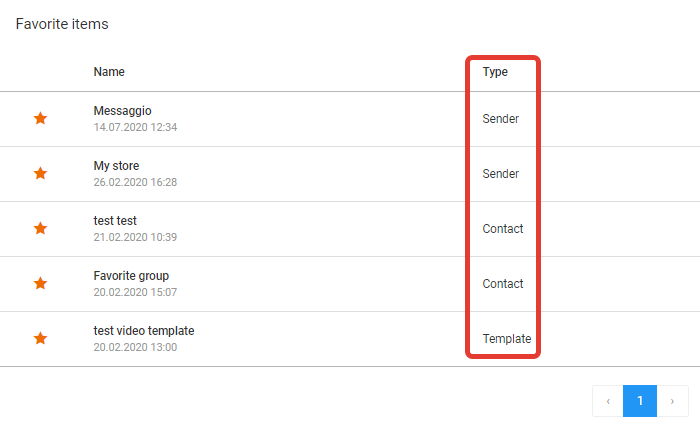
To the right of the element name, its type is displayed — which category the element belongs to.
To remove from favorites, go to the «Favorites» list and click on the «star» next to the selected item.