How to integrate Messaggio with apps via Zapier
This is done by forwarding an event from the source — your CRM, CMS, or table to the receiver — Messaggio.
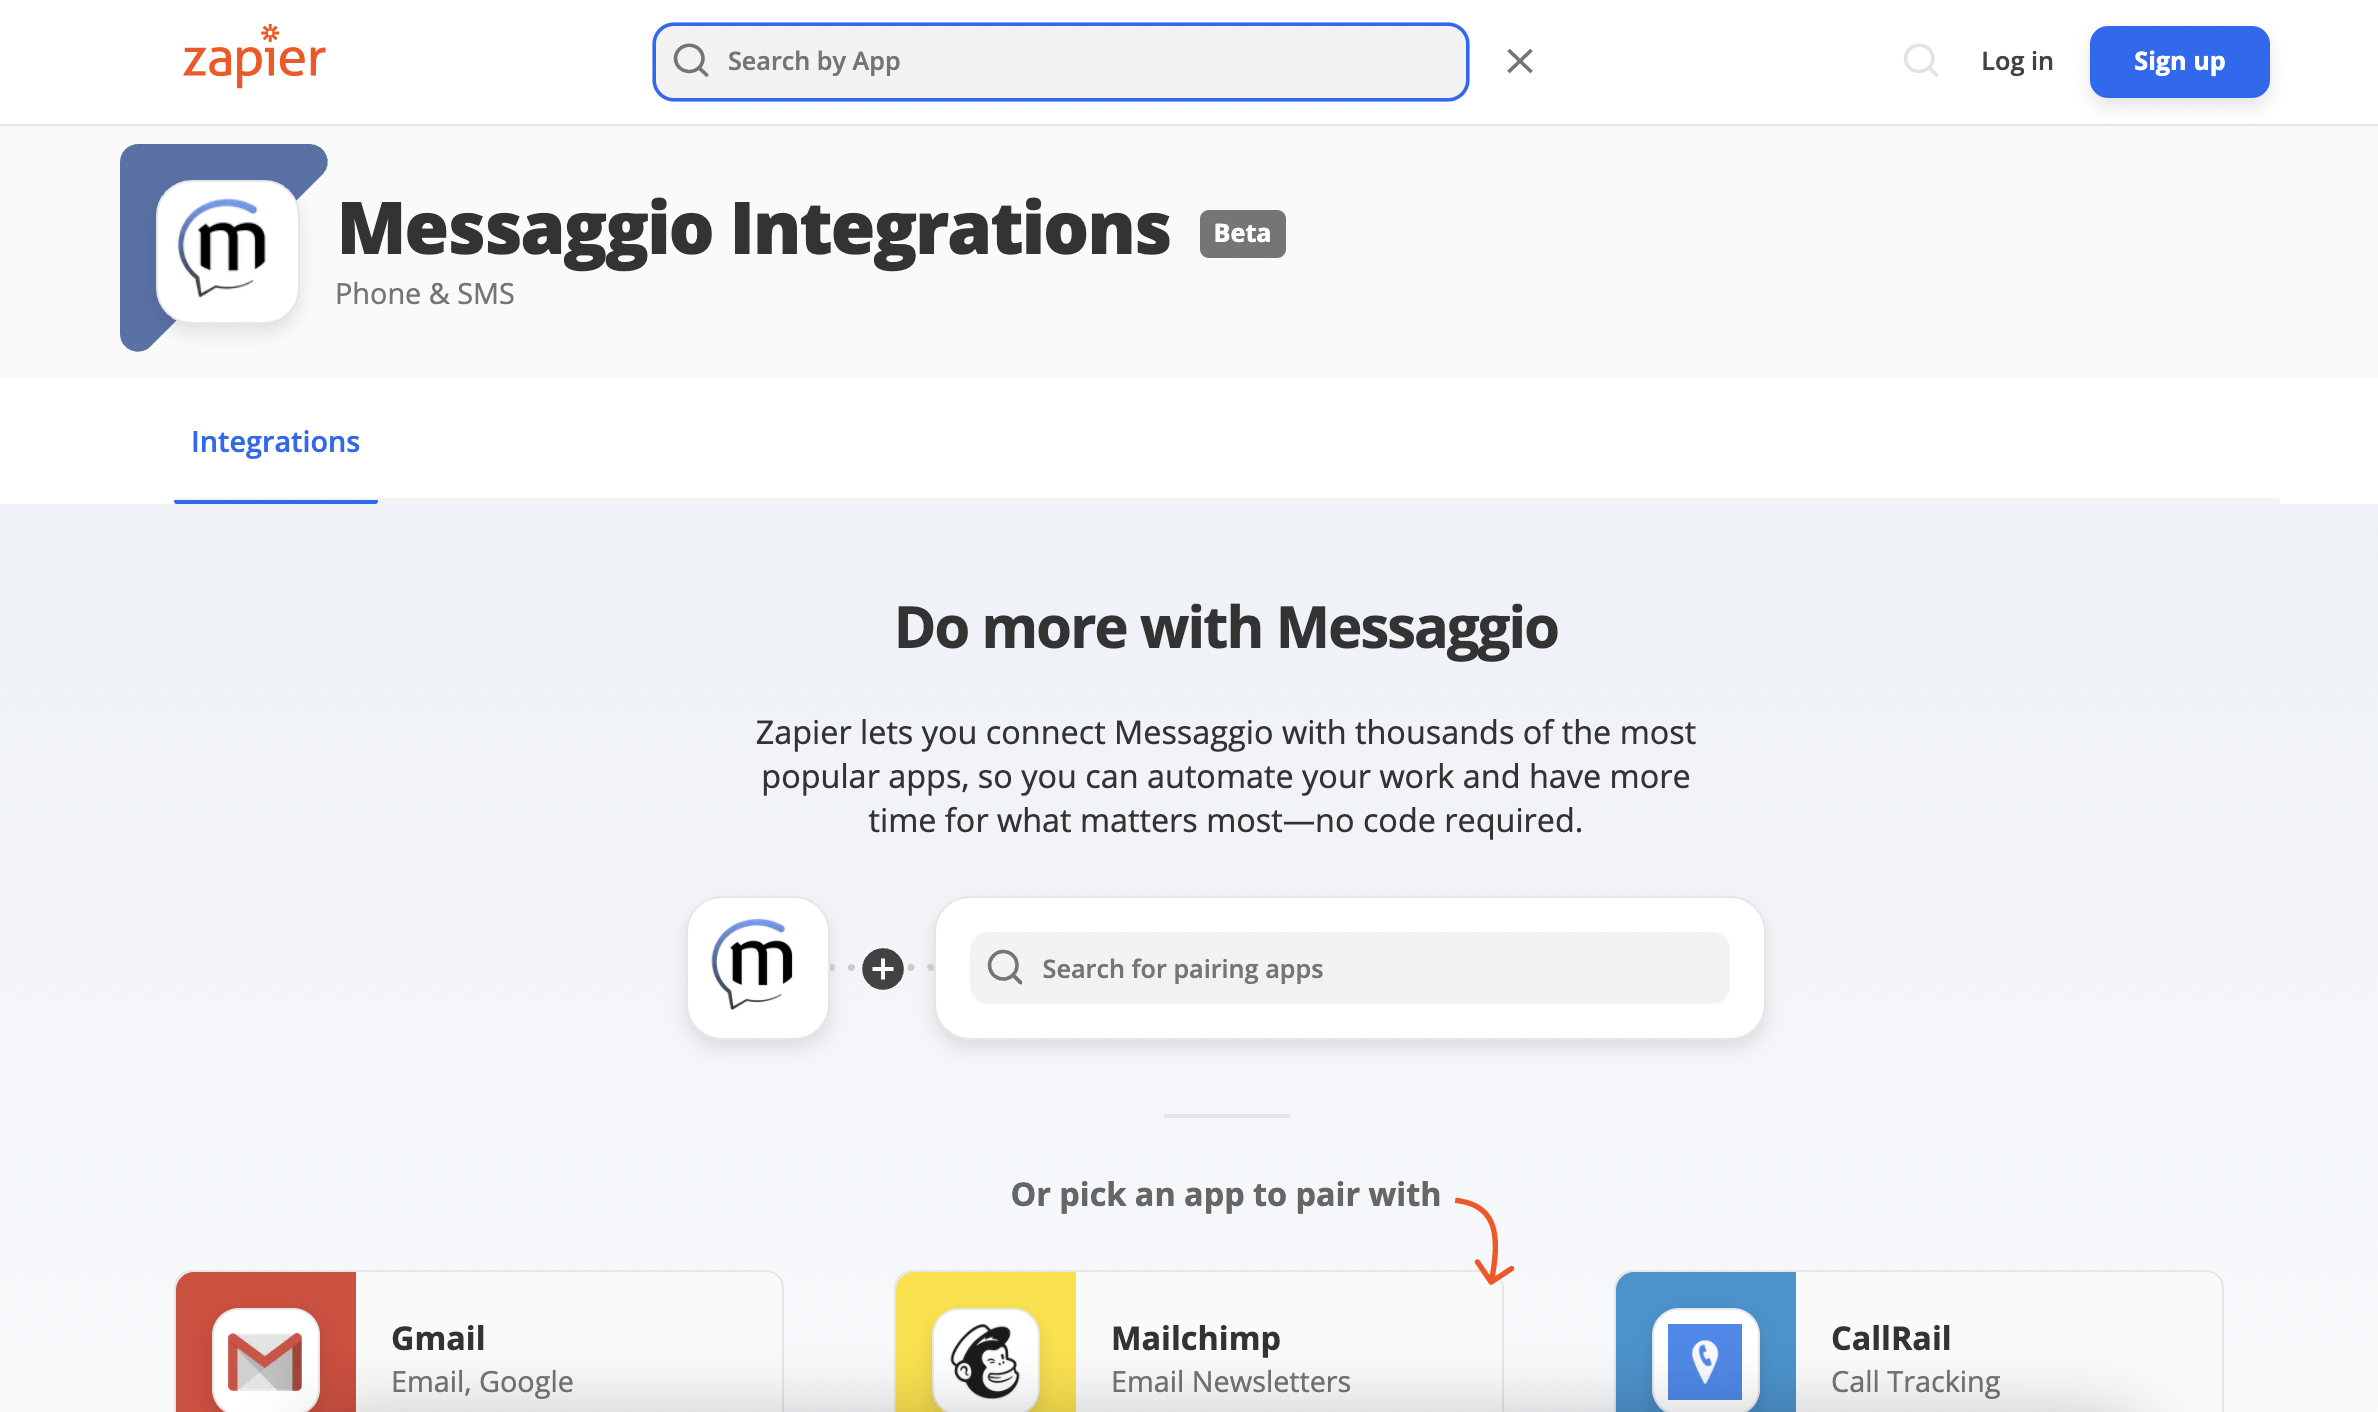
Integration scenarios with Messaggio in Zapier
To configure the integration of the source and receiver applications, a Zap template needs to be created. Below, we present 5 integration scenarios (Zap templates) that we offer to automate processes in Messaggio:
Messaggio and Stripe
Messaggio and Google Calendar
Messaggio and Google Sheets
Messaggio and Call Rail
Messaggio and Mailchimp
Sending out SMS after you make a payment through Stripe. Notify customers about different order statuses like placed order or subscription, successful payment, accepted refund, etc.
Sending SMS about events to Google Calendar. Remind colleagues, clients, and partners about an upcoming meeting or schedule changes. Not only that, but you can send SMS to employees at the end of an event reminding them to prepare a review of the meeting or other tasks, according to business processes.
Automatic creation of contact groups from Google Sheets for messaging via Messaggio. Send messages to the base of contacts, which are compiled and stored in Google Sheets.
Automatic creation of contact groups from Call Rail for messaging via Messaggio. Send messages to clients who called the company and were recorded by the call tracking system. You can send all contacts to Messaggio, or just tagged contacts.
Automatic creation of contact groups from Mailchimp. Send messages to new subscribers who have just been added to your Mailchimp audience.
All these are examples of Messaggio's connections to applications. Other scenarios are also possible. It is advisable to try out different integrations with Messaggio via Zapier to achieve maximum automation in the company's interactions with customers.
How integrations in Zapier work
To transfer data from one app to another, you need to create a connection. In Zapier, the connection between two applications is called Zap.
A simple Zap has two steps:
- Trigger — an event by which the data transfer process is started.
- Action — an event to be performed if the Trigger is activated.
At the Trigger step, you need to specify the app from which you want to take data, and at the Action step, specify the application you want to transfer data to.
How to Build a Zap Template
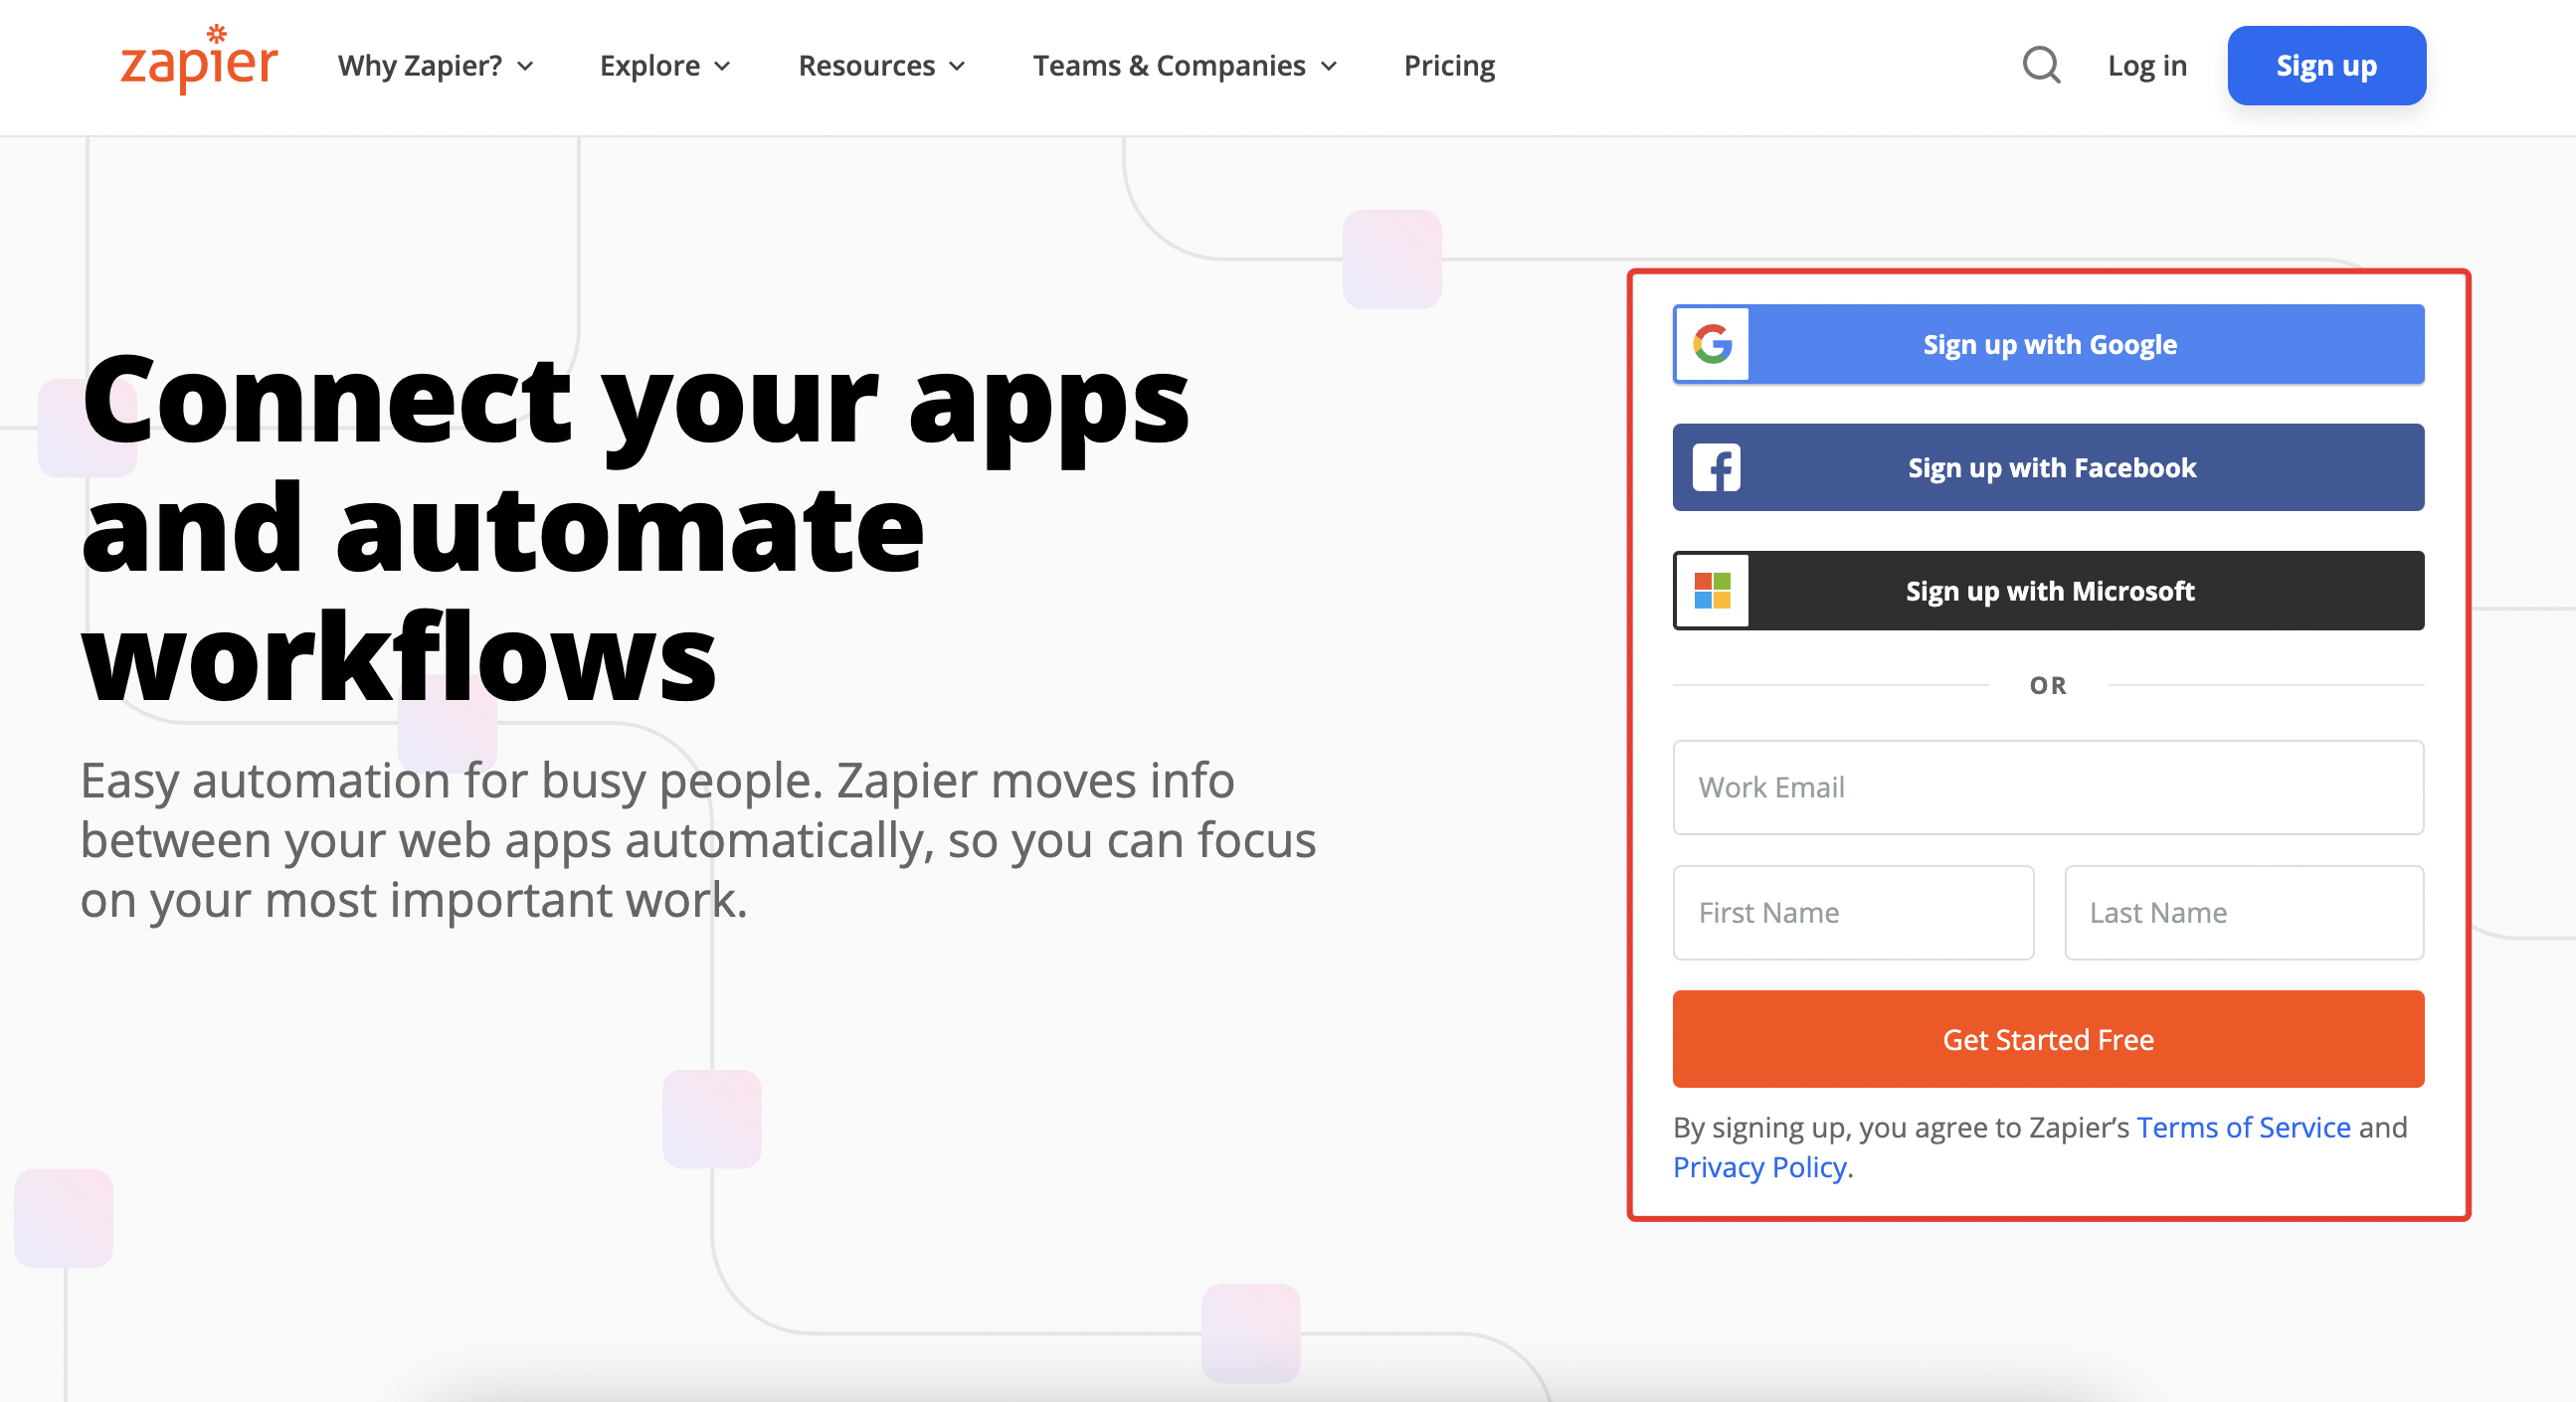
Log in to your Zapier account or create a new account.
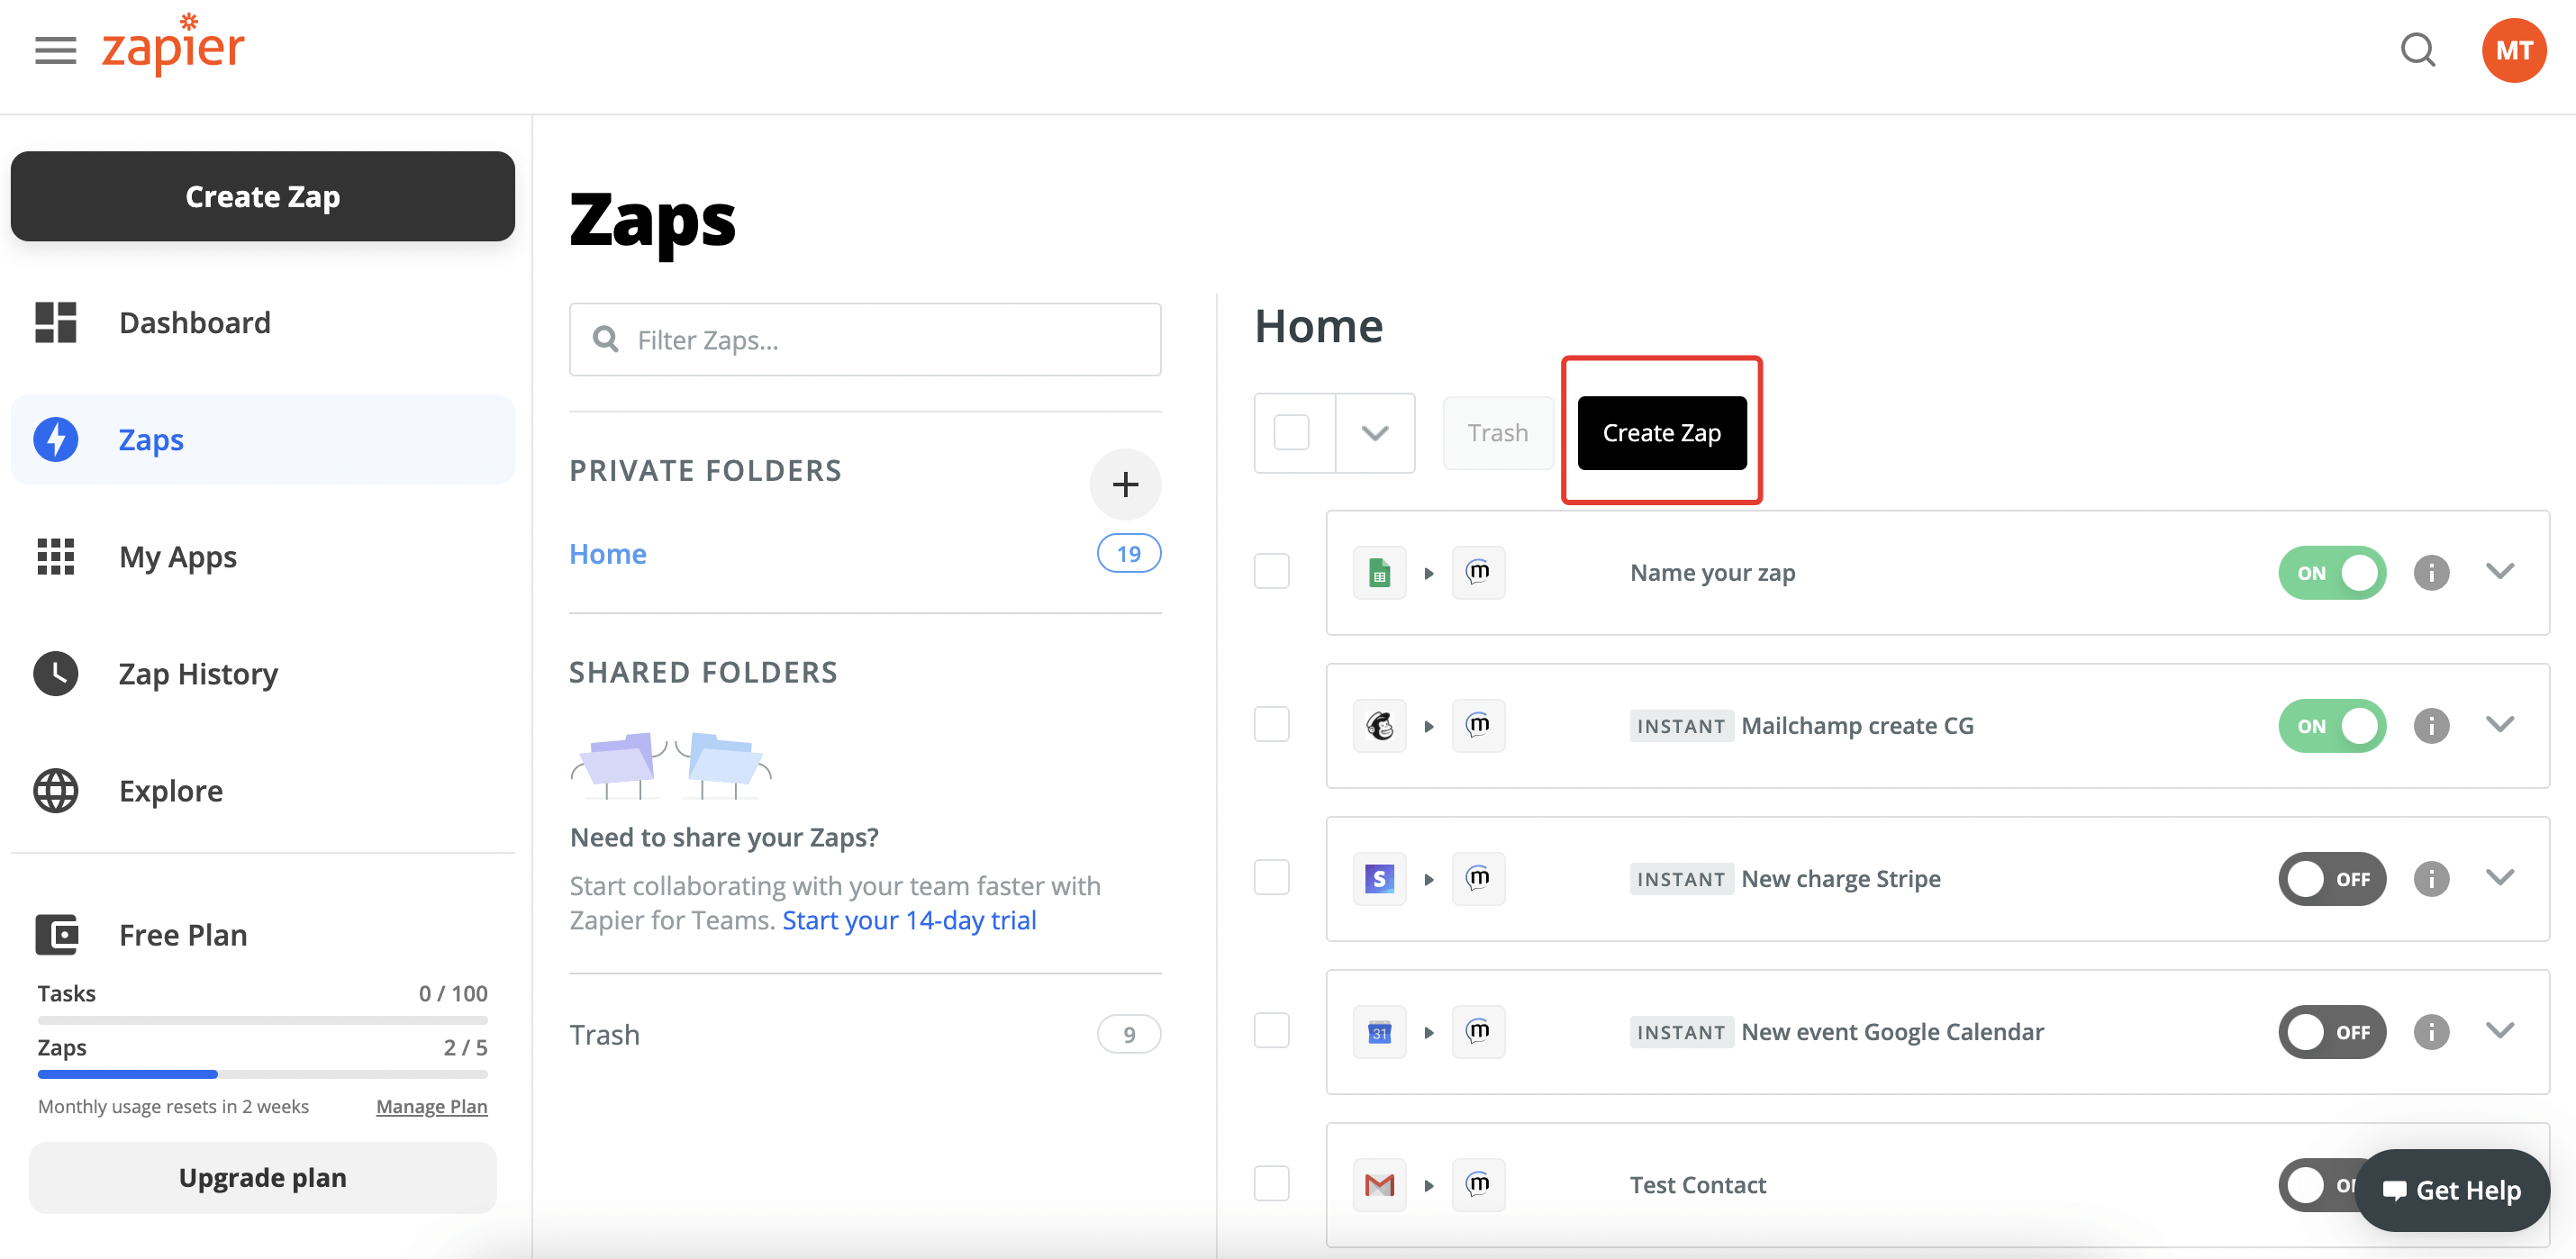
The main Zapier dashboard will open in front of you. Click Create zap.
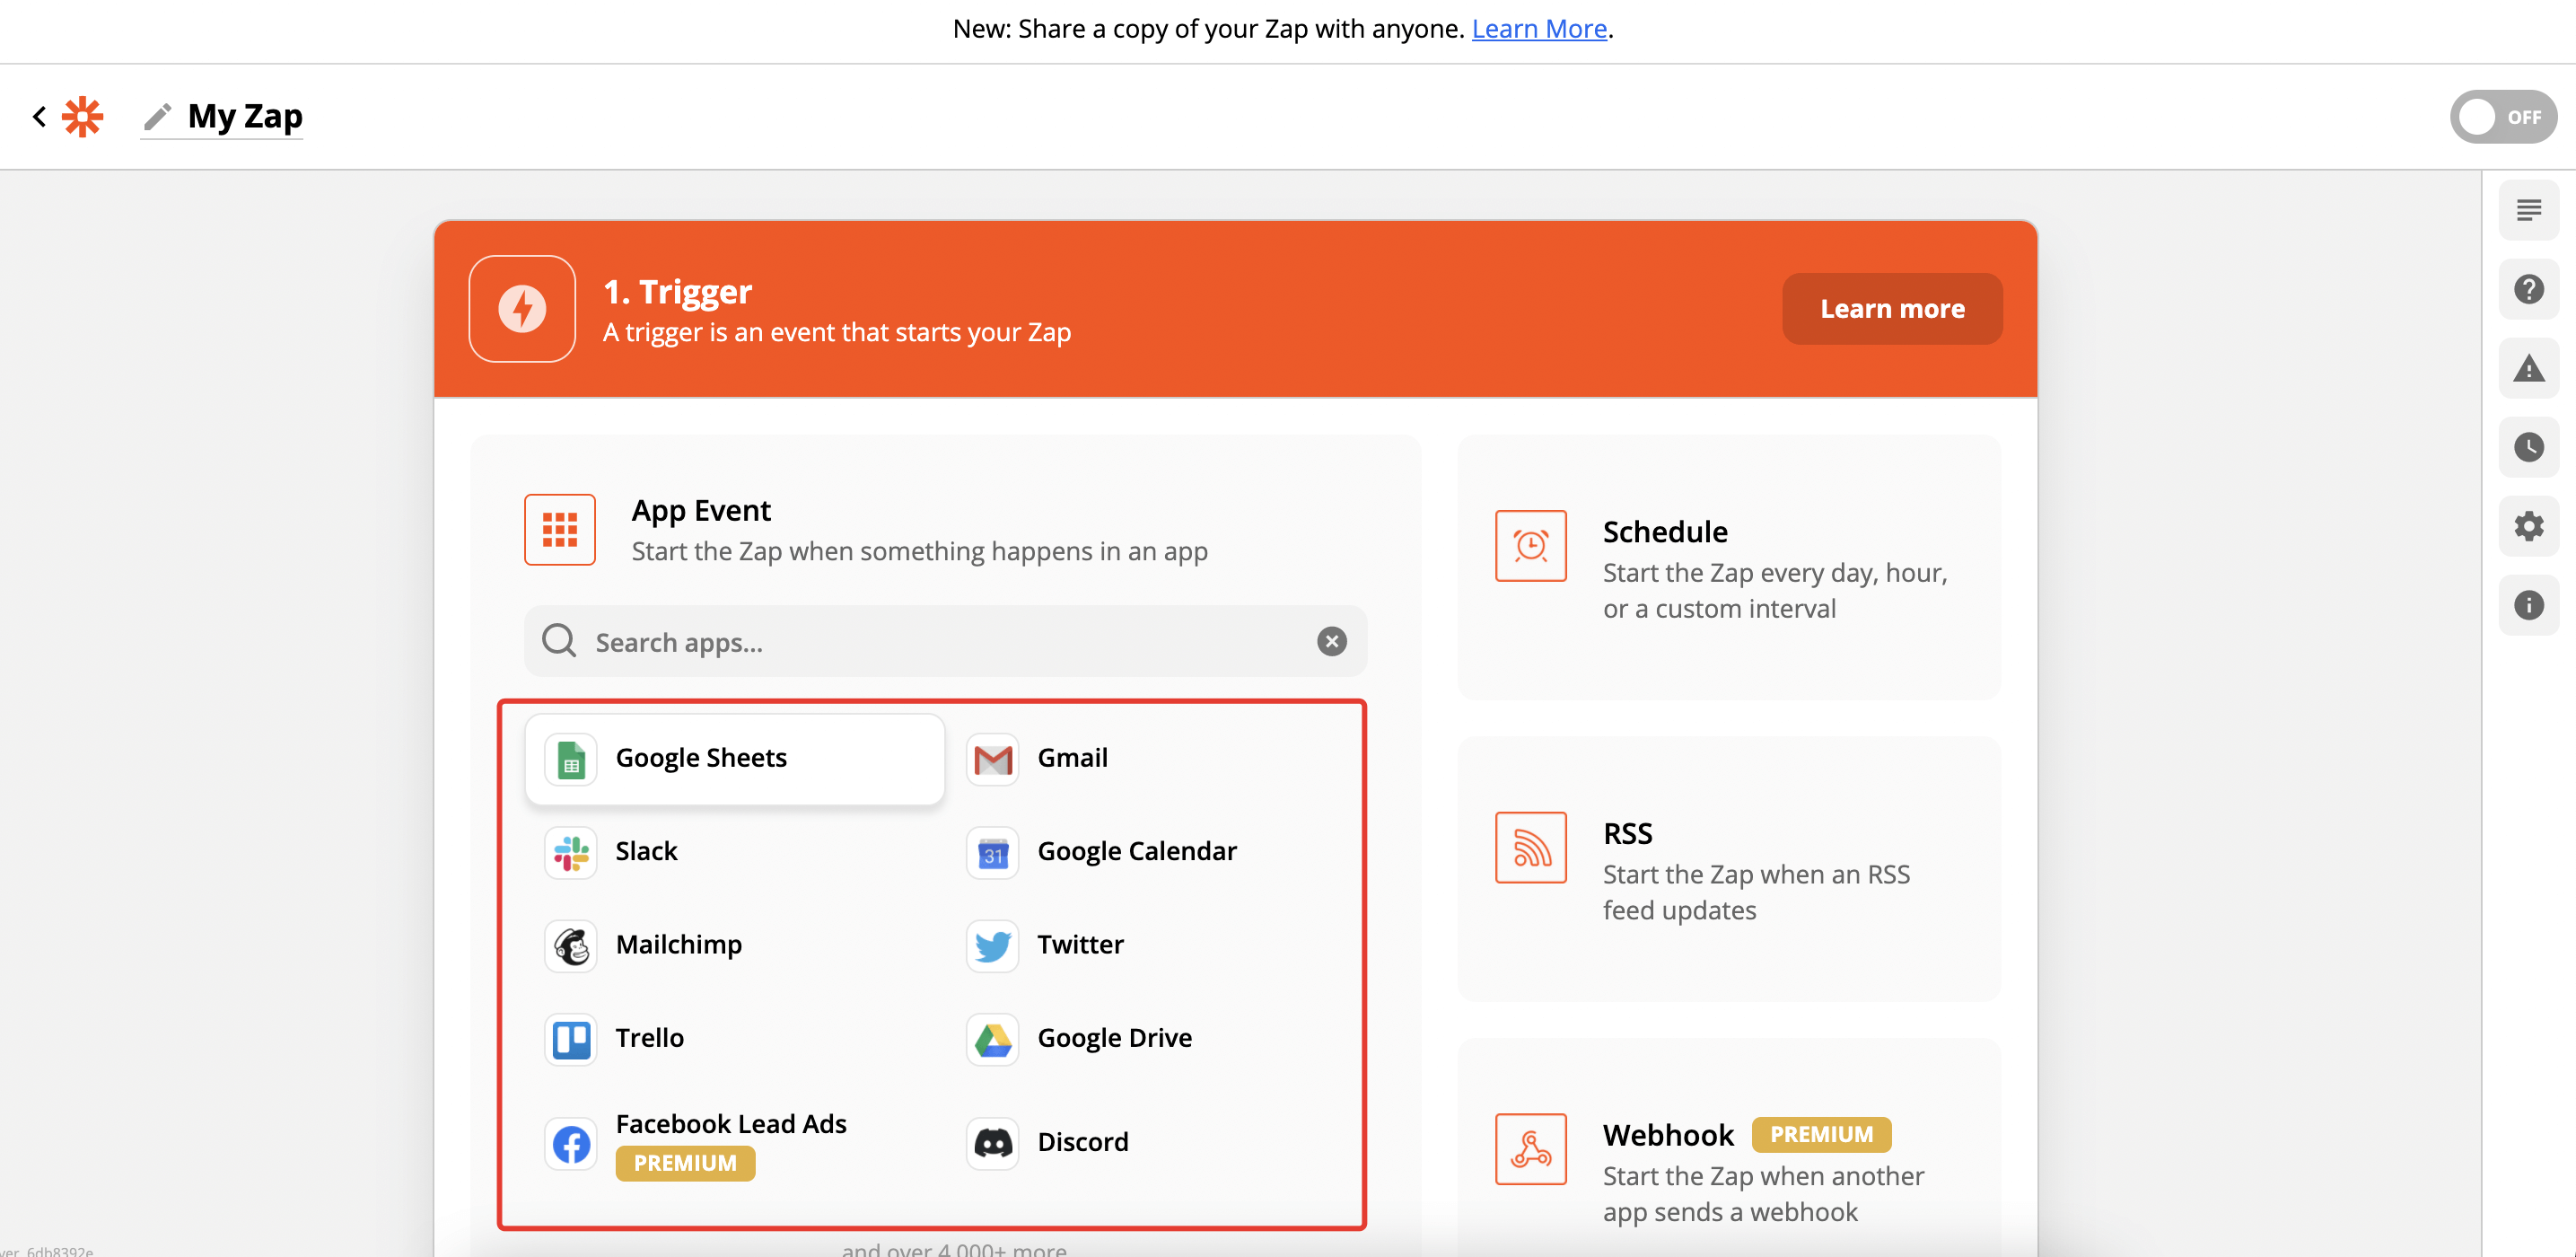
Here are the steps for creating a connection (Zap). Create a Zap using the following algorithm:
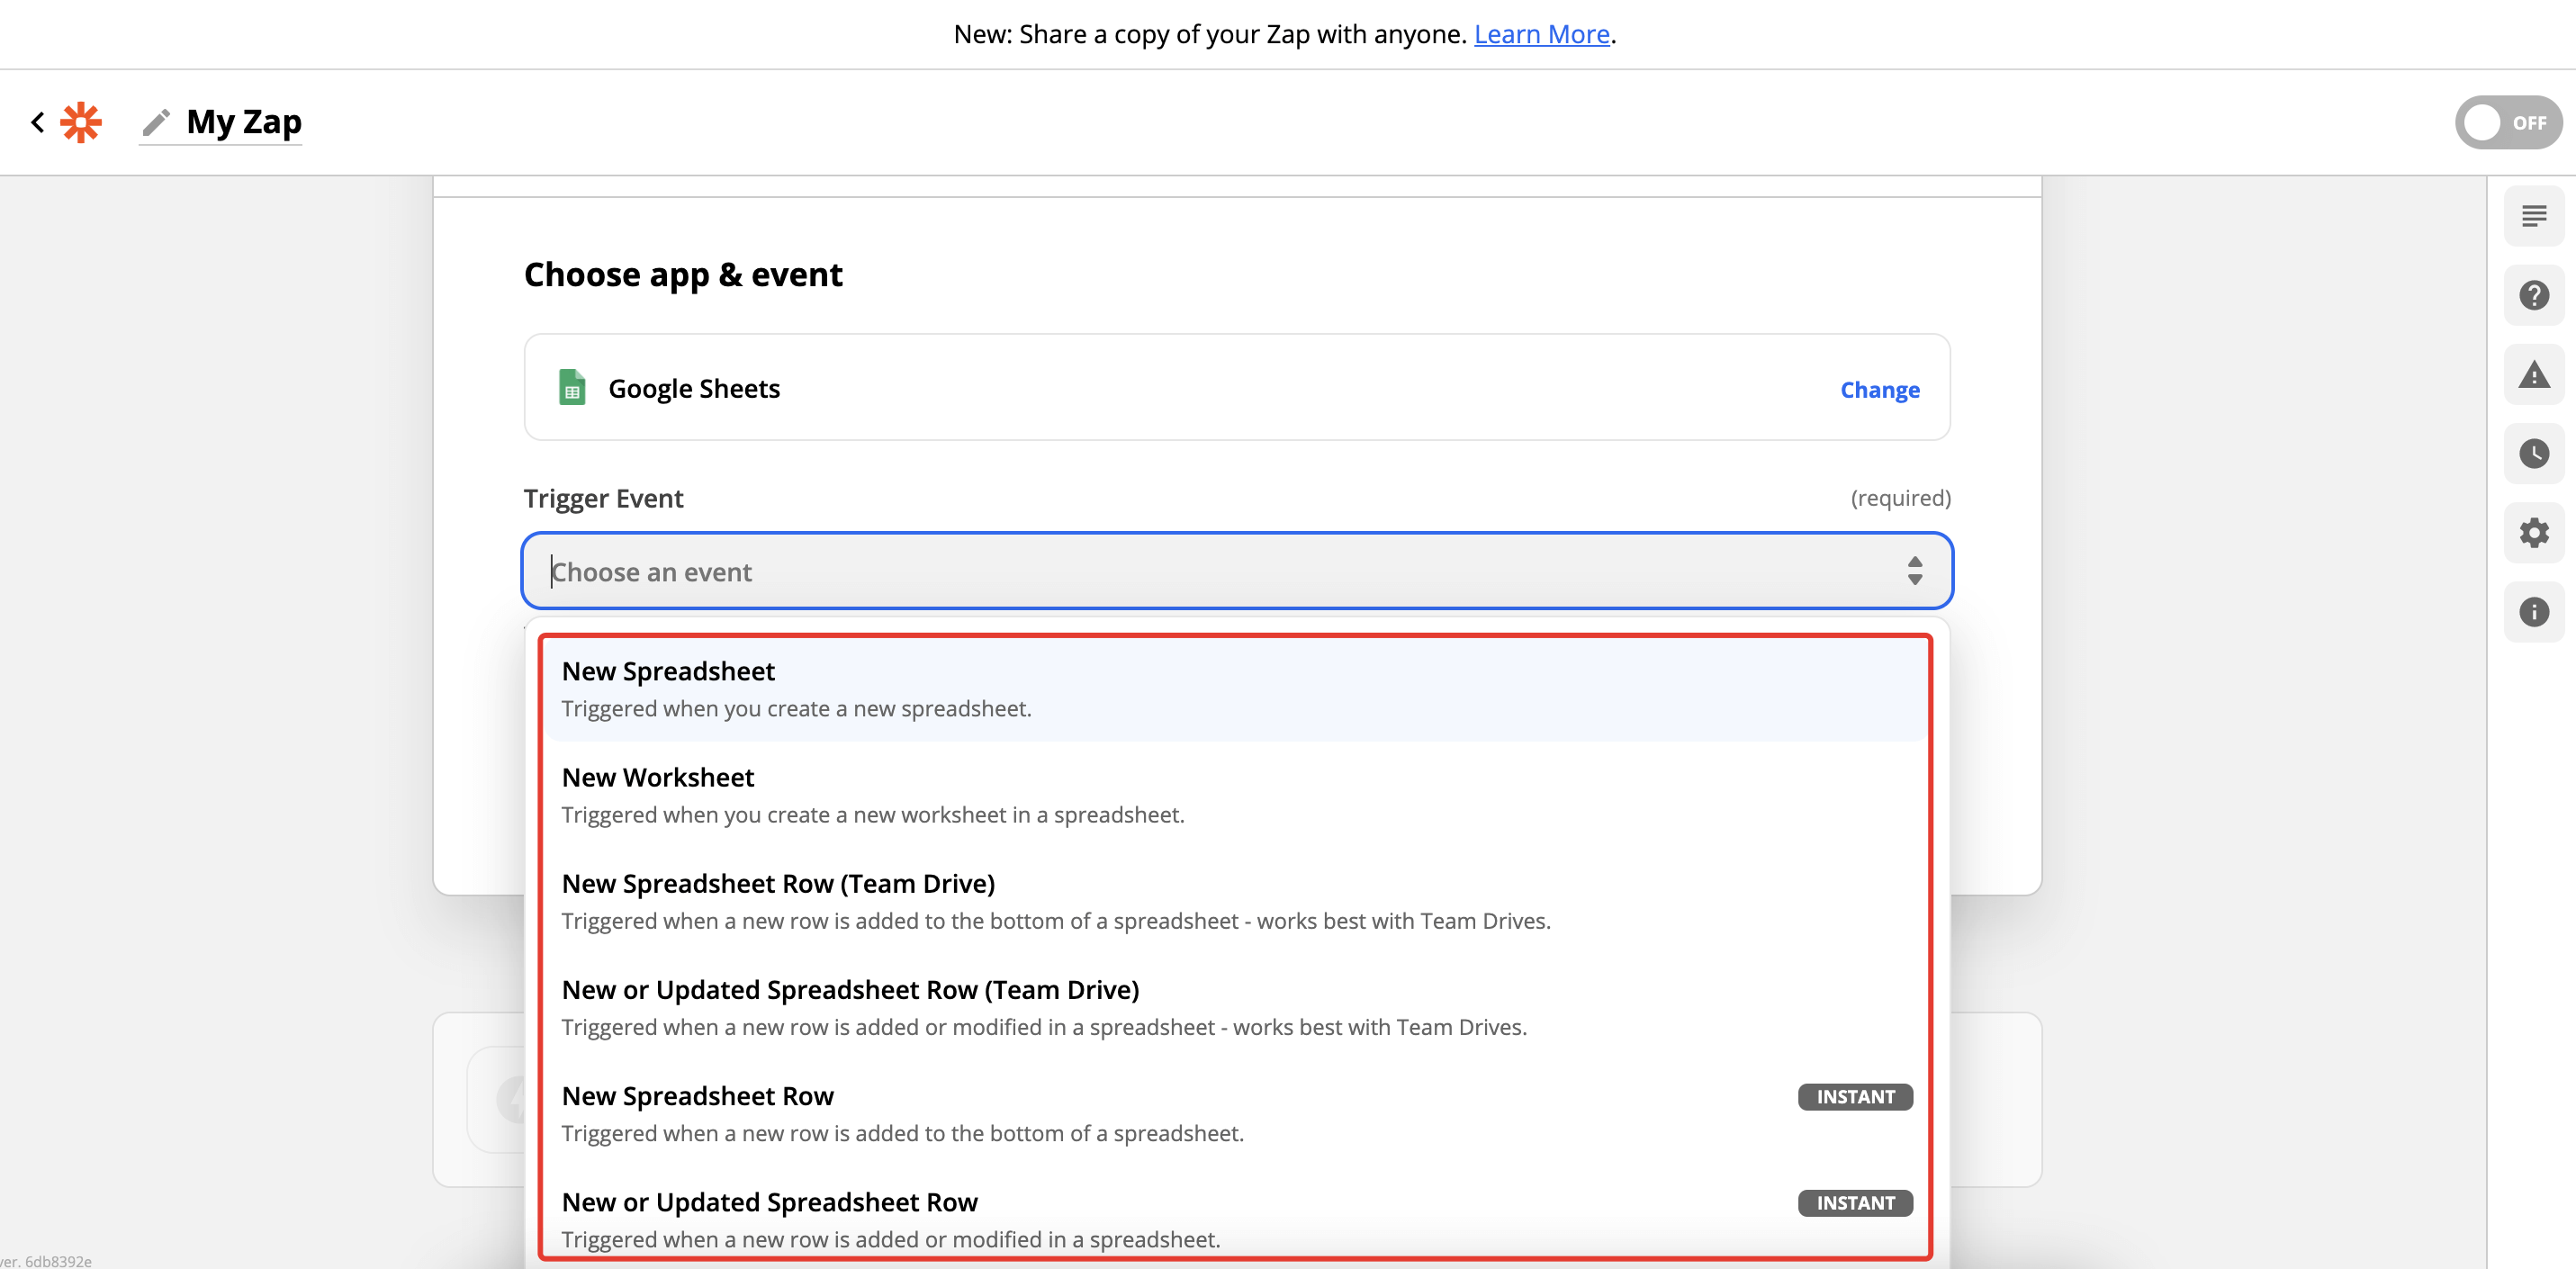
- Select the app in which the trigger should fire.
- Specify the trigger event that will activate Zap. The list of possible events is unique for each app.
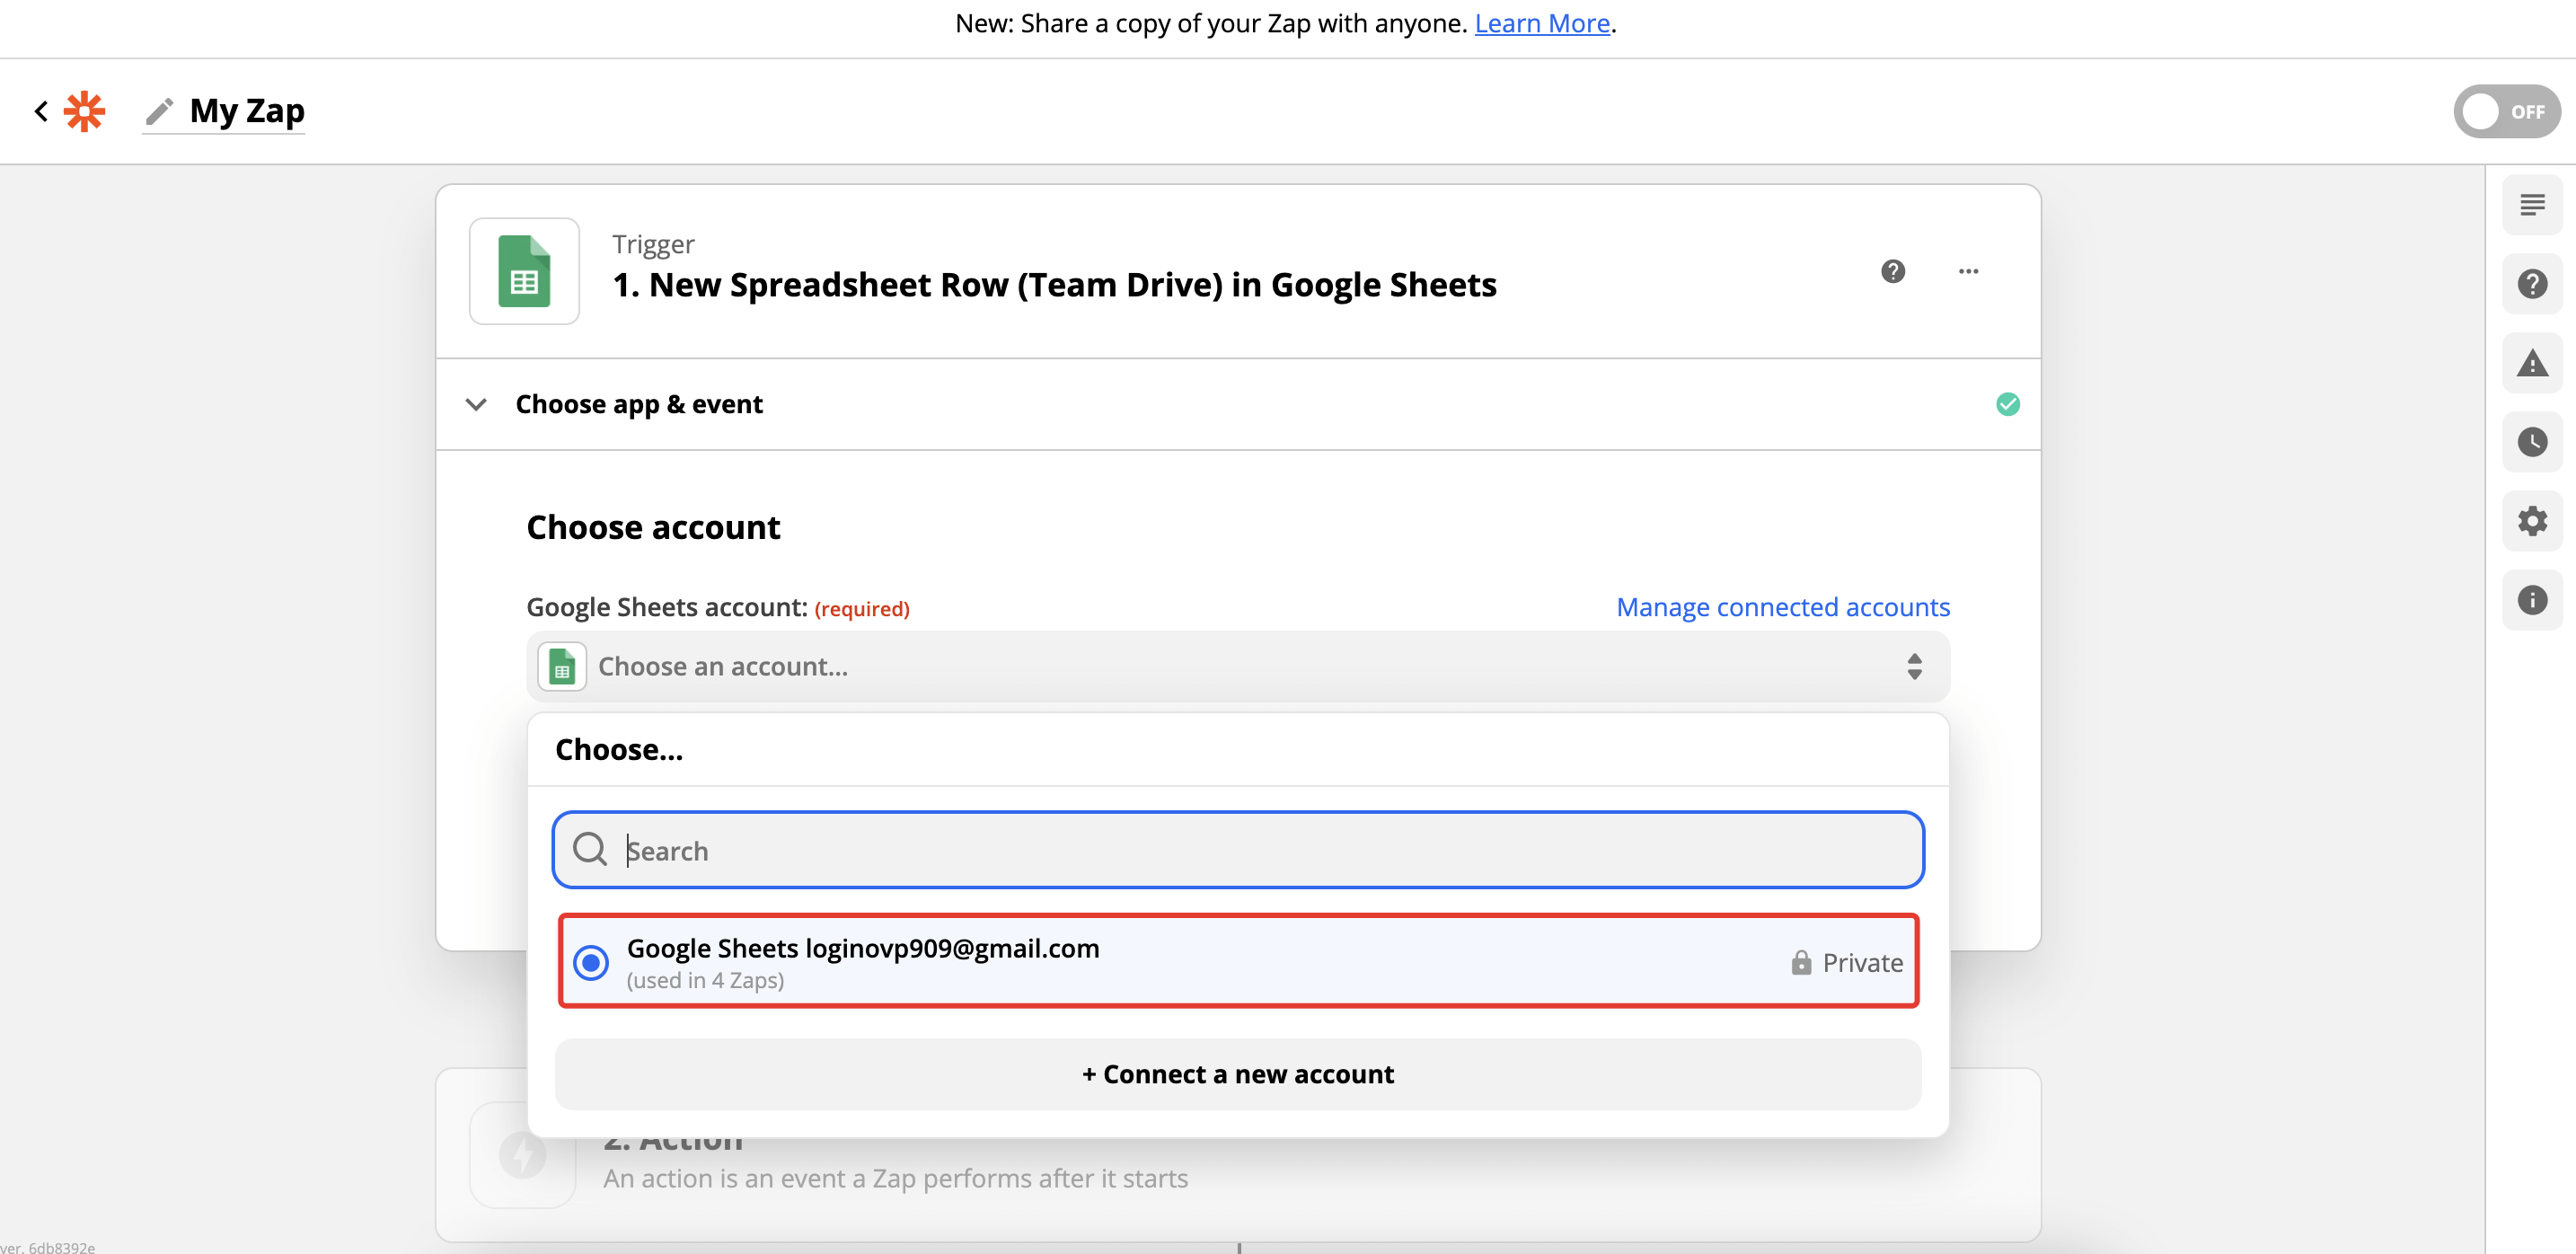
- Select the account of the application from which you want to receive data. To do this, click +Create a new account in the Choose account field in the drop-down list. To set up subsequent integrations with this app, you will not need to link an account again — it will be saved in the drop-down list.
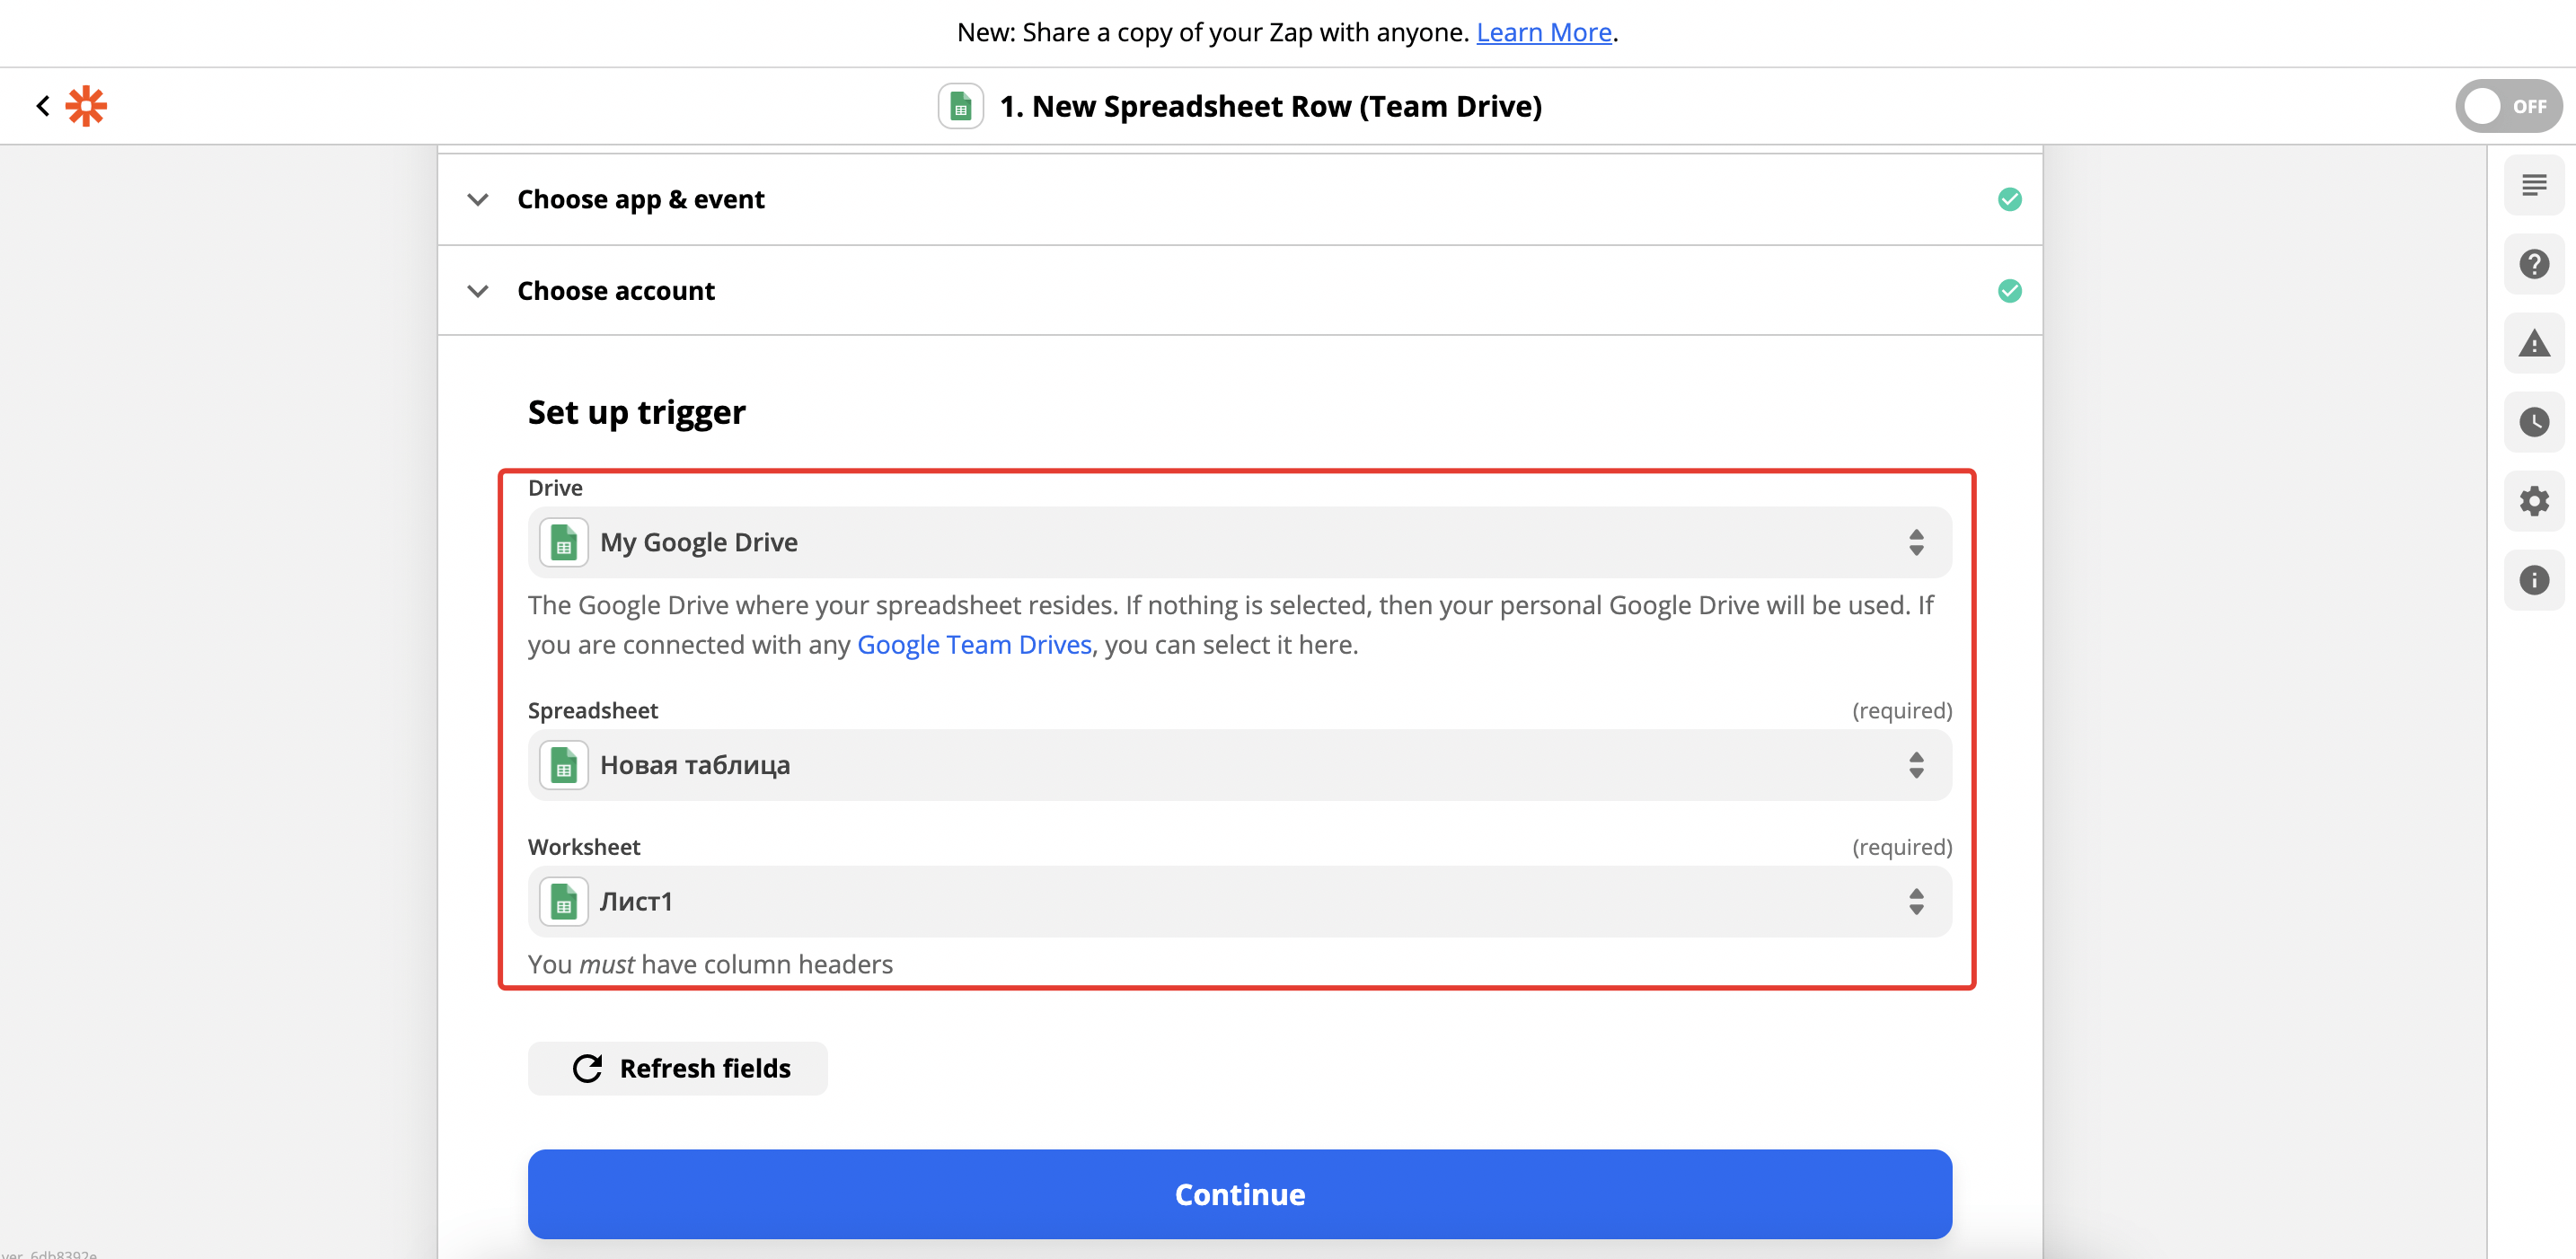
- If the trigger fires when creating new data in the source, you’ll need to specify the file, table, fields from which you want to take data — follow the prompts in the interface.
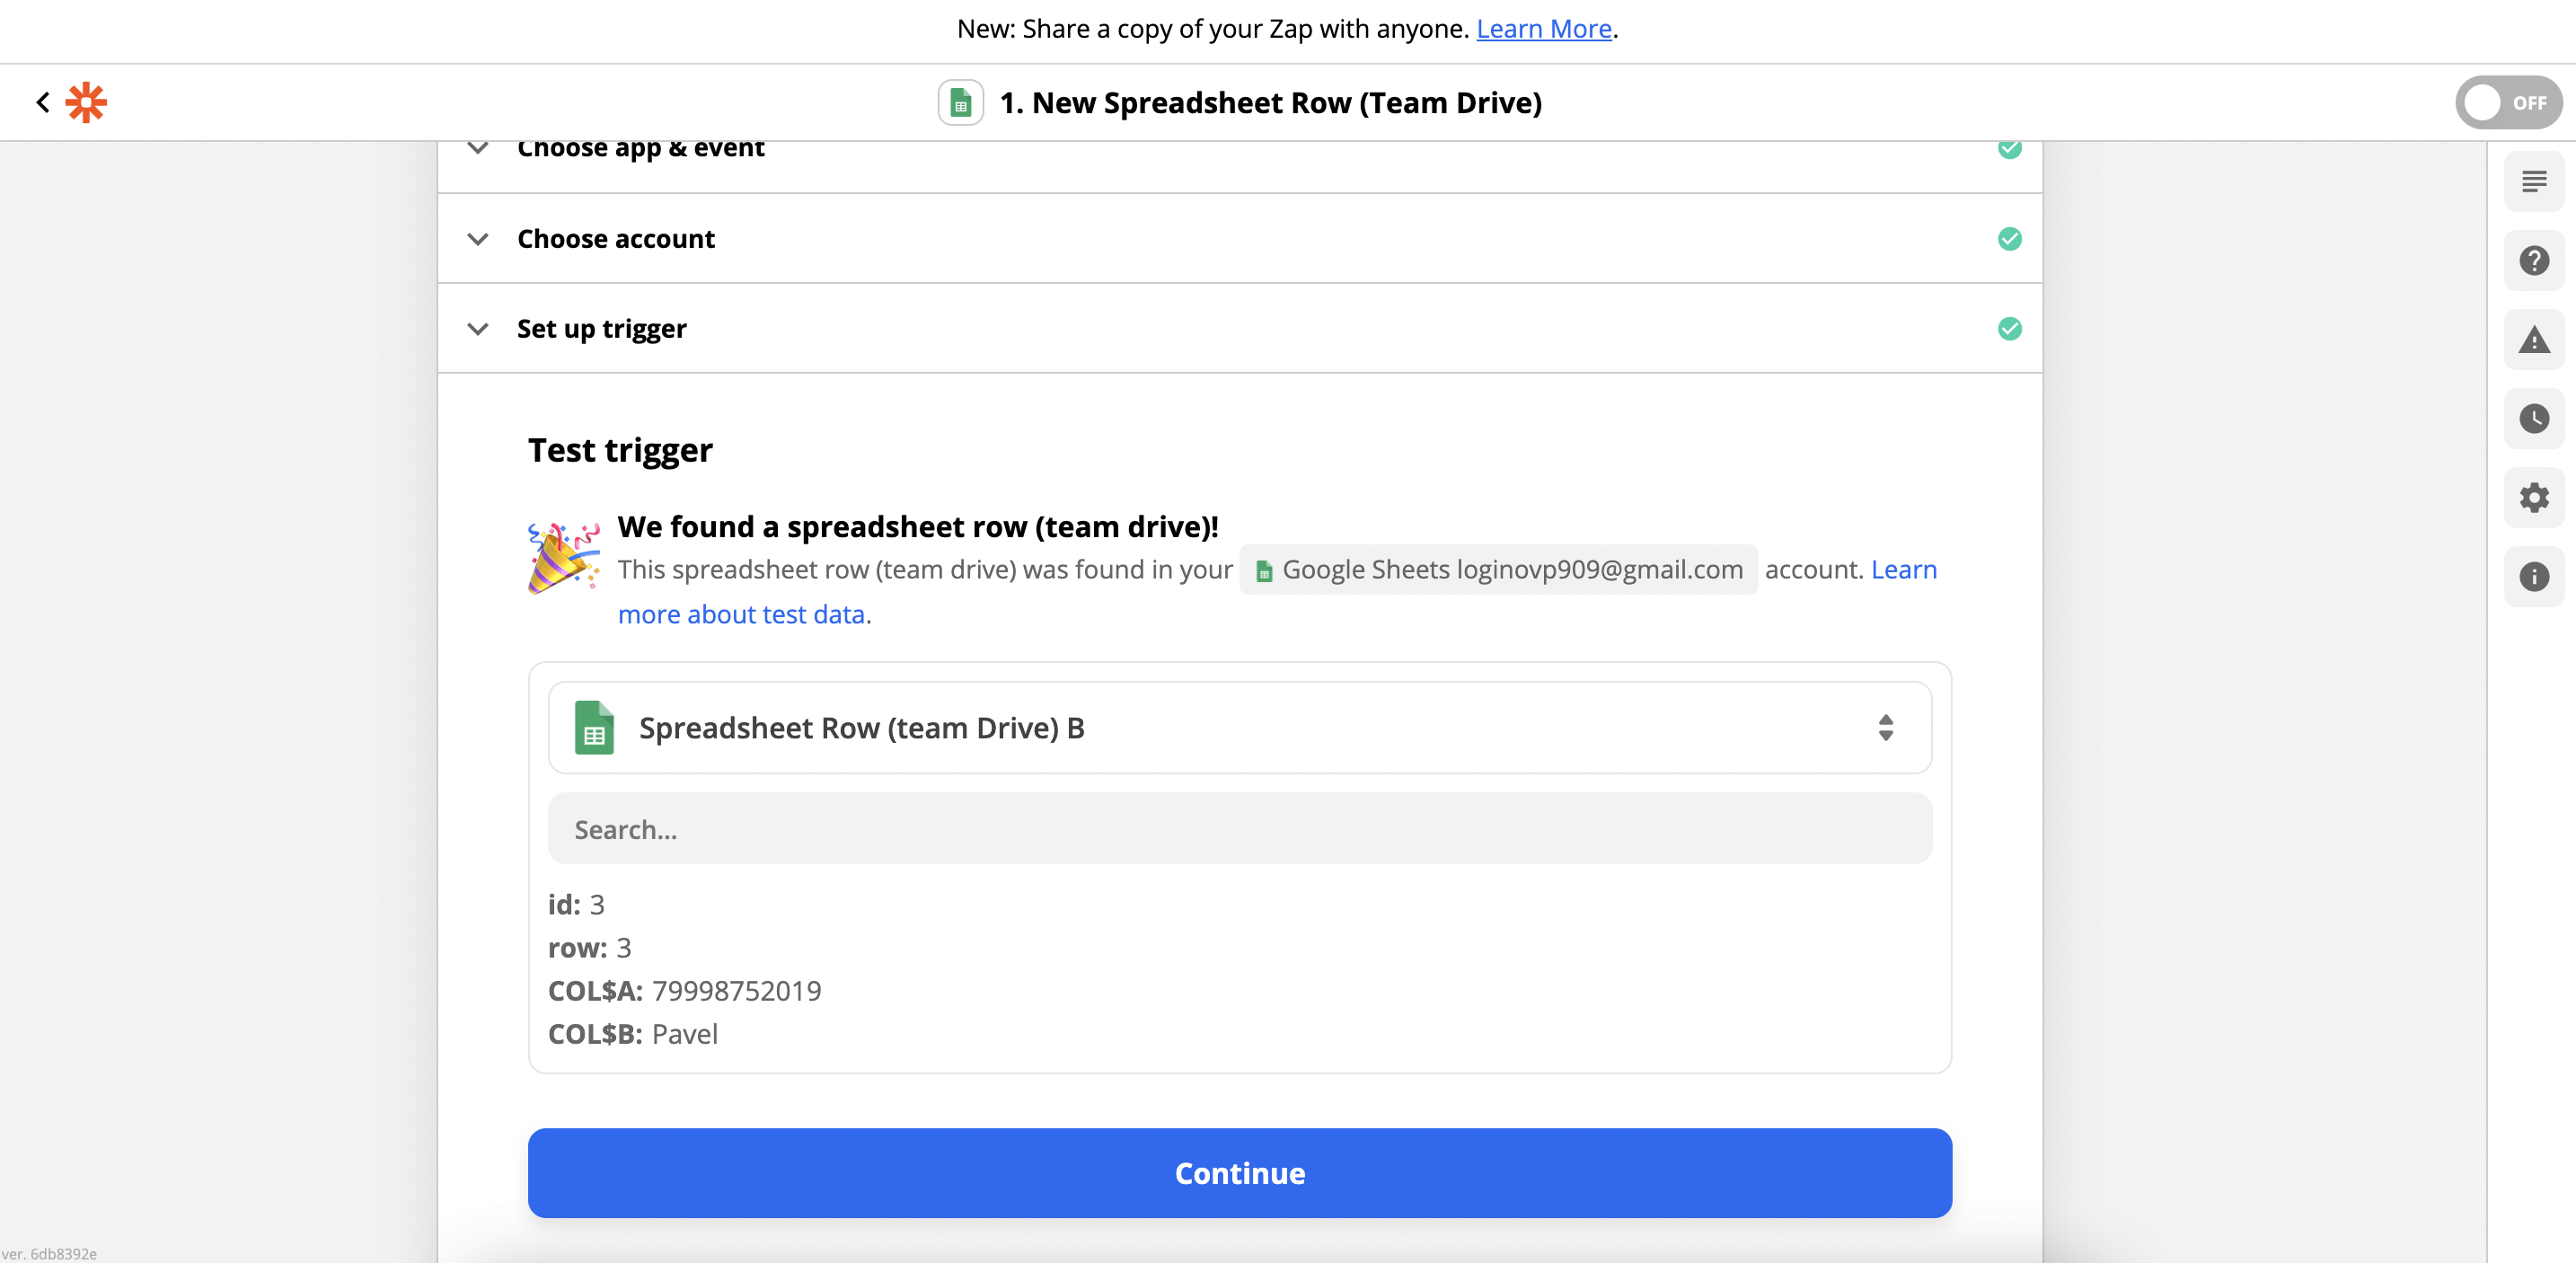
- Test the trigger and check the data that will be sent to Messaggio. To do this, click Test trigger.
- Select Messaggio as the app in which the action should occur.
- Indicate the action that suits your needs. There are two actions available in Messaggio:
- Select the Messaggio account you want to transfer data to. To do this, you have to click + Create a new account in the Choose account field in the drop-down list. To set up subsequent connections with this app, you will not need to link an account again as it will be saved in the drop-down list.
- If the action you need to perform is Send SMS, you have to specify the Sender's ID, Messaggio login, the field from which the phone number will be taken to send the message, and the text the message should contain. If your action is Create Contact, you have to specify the Contact group to which the new phone number should be added, as well as the fields in the source from which you want to get data for substitution in Messaggio variables.
- Check the correctness of the data and test the action. To do this, click Test and continue.
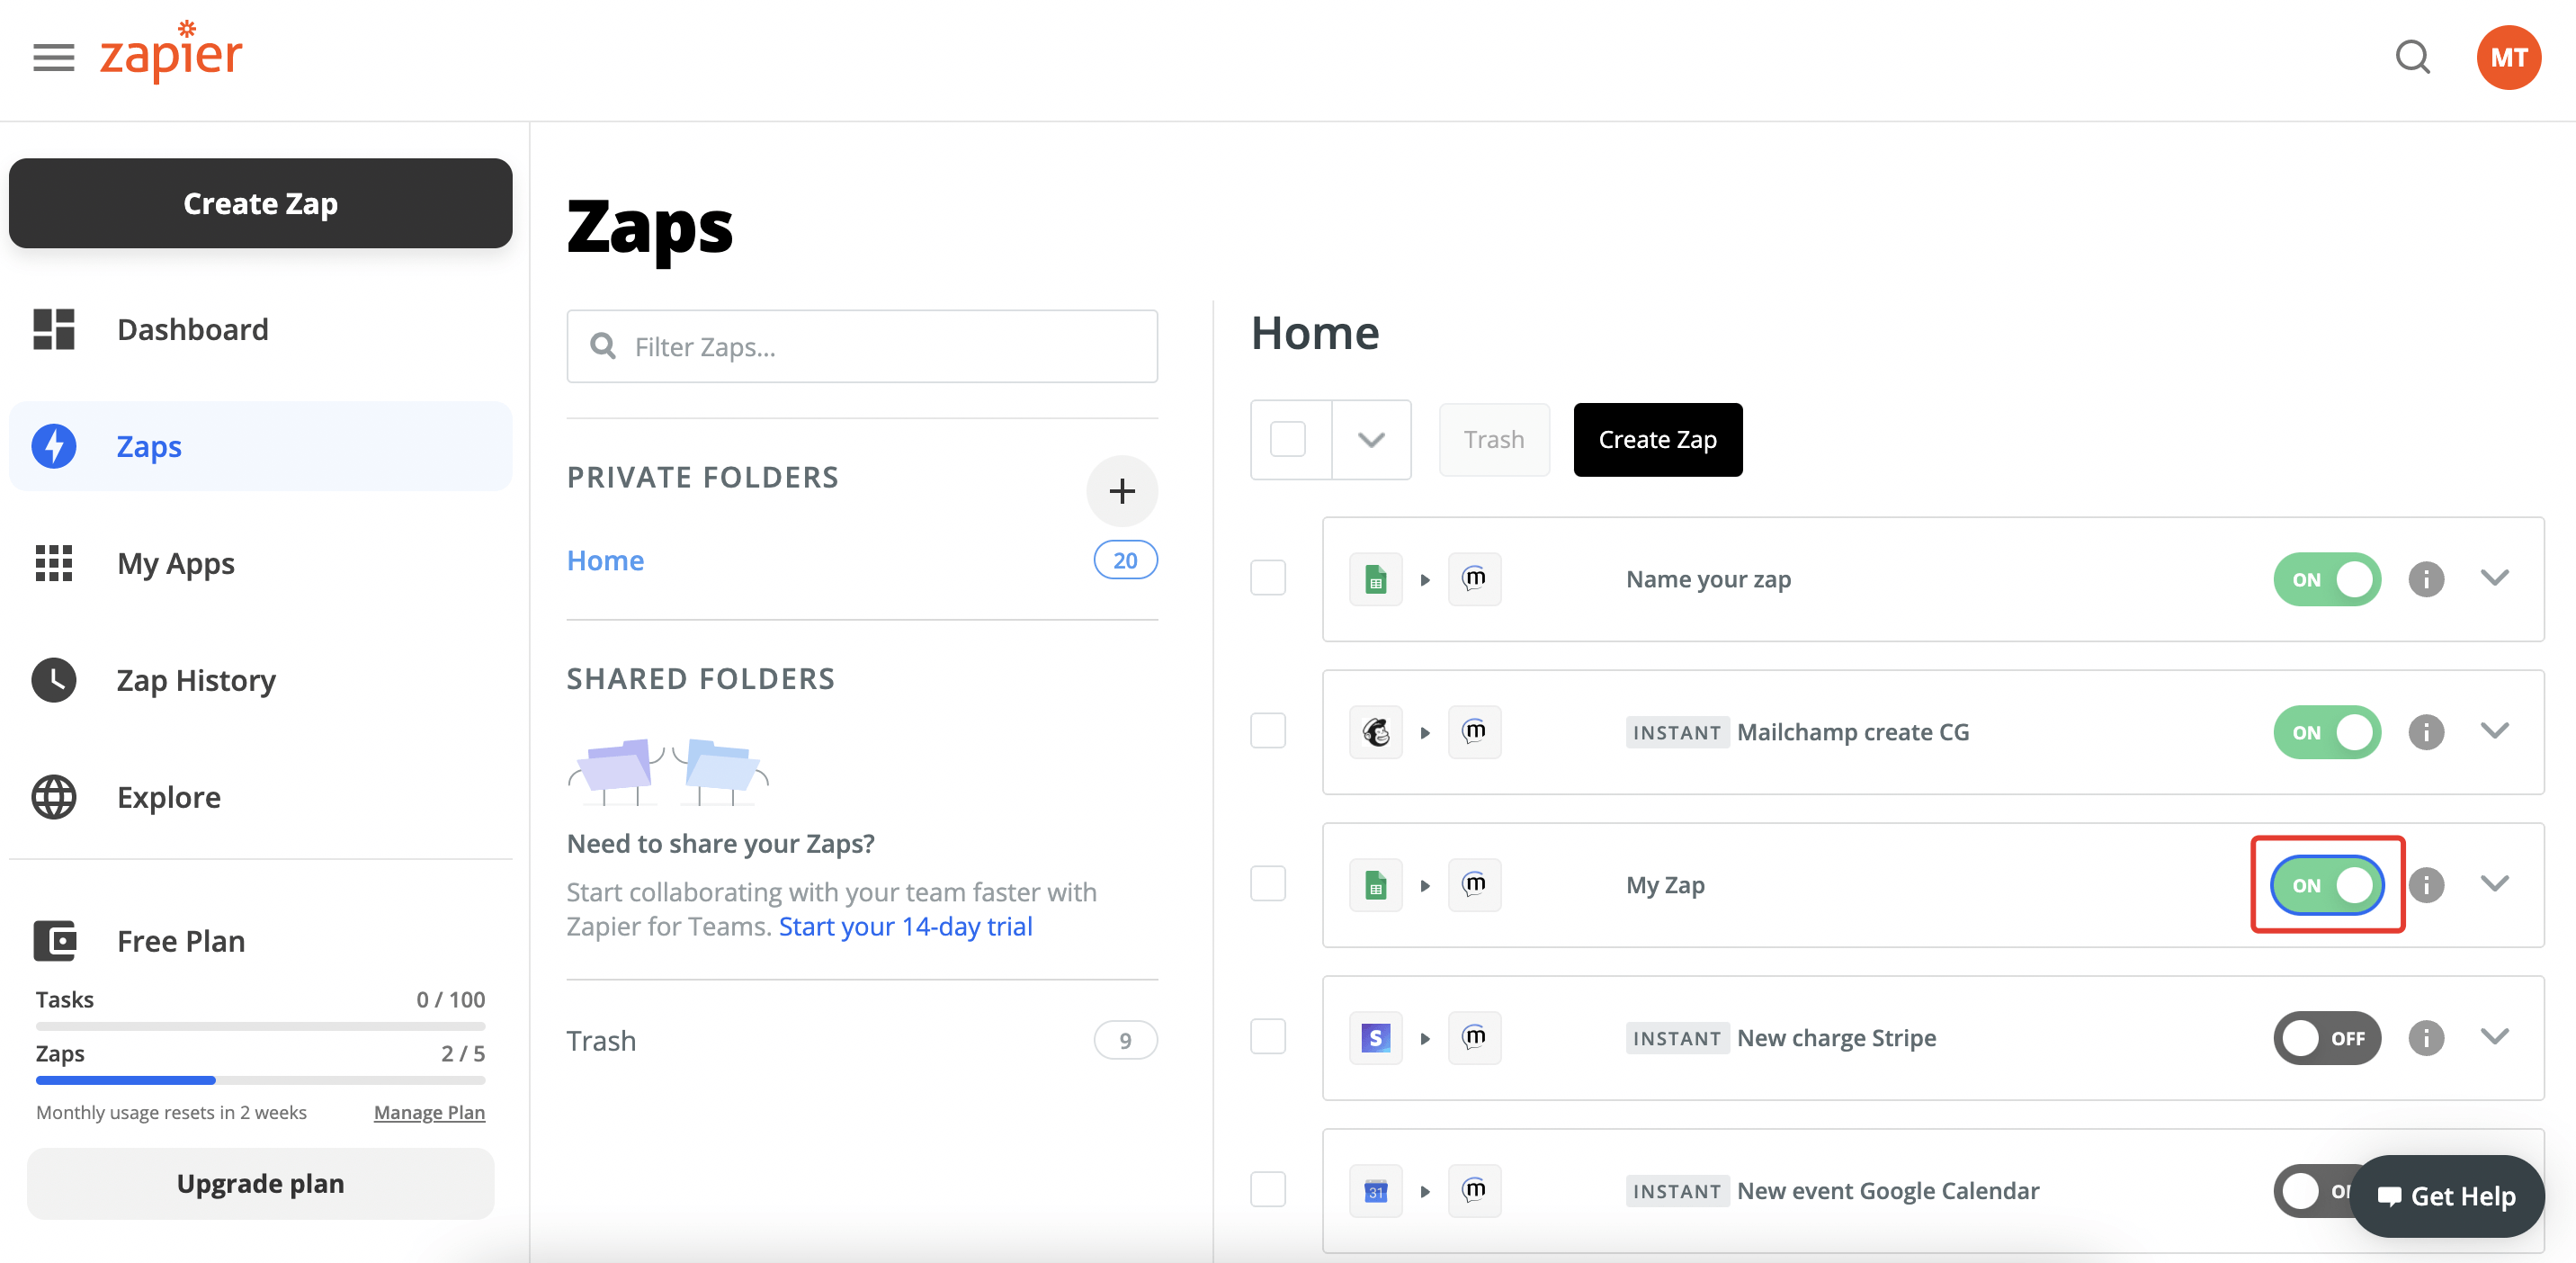
- Turn on your Zap. To do this, you have to change the position of the button next to Zap in the list of all connections created in the account.


Congratulations, you've set up a connection! Now the required action will take place in Messaggio, and will be activated by a trigger in the application of your choice. When on a free plan, Zapier allows you to create just a maximum of 5 Zaps.
Review
We've covered how to set up connections between Messaggio and other apps in Zapier. If you want to learn how to customize a specific integration scenario in Zapier, then read the instructions about Messaggio’s integrations with popular apps.