How to create a blacklist of contacts

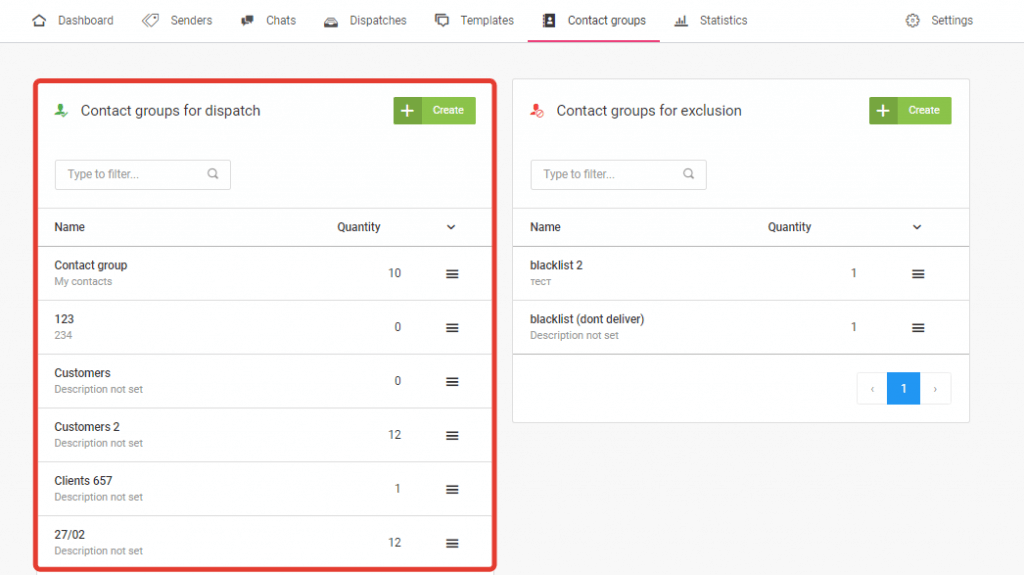
Messaggio provides the ability to create contact groups to be excluded from the dispatch. Blacklists are useful when you need to exclude users who have withdrawn consent to receive messages. Also, using blacklists, you can filter users without changing the group of contacts for dispatch.

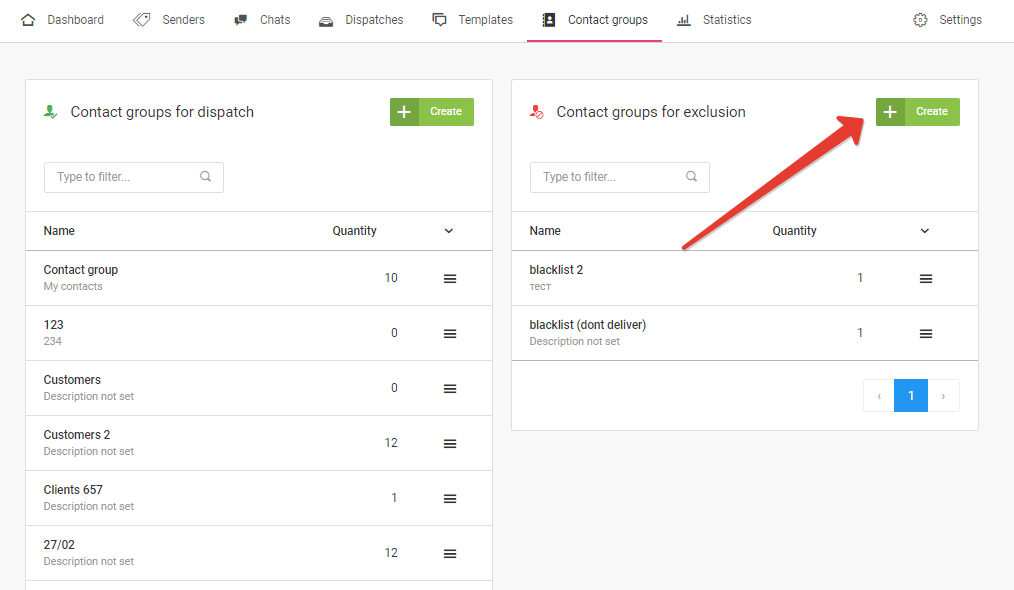
To create a blacklist of contacts, click the «Create» button in the «Contact groups for exclusion» section.

Create contact group for exclusion

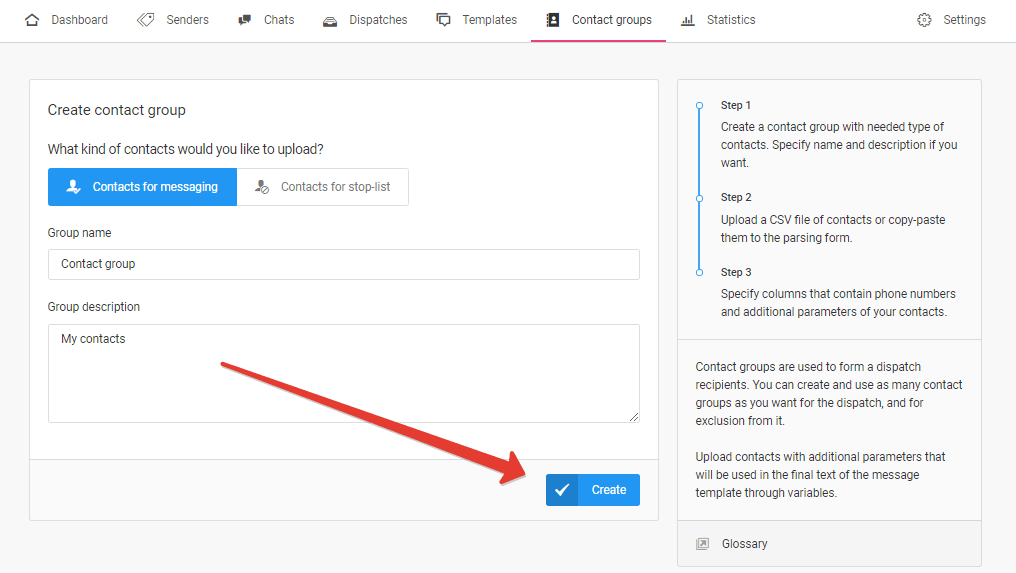
Select the type of contacts to upload — «Contact groups for exclusion», specify the name and description of the group. Click «Create».

Contacts for stop-list

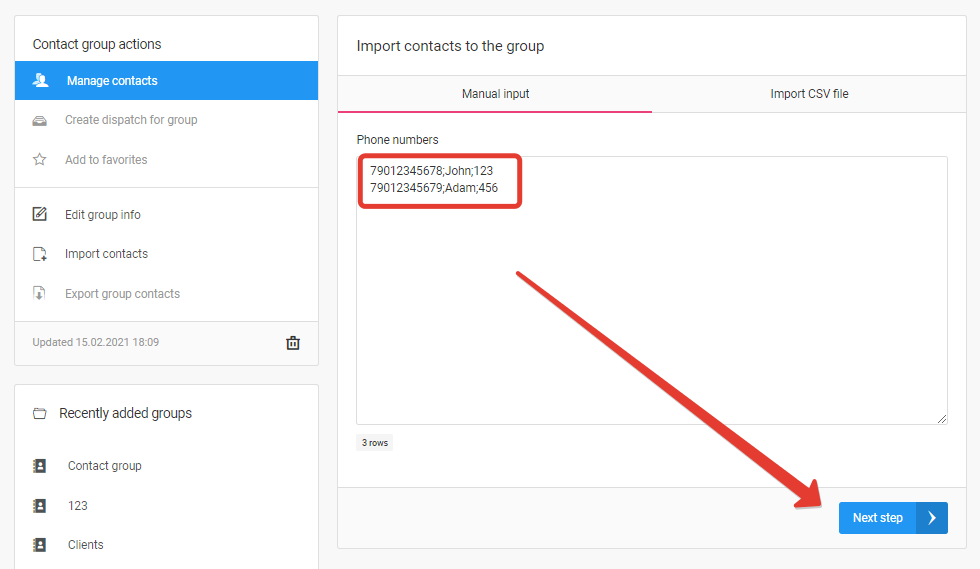
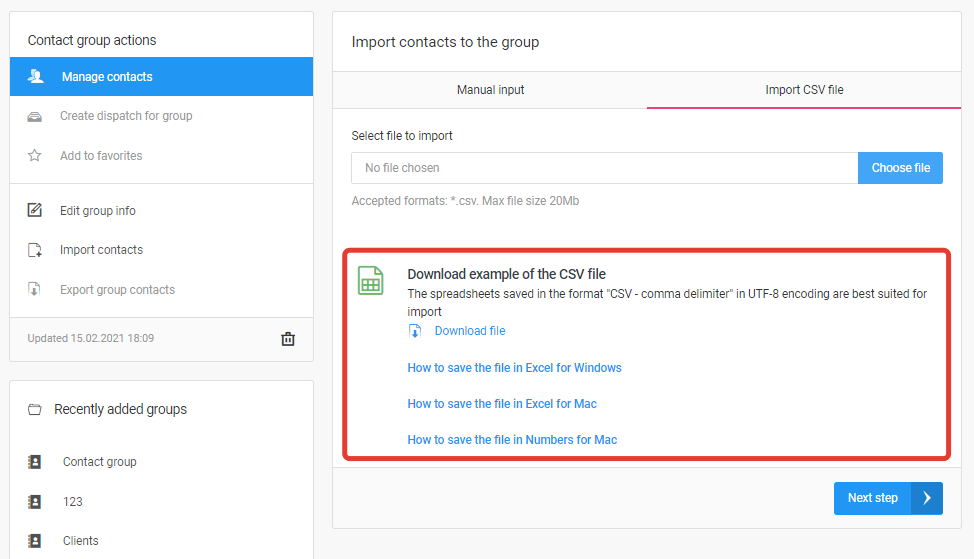
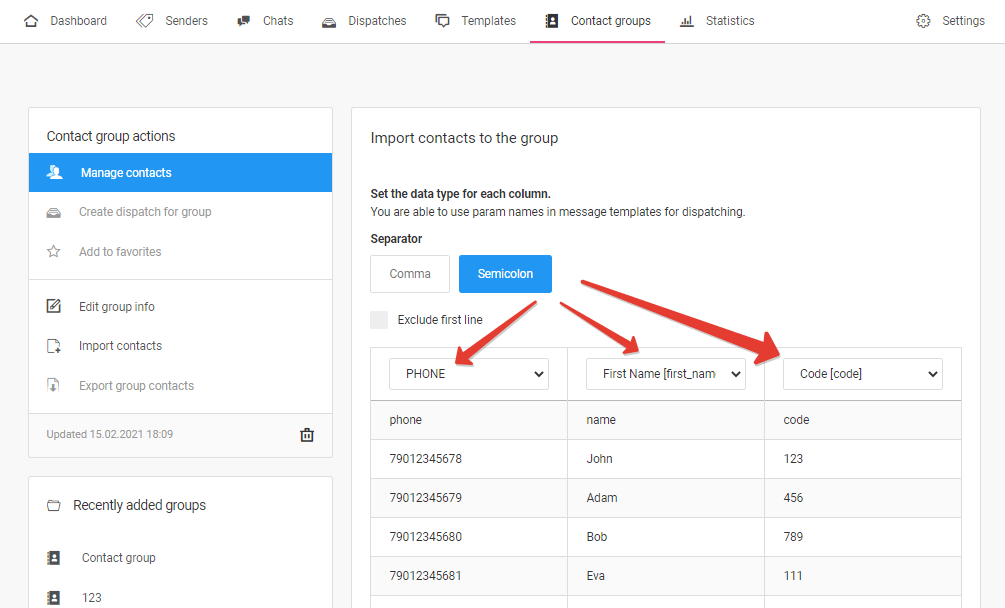
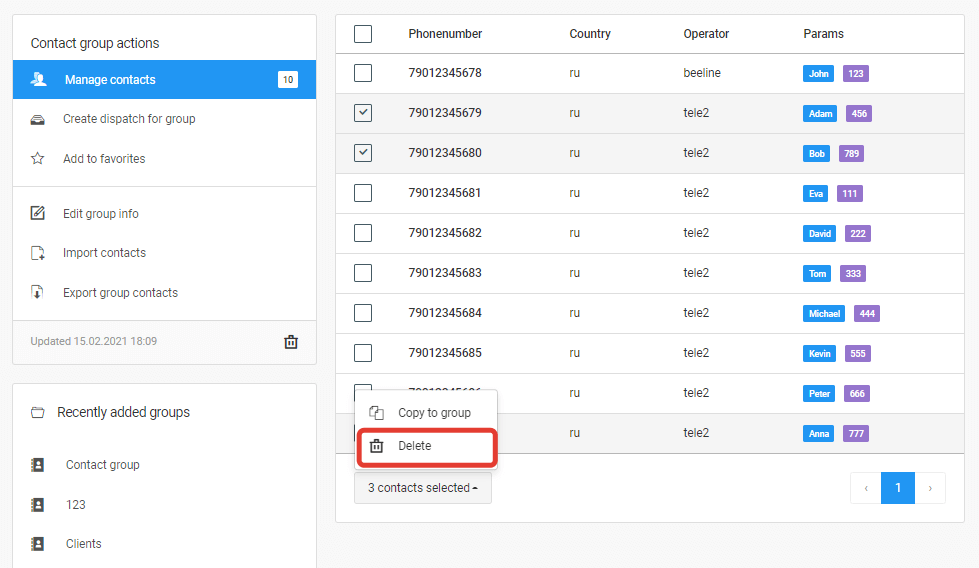
You can add contacts manually or upload a CSV file with contacts. Contacts for exclusion from the dispatch are loaded according to the same principle as Contact groups for dispatch. For more information on how to import contacts and remove contacts from a group, as well as how to assign variables, go to the «How to load a contact database» section.

How to upload a contact database

Contact groups allow you to quickly send a messaging campaign to multiple recipients.

You can upload contacts for messaging to your dashboard and create a contact group in two ways:

  • Manually
  • By importing a CSV file

To create a contact group, go to the Contact groups section, and specify the name and description of the group in the Contact group for dispatch block. Click Create.

Create contact group

How to add contacts manually

Enter the phone numbers, each on a new line in the «Manual Entry» field. If you want to add additional parameters, for example, Name, Date, and others, put the signs «,» or «;» between each parameter on each new line. Click «Next». If there are duplicate contacts, they will be deleted automatically.

Manual input

How to upload a CSV file with contacts

To add contacts from a CSV file, go to the «Import CSV file» field and select a file to import. You can also downloada sample CSV file here.

Example of the CSV file

If you plan to use variables in your dispatch, they must be added when you load contacts. Click «Next» and assign the variables.

Set the data type

For more information about variables in mass messaging and working with them, go to the «How to personalize a message» section.

Now the created contact group is ready for dispatch. You can complete the list of contacts in the «Import contacts» section.

To remove contacts from a group, select the contacts, and click «Delete».

Delete contacts

You can create and use in the dispatch as many contact groups as you want for sending, and for exclusion. The list of groups you have created is located in the «Contact groups» section.

Contact groups for dispatch